Downeast Maine Chocolate Chip Pumpkin Bread

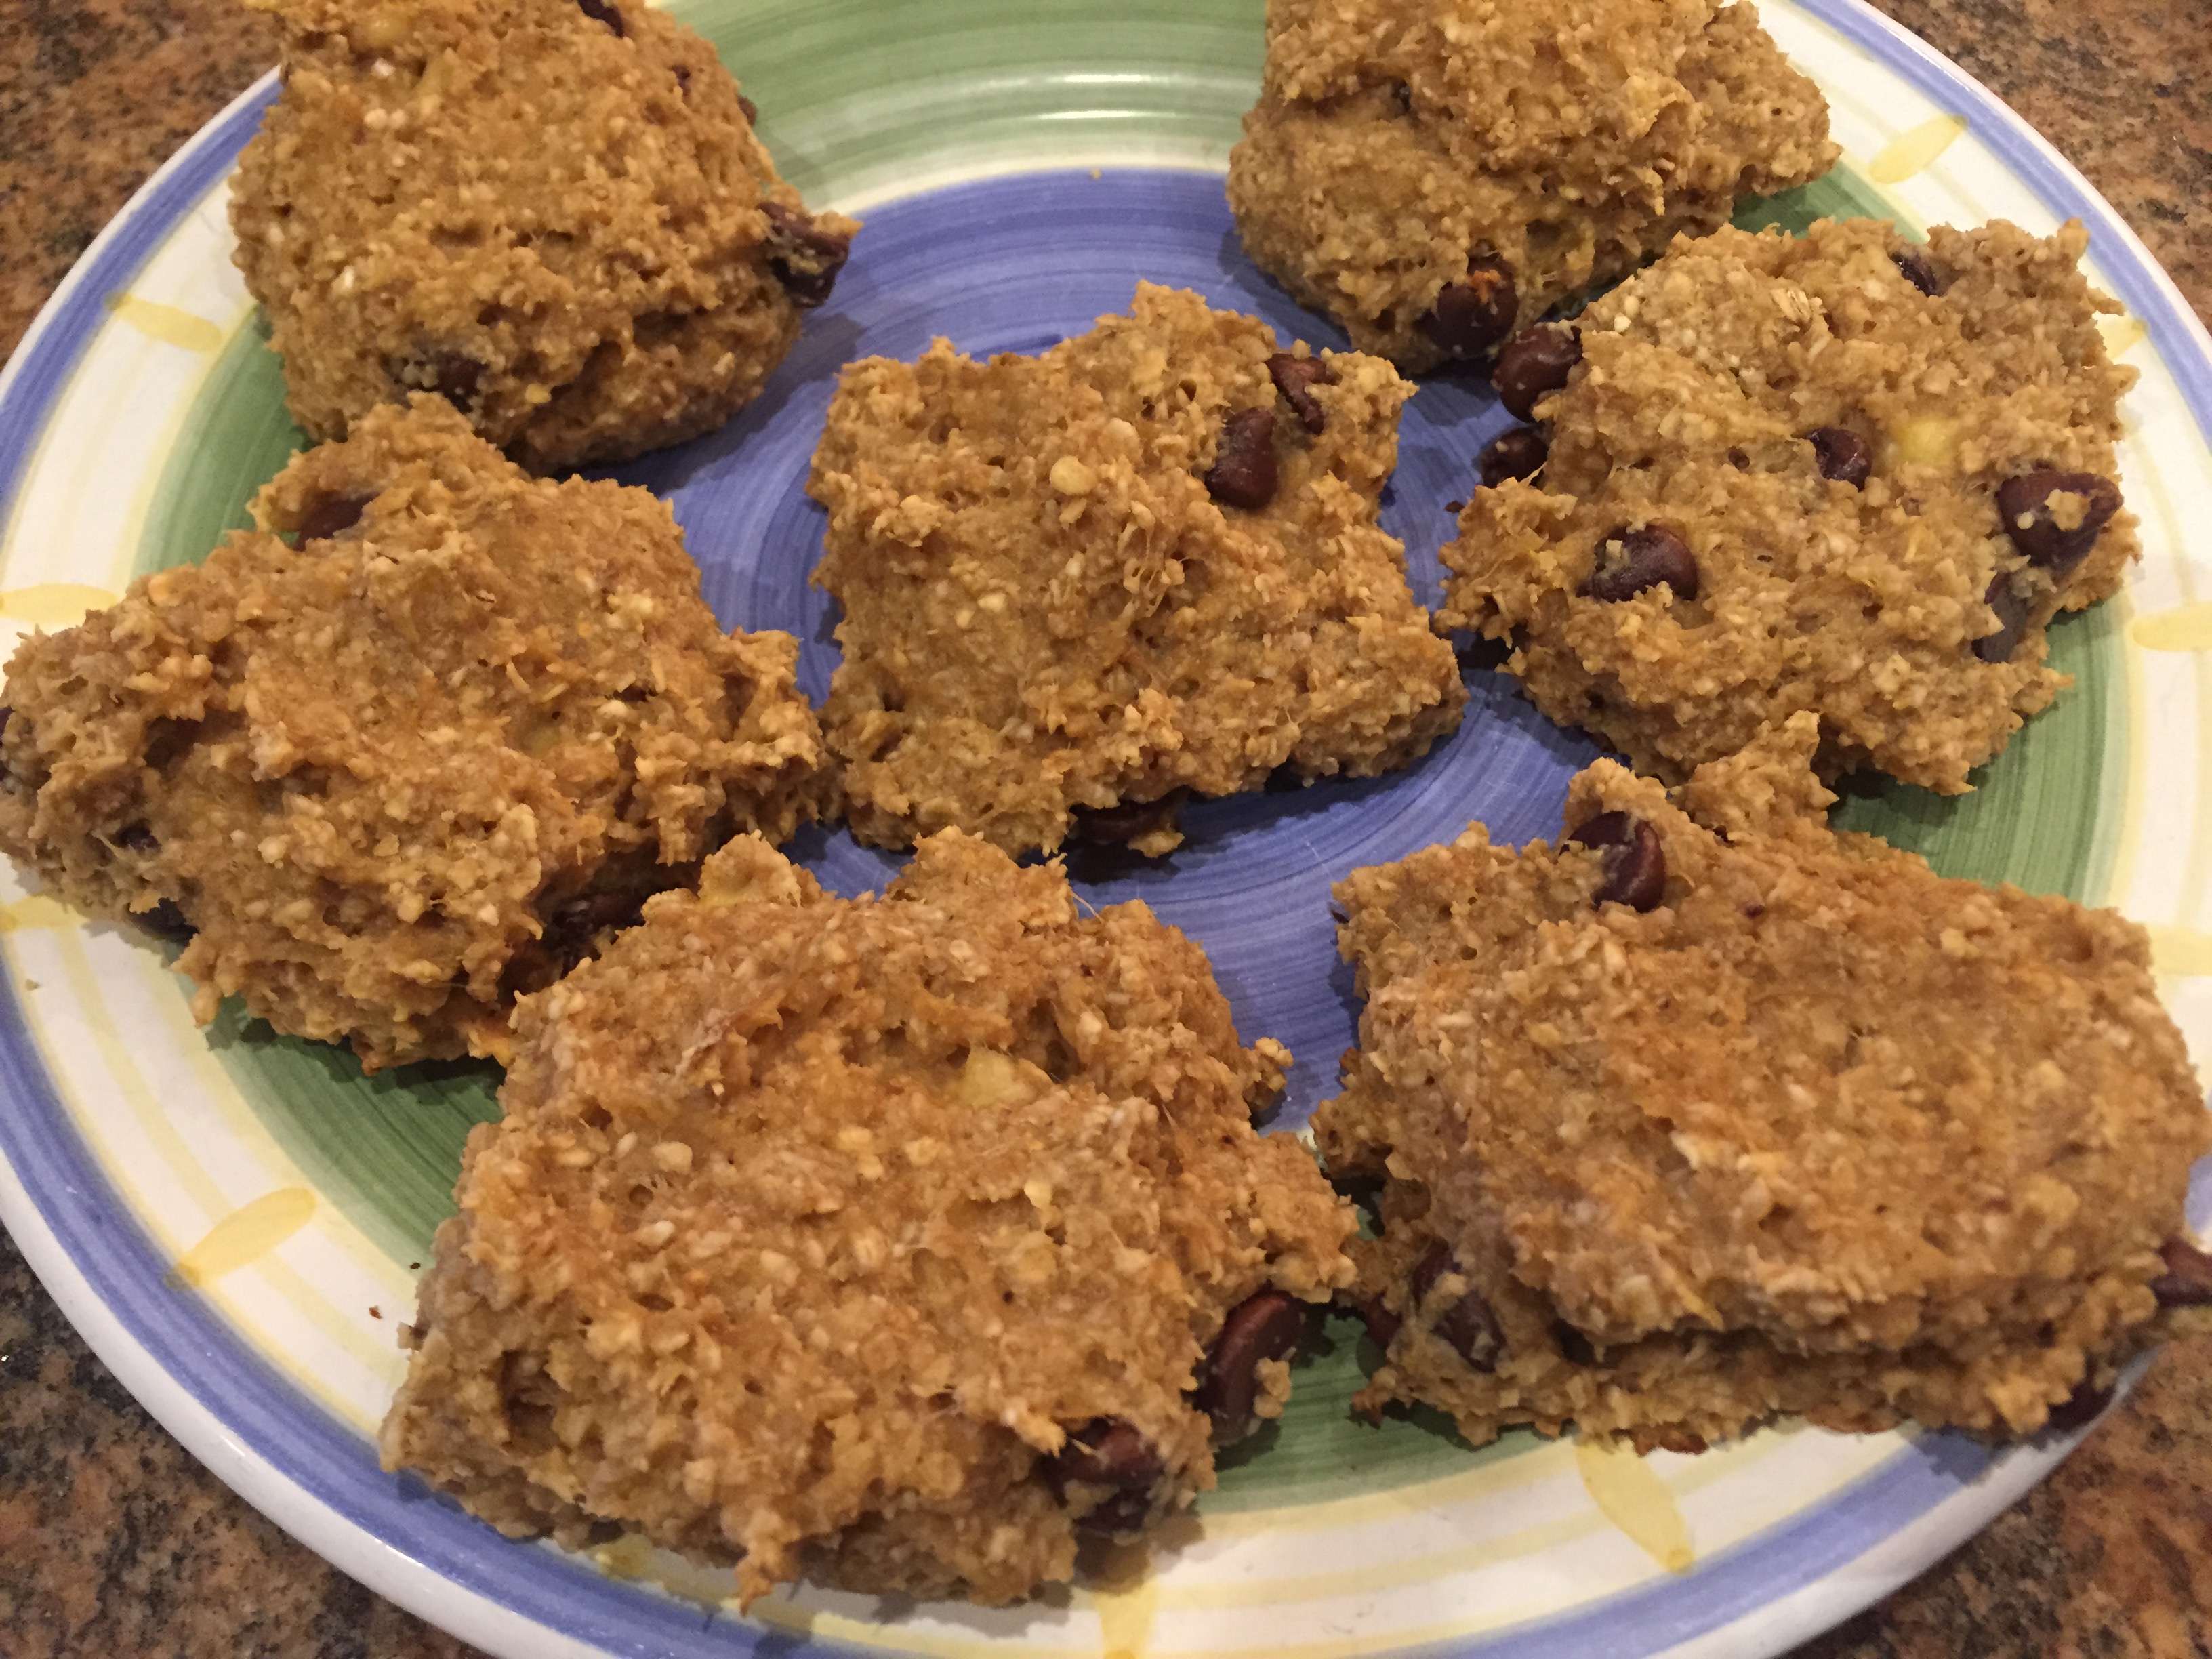
This recipe for pumpkin bread is not my own however I did decide to add chocolate chips on my own because everything is better with chocolate! You can find this recipe all over the internet but it is one of my absolute favorites because it is moist and packed with pumpkin flavor. I also love that it makes 3 loaves which means its great to share with friends. If you’re in the mood for some festive fall flavors – this bread is for you!

Downeast Maine Chocolate Chip Pumpkin Bread

Makes 3 loaves

  • 1 (15oz) Can pumpkin puree
  • 4 eggs
  • 1 cup vegetable oil
  • 2/3 cup water
  • 3 cups white sugar
  • 3 1/2 cups all-purpose flour
  • 2 teaspoons baking soda
  • 1 1/2 teaspoons salt
  • 1 teaspoon ground cinnamon
  • 1 teaspoon ground nutmeg
  • 1/2 teaspoon ground cloves
  • 1/4 teaspoon ground ginger
  • 1 (12oz) bag chocolate chips
  1. Preheat oven to 350 degrees F (175 degrees C). Grease and flour three 7×3 inch loaf pans.
  2. In a large bowl, mix together pumpkin puree, eggs, oil, water and sugar until well blended. In a separate bowl, whisk together the flour, baking soda, salt, cinnamon, nutmeg, cloves and ginger. Stir the dry ingredients into the pumpkin mixture until just blended. Stir in bag of chocolate chips. Pour into the prepared pans.
  3. Bake for about 50 minutes in the preheated oven. Loaves are done when toothpick inserted in center comes out clean.
Advertisement

Simple Scones

IMG_9141

One of my weaknesses is baked good. I love them all, sweet, savory I just can’t stay away. I try not to buy or make them however because if they are in my house, I will eat them all. One treat I will make are scones. Maybe because they are so simple, or maybe because they are so delicious – its hard to say. I have another great fall recipe for scones, these cranberry orange ones from my Morning Glory Farm cookbook are to die for. This recipe is one that my mother always makes, she got it out of the cookbook “Perfect Recipes for having people over.” I love that this recipe uses raisins instead of currents which give the scones some extra sweetness. Also the sour cream gives these a perfectly flaky texture. You’ll love these anytime of day! Enjoy.

Simple Scones (Makes 8)

Ingredients: 

  • 1/2 Cup Sour Cream
  • 1 Large Egg
  • 2 Cups all-purpose flour
  • 6 Tablespoons plus 2 teaspoons sugar
  • 1 Teaspoon baking powder
  • 1/2 teaspoon salt
  • 1/4 teaspoon baking soda
  • 1/2 cup raisins
  • 8 tablespoons (1 stick) unsalted butter, frozen

Directions:

  1. Place oven rack to lower-middle position and heat oven to 400 degrees. Grease a cookie sheet or line it with parchment paper.
  2. Whisk sour cream and egg in a small bowl until smooth.
  3. Mix flour 6 tablespoons sugar, baking powder, salt, baking soda, and raisins in a medium bowl. Grate butter into flour mixture, using large holes of a box grater; toss to combine.
  4. Stir in sour cream mixture until large clumps of dough form. Use your hands to press dough against sides and bottom of bowl to form a ball.
  5. Place dough on a lightly floured work surface and pat into a 7 1/2 inch circle about 3/4 inch thick. Use a sharp knife to cut into 8 triangles. Place 1 inch apart on greased cookie sheet.
  6. Bake until golden, 15 to 17 minutes. Cool for a least 5 minutes. Serve hot, warm or room temperature.

Peanut Butter Energy Bites

IMG_5593Breakfast is the most important meal of the day (or so I am told!) but I never seem to have time for it! During the week I am always running out the door in a rush, which leaves little time for scrambled eggs and bacon. I am always thinking of easy, on-the-go ideas that I can throw in my bag and eat at my desk or in the car. These no bake energy bites are perfect for those busy mornings. I was inspired by a local coffee shop that has similar bites when I was making these little peanut butter gems! Just two or three is enough to hold me over until I am able to blend up a smoothie or tie me over until lunch. Even better I love stuffing a few in a zip-lock bag and bringing them on the mountain with me when I am skiing or hiking! The best part about them is they taste just like a cookie… but they are healthier!

Ingredients:

  • 1 cup (dry) old-fashioned oats
  • 2/3 cup toasted coconut flakes
  • 1/2 cup peanut butter
  • 1/2 cup dried cranberries
  • 1/2 cup ground flax seed
  • 1/2 cup chocolate chips
  • 1/3 cup honey or agave nectar
  • 1 tablespoon chia seeds (optional)
  • 1 teaspoon vanilla extract

Directions:

  1. Stir all ingredients together in a medium bowl until thoroughly mixed. Cover and let chill in the refrigerator for half an hour.
  2. Once chilled, roll into balls of whatever size you would like. (Mine were about 1″ in diameter.) Store in an airtight container and keep refrigerated for up to 1 week.
  3. Makes about 20-25 balls.

Spinach, Oatmeal & Almond Milk Protein Smoothie

FullSizeRender[1]Happy Friday! It’s almost that time of year again… The holidays! They are just around the corner and you know what that means, endless treats, baked goods, cookie swaps…. I can feel my pants getting tighter as we speak! It is so easy to fall into bad habits this time of year. The weather is colder and you know it will be at least 6 months before anyone is going to see you in your bathing suit. Let’s get a jump start on those New Years resolutions and stay healthy through the holidays this year! I love this smoothie for my pre or post workout meal. The oatmeal helps make the shake more substantial, plus the spinach adds to your daily intake of iron, vitamin C, fiber… all the good stuff! I like to blend this smoothie up at night before bed, put it in a mason jar for the AM. Just shake it up and enjoy the next day!  There is no better way to start your day then with a healthy meal to boost your metabolism.

Ingredients:

  • 2 Cups fresh spinach
  • 2 Cups almond milk
  • 1 large apple, cored (any kind)
  • 1 ripe banana
  • 1/3 cup uncooked rolled oats
  • 1 tablespoon coconut oil
  • 1/2 teaspoon ground cinnamon
  • hand full of ice

Directions:

  1. Blend spinach, almond milk and banana until smooth
  2. Add remaining ingredients and blend.
  3. Drink up!

Pumpkin Pie Overnight Oats

IMG_5560I keep waiting for it to feel like fall but the warm weather will not quit! It has been beautiful the last week with bluebird and sunny skies and temps into the mid 70’s. I finally purchased a few pumpkins at the grocery store because I felt like even if the weather was not going to act like fall, I was going to make it look like fall. I have not indulge in a pumpkin spice latte or apple cider yet either, but have been feeling like I need something festive so when I saw this recipe for Pumpkin Pie Overnight Oats I decided it would be the perfect recipe to get me in the fall spirit. IMG_5555
One of my favorite overnight oat recipes is my Chunky Monkey Overnight Oats– I know a lot of you love this recipe. It is such an easy and delicious recipe and great for those mornings when you don’t have time for breakfast. I love making my overnight oats in a mason jar and throwing it in my bag to eat at my desk. This recipe is not too sweet but feel free to add some extra maple syrup if you need to. It would also be delicious with chocolate chips or some graham cracker crumbles over the top for some added crunch. Now that you’re eating pumpkin pie oats you can save that $5 you would have spent at Starbucks and buy a glass of wine after work instead! I know… brilliant, right?! Enjoy!
Pumpkin Pie Overnight Oats (Serves 1)
Ingredients:
  • ½ cup old fashioned oats
  • ½ cup almond milk
  • ½ teaspoon pumpkin pie spice
  • ¼ cup canned pumpkin (not pumpkin pie filling)
  • ¼ cup plain Greek yogurt
  • ½ Tablespoon chia seeds
  • 2 Tablespoon maple syrup
  • 2 teaspoons pumpkin seeds
  • optional: chocolate chips, graham cracker crumbles, granola
Instructions:
  1. Combine all ingredients in a bowl except for the pumpkin seeds.
  2. Stir everything together, cover, and let sit in the fridge overnight. That’s it!
  3. Take the mixture out of the fridge, stir and sprinkle with pumpkin seeds. Drizzle with extra maple syrup if it is not sweet enough for you. Enjoy!

Peanut Butter, Chocolate Chip Banana Breakfast Cookies

IMG_4852Whoever said cookies aren’t a breakfast food, lied. Cookies are great for breakfast especially when they are packed with protein and deliciousness like chocolate chips and oats! I had some old brown bananas and I was really bored of making banana bread. I mean seriously- what else can you do with over ripe bananas other than freeze them for smoothies or make banana bread?

Now you can make gluten free, vegan and healthy cookies that are easy to pack for breakfast on the go, crumbled over yogurt or for an afternoon snack. There are lots of other ingredients you could substitute into the cookies too. Try some dried cranberries instead of chocolate chips (or WITH chocolate chips!) add pecans or walnuts for a little crunch. The options are endless! Plus what better way to get your picky eaters to get their whole grains and fruits in the morning?? A kid turning down a cookie for breakfast? That has never happened! Happy baking!

Ingredients:

  • 3 ripe bananas, mashed
  • 3 cups rolled oats (quick or regular)
  • 1/2 cup peanut butter
  • 1/2 cup chocolate chips
  • Other optional ingredients- pecans, walnuts, dried cranberries, coconut, raisins

Directions:

  1. Pre-heat the oven to 350
  2. Place the oats in a blender or food processor and blend until oats are consistency of flour- if there is still larger chunks of oats, that is OK.
  3. In a large bowl combine mashed bananas, oats, peanut butter, chocolate chips and whatever else you want. Mix to combine.
  4. Place dough (it will be very sticky!) on a greased baking sheet and bake for 10 minutes. Remove from the oven and allow them to cool.
  5. Store in a plastic zip lock bag or wrap and freeze them individual. Makes 12-16 large cookies.

Bacon & Spinach Mini Quiches (Gluten Free)

IMG_3240Happy summer solstice! A few days late but who is keeping track, right? Especially when the weather has been so beautiful, warm and sunny! I love this time of year when it stays late out until 10pm, it makes me feel really productive, like I have a few extra hours in the day! Even though summer has officially started and school is out for the year, us adults still have to work (big bummer) Oh to be a kid again! The morning “rush” is as usually in our house hold through the summer and I’m not one to skip a meal! And lets be honest, skipping breakfast because you’re in a hurry is a recipe for disaster!

These quiches are great for a quick breakfast, lunch or snack, especially when time is of the essence. Make them ahead of time and pop them in the freezer for later, they are easy to reheat in the microwave and off you go! They are also great for school lunches and after school snacks but don’t let your kids know I’m already talking about back to school… (even though you moms out there are probably already looking forward to it!) These taste delish even when you’re not in a rush… My favorite way to eat them is paired with a big ol’ Bloody Mary or mimosa on a Sunday morning! Enjoy!

IMG_3242Easy Bacon & Egg Mini Quiches (Makes 10-20 depending on the size of your tin)

Ingredients:

  • 12 large eggs
  • 1/2 cup half and half or heavy cream
  • 1/2 tsp garlic powder
  • 1/2 tsp black pepper
  • 1 tsp dried parsley
  • 2/3 cup grated Parmesan cheese
  • 3 cups shredded cheddar cheese
  • 6 slices of bacon, cooked and chopped
  • 1 10oz package frozen chopped spinach, thawed and drained

Directions:

  1. Pre-heat the oven to 375 degrees. In a large bowl whisk together eggs, half and half, garlic powder, pepper, and parsley until fully combined. Add Parmesan, cheddar, spinach and bacon, mix well.
  2. Spray muffin tins (I used mini and smaller sized ones) with cooking spray. Be sure not to miss any spots so the quiche does not stick! Fill muffin tins about 3/4 of the way full. Place them in the oven for 15-20 minutes or until golden brown and puffy. Remove from the oven and let sit for 5 minutes before removing them from the tin.
  3. Serve warm or these can be easily frozen and heated up in the microwave for a quick breakfast on the go.

Avocado, Cheddar and Arugula Breakfast Sandy

IMG_2441They say breakfast is the most important meal of the day and I couldn’t agree more! Not only is it the most important meal of the day but it is my favorite, epically when it comes to breakfast sandwiches! There are so many options… you can have it on a bagel, English muffin or toast; topped with bacon, sausage or ham- or throw on some cheddar, American or pepper jack cheese… as you can see the options are endless.

I prefer my breakfast sandwich on an English muffin (Thomas’ only please!) with cheddar so sharp it’ll cut you! I’ve learned that you don’t need meat to make a sandwich hearty, put a little avocado on that baby and not only do you get all those good fats in your diet, it fills you up quickly too! The Arugula adds a little peppery kick that is extra delicious. All in all you better make two of these breakfast sandys because you’ll be sad when the first one is gone! Happy weekend everyone!

Bomb Breakfast Sandy (Makes 1 Sandwich)

Ingredients:

  • 1 Large egg, fried
  • 1 English Muffin, toasted
  • 1 slice extra sharp cheddar
  • 1/4 Avocado
  • 2 slices of tomato
  • handful of Arugula
  • Salt and Pepper to taste

Directions:

  1. Melt some butter in a medium skillet. Crack the egg into the frying pan and let cook for 2 minutes. Flip the egg and cook for a minute more (now is when you’d want to break the yolk!). Place slice of cheddar cheese on top of the egg and cover with lid for 30 seconds. Leave covered and remove from heat, let it sit in the pan while you assemble the sandwich. Meanwhile, toast your English muffin.
  2. Take 1/4 of the avocado and smash it into the English muffin. Place the fried egg on the muffin and top with tomato and arugula. Season with salt and pepper.
  3. Server with hot sauce or ketchup (if you love ketchup as much as me!) Enjoy!


Paleo Cornbread Minus the Corn

IMG_0513Good Morning! It’s another chili morning here in Park City- I was all ready to post another soup recipe because that is basically what I have been living off the last two weeks. Soup and more soup. Don’t worry I have an awesome black bean soup coming your way soon.. but first I thought you’d enjoy a little something to go along with your soup, chili or stew… and what better than “cornbread”?

Ok, so I was pretty skeptical about this recipe, how can you make CORNbread, you know… without the corn? Well turns out its possible and its also pretty delicious! The first time my friend Kim made this recipe for me I had no idea it didn’t have any corn in it. 10 minutes later I had successfully eaten half the plate and asked for the recipe to make some more! There’s really only one way for you to understand just how epic these muffins are – you must make them for yourself! Almond flour can be found at your local natural food store or Whole Foods- make sure the ingredients say “blanched almonds” it really does make a difference!  IMG_0511Paleo Cornbread Minus the Corn (Serves 4-6)

Recipe from Our Paleo Life

Ingredients:

  • ½ cup Almond Flour
  • ¼ cup Coconut Flour
  • ½ tsp Sea Salt
  • ½ tsp Baking Soda
  • 3 eggs
  • 2 Tbsp Ghee, melted (clarified butter- can be found in the baking section at Whole Foods or other specialty stores)
  • 2 Tbsp Coconut Oil, melted
  • 2 Tbsp Honey
  • ½ cup Unsweetened Vanilla Almond Milk

Directions:

  1. Preheat the oven to 325F
  2. Grease a muffin tin or baking pan (8×8) for a baking pan lining it with parchment paper or other non-stick covering is easiest.
  3. Blend all the dry ingredients in a bowl.
  4. Using a hand whisk, add all the wet ingredients to the dry ingredients and blend well.
  5. Using a spoon fill muffin tins 3/4 full or pour the batter into the prepared baking pan and bake for 20-25 minutes for muffins or 25-30 minutes for baking pan, or until a toothpick inserted in the center of the bread comes out clean.
  6. If you used parchment to line the pan, grab the flaps and lift the bread out of the pan. Cool and slice.

Green Eggs & Ham Quiche

photo 3-24Can you believe its almost May?! May is such a great month because there is so much to celebrate! First off Cinco de Mayo… since my favorite day of the week is Taco Tuesday and I drink margaritas like they’re water, it’s my ultimate holiday! Then comes Mother’s Day and who doesn’t like celebrating mom? Moms are the best!

Finally, we kick off summer (and the right to wear white pants!) with Memorial Day! It’s a pretty action packed month. If you’re looking for an extra special way to show mom how much you care this year, make her a delicious meal! Mother’s Day is a great day to show mom how much you love her with homemade brunch and Bloody Mary’s (in bed?!) Now that sounds like a great morning! photo-574I feel like sometimes quiche is thought of as a wimpy ladies luncheon dish but serve this delicious spring dish along side a bacon Bloody Mary and you won’t hear anyone complaining! It is also a fun dish for kids to make because its super easy (the hardest part is sauteing the asparagus and onions)! photo 2-31Plus its a spin off the Dr. Seuss book “Green Eggs and Ham” read the book, make the quiche and you might even get the kids to eat some of it! So whether you’re hosting a bridal shower, brunch, lunch or Mother’s Day extravaganza (really whatever you want!) this quiche will be a hit! photo 2-32Green Eggs & Ham Quiche (click for printer friendly version)
Ingredients: (Serves 8-10)

  • 1 9-inch Pillsbury refrigerated pie-crust (from a 15-ounce package)
  • 2 12-ounce boxes frozen Stouffer’s spinach souffle (microwave for half the suggested time to thaw but not cook)
  • 4 eggs, beaten
  • 1 1/2 cups cups (6 ounces) grated mozzarella cheese (you can substitute Pepper Jack for some added spice)
  • 1 bunch of asparagus, ends trimmed and cut into 1″ pieces
  • 1 small yellow onion, diced
  • 1 cup diced ham, prosciutto or bacon (if using bacon, cook before adding it) if you are vegetarian you can leave this out
  • 1 tablespoon olive oil
  • fresh ground pepper

Directions:

  1. Pre-heat oven to 375° F. Unroll the pie-crust and press it into a 9-inch pie plate.
  2. In a medium skillet heat olive oil over medium heat. Add onions and saute for 2-3 minutes, add asparagus and saute until just tender and onions are translucent, about 5 minutes more.
  3. Combine the spinach souffle, eggs, cheese, ham and asparagus mixture in a large bowl. Add a few turns of fresh pepper and stir to combine. Pour the mixture into the prepared pie shell.
  4. Bake until set in the center and the crust is golden brown, about 45 minutes.