You know that cake you ask for every year on your birthday, the one that makes you feel special and loved and happy all at once? The kind of cake you go back for seconds, not only because its YOUR birthday but its YOUR favorite cake and its freaking delicious. This carrot cake is THAT cake for me, my mother’s best ever birthday carrot cake.

1/2 cup coconut and raisins

2 cups of shredded carrot

Combine it all

Ready for the oven!
Today isn’t my birthday, (although you might have seen in my last post, Ski Boots in the Kitchen just turned 1!) but I decided I needed a little slice of heaven! Whenever I go to a restaurant and they have carrot cake on the menu, I have to try it. Let me tell you good carrot cake is hard to come by and I am usually disappointed because its not as good as PomPom’s recipe.

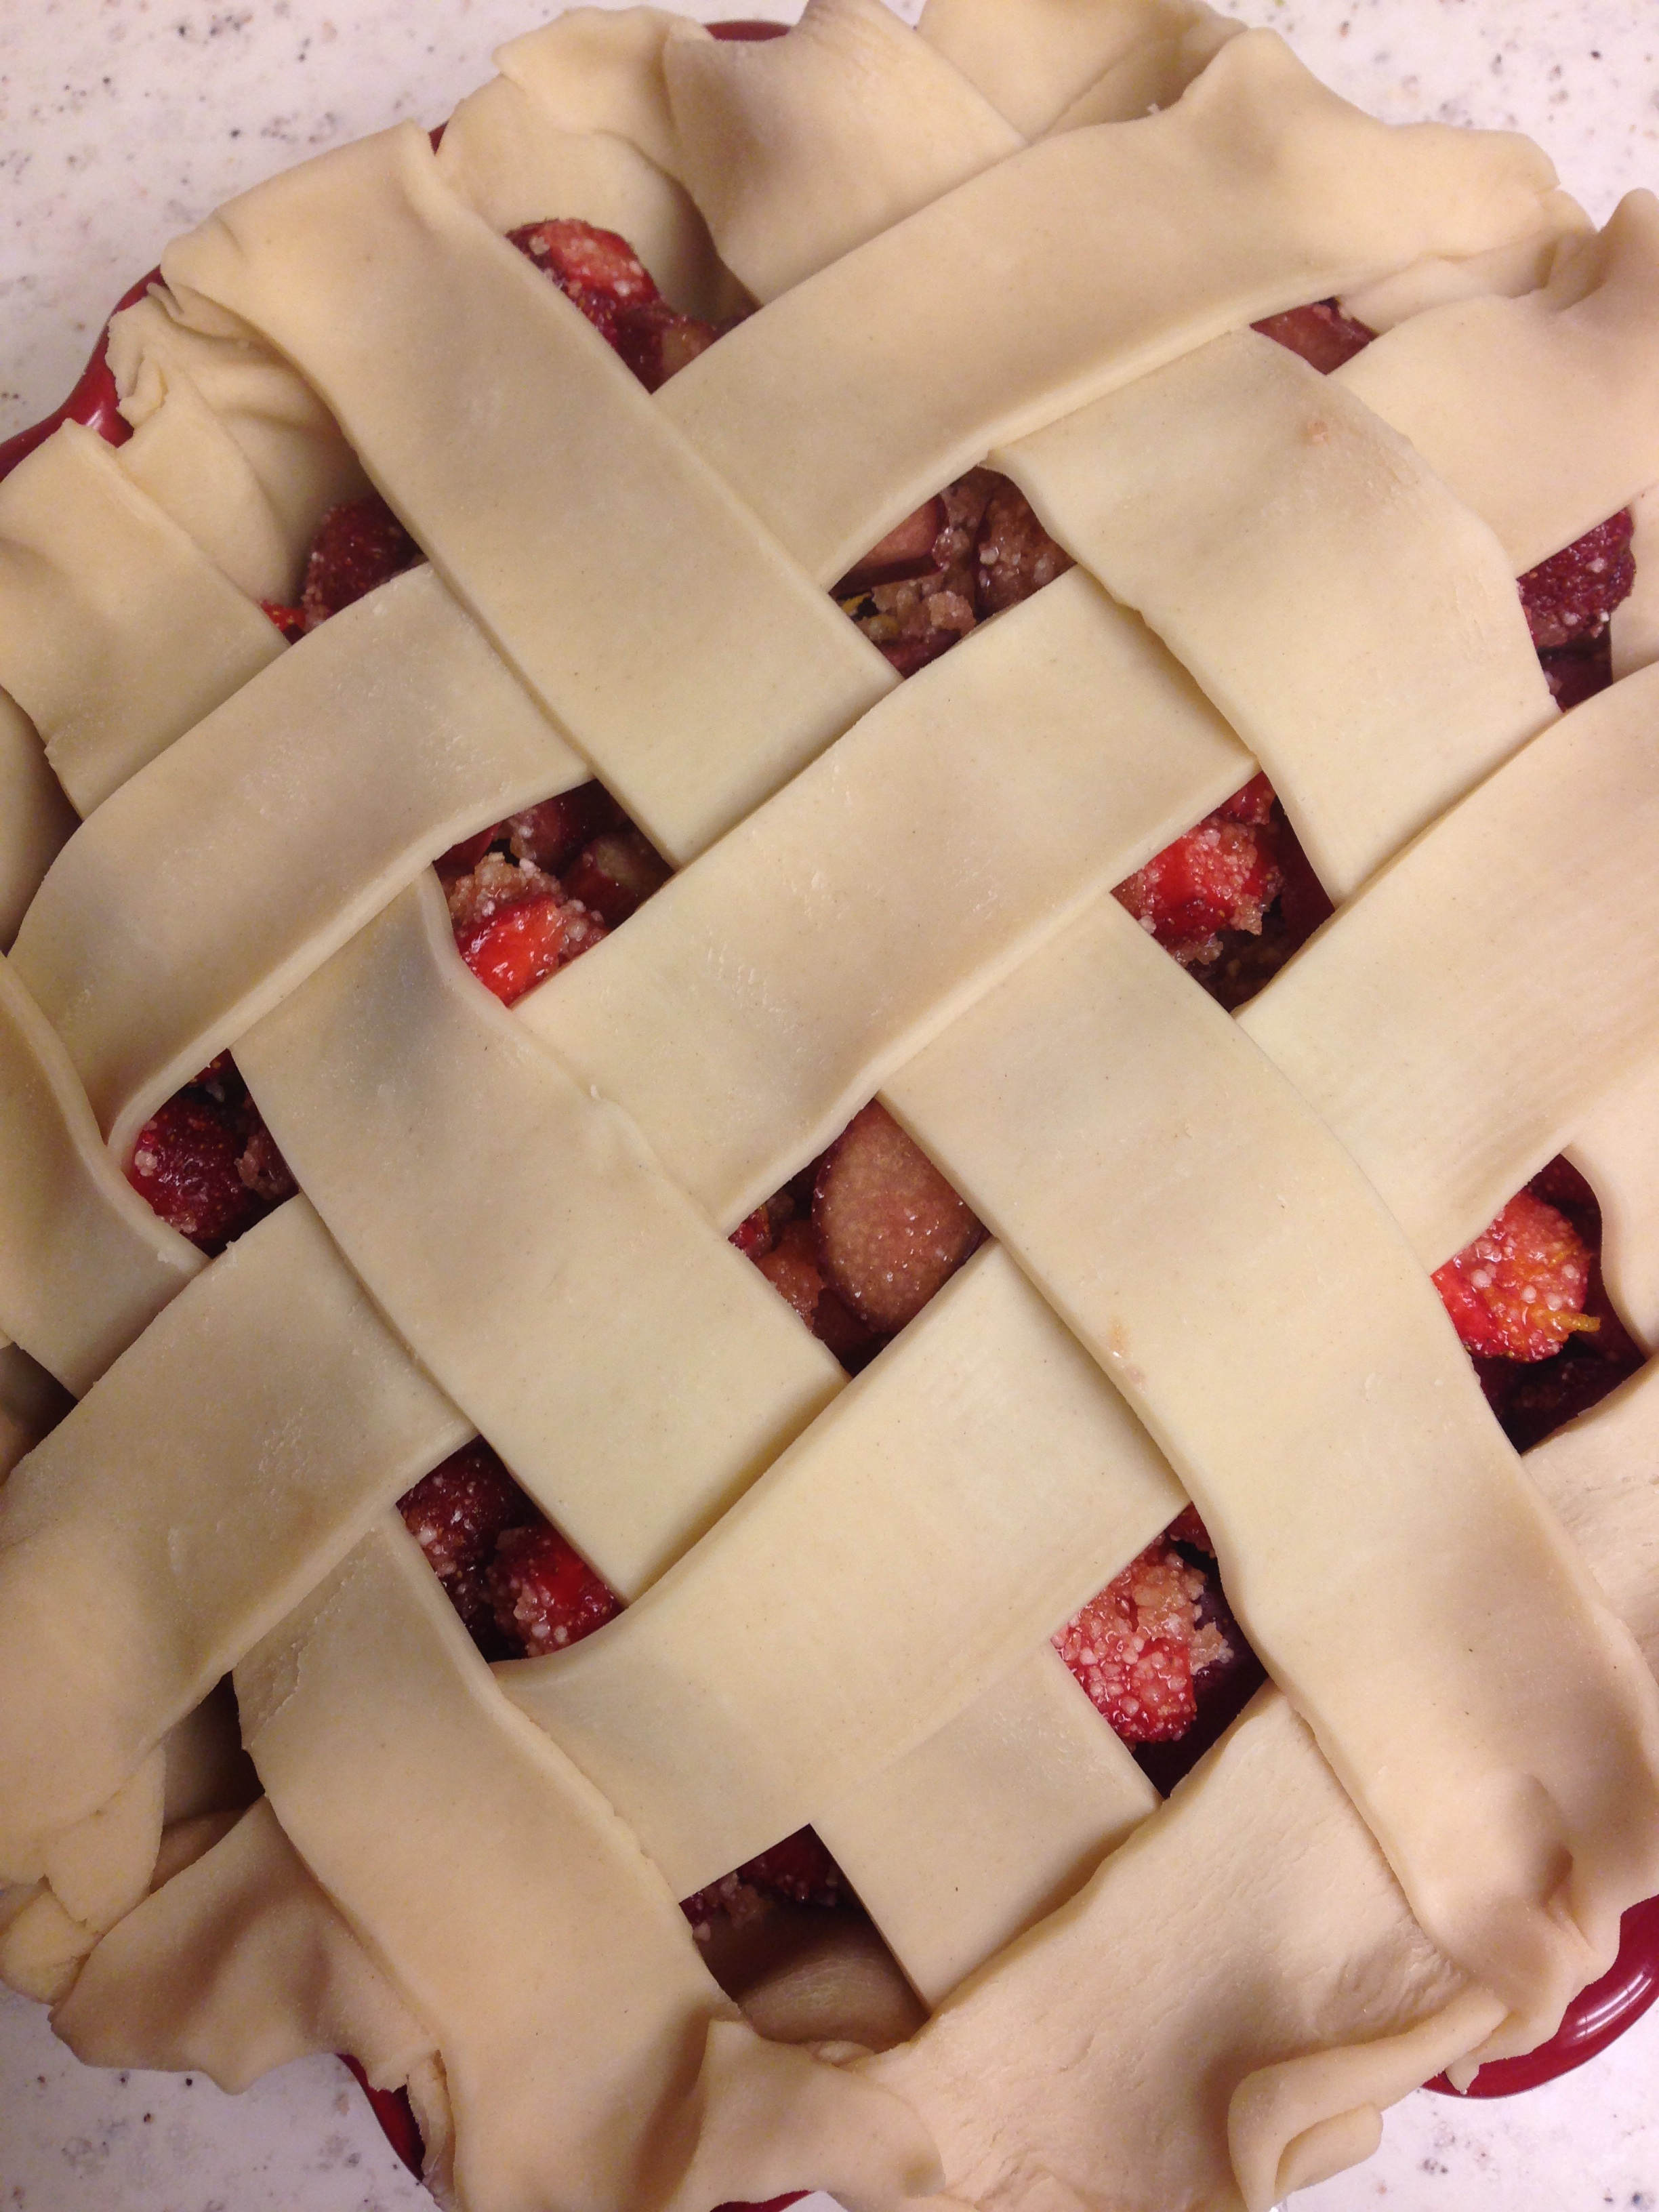
3 layers of goodness

Let the crumb layer harden in the fridge for 1 hour before spreading the final layer of frosting

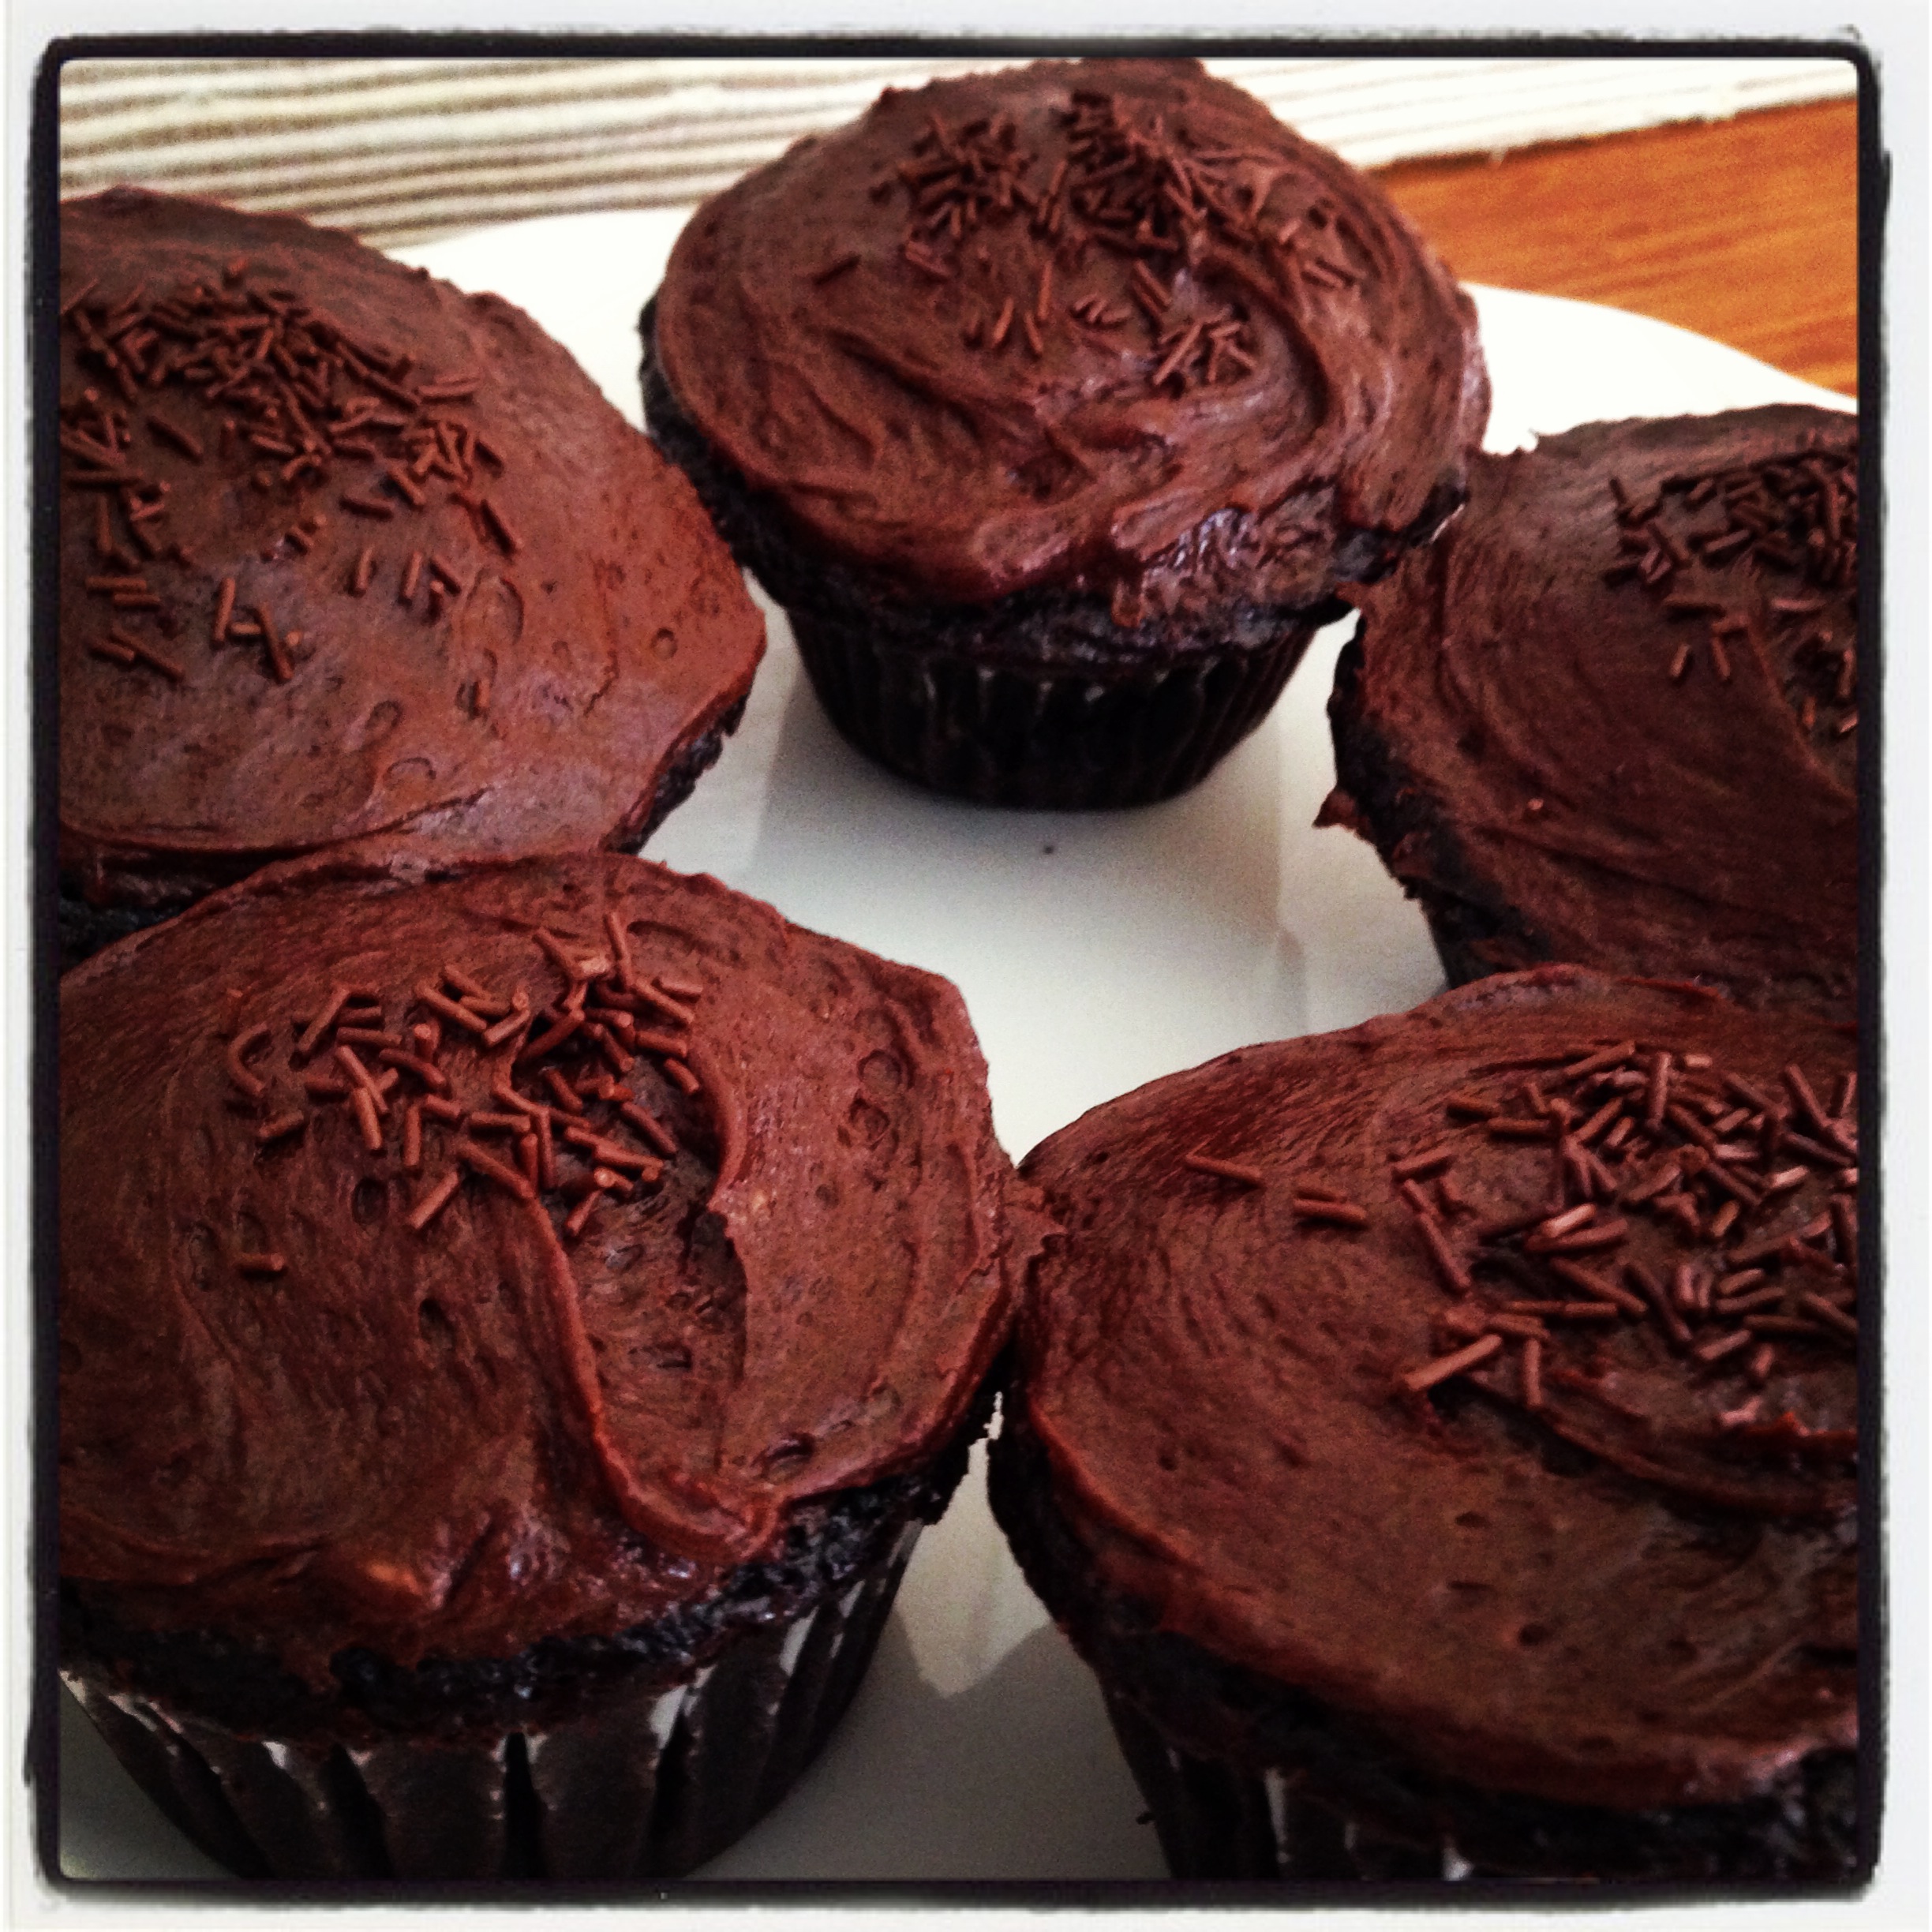
the ‘crumb layer’
There are two places that know how to do it right- one of the best carrot cakes I’ve ever had is at Bol in Vail, Colorado and the second runner up is from the Deer Valley Bakery (they made my carrot cake wedding cake… can you tell yet I’m slightly obsessed?) but that’s it. If you come across a restaurant that has better carrot cake than these two places call me, I’ll fly anywhere just to try it.
Long story short, I’ve been tasting cakes made with carrot for years and this one will forever be my favorite not only because its outrageously delicious but it brings me back home and its always made with love! Happy celebrating and cake eating- Enjoy!
Best Ever Birthday Carrot Cake (click for printer friendly version)
Ingredients:
For the Cake:
- 2/3 cup vegetable oil
- 1 cup honey
- 4 eggs
- 1 teaspoon vanilla
- 1 cup white flour
- 1 cup whole wheat flour
- 2 teaspoons baking powder
- 2 teaspoons baking soda
- 2 teaspoons cinnamon
- 1/2 cup powdered milk
- 2 cups grated carrots
- 1 small can (8oz) crushed pineapple and juice
- 1/2 cup golden raisins
- 1/2 cup shredded coconut
- 3/4 cup chopped nuts (walnuts or pecans) (optional)
For the frosting:
- 1 8oz. block of cream cheese at room temperature
- 1 (1/2 cup) stick of butter at room temperature
- 2 teaspoons vanilla
- 1 1lb box confectioners sugar
Directions:
- Pre-heat the oven to 325 degrees
- Grease, flour and line with parchment paper 3, 9″ round cake pans
- Using a hand mixer, combine oil and honey in a bowl. Add eggs one at a time, blend in vanilla.
- In a separate bowl, sift flour, wheat flour, baking powder, baking soda, cinnamon, and powdered milk.
- Blend the sifted dry ingredients with the honey, oil and eggs. Stir in remaining ingredients (grated carrots, crushed pineapple, coconut, raisins and chopped nuts).
- Pour batter into the 3 prepared baking pans and bake for 25-30 minutes. Let them cool completely on racks until ready to ice.
- While the cake is cooling, using a hand mixer, combine cream cheese, butter, confectioners sugar and vanilla in a bowl.
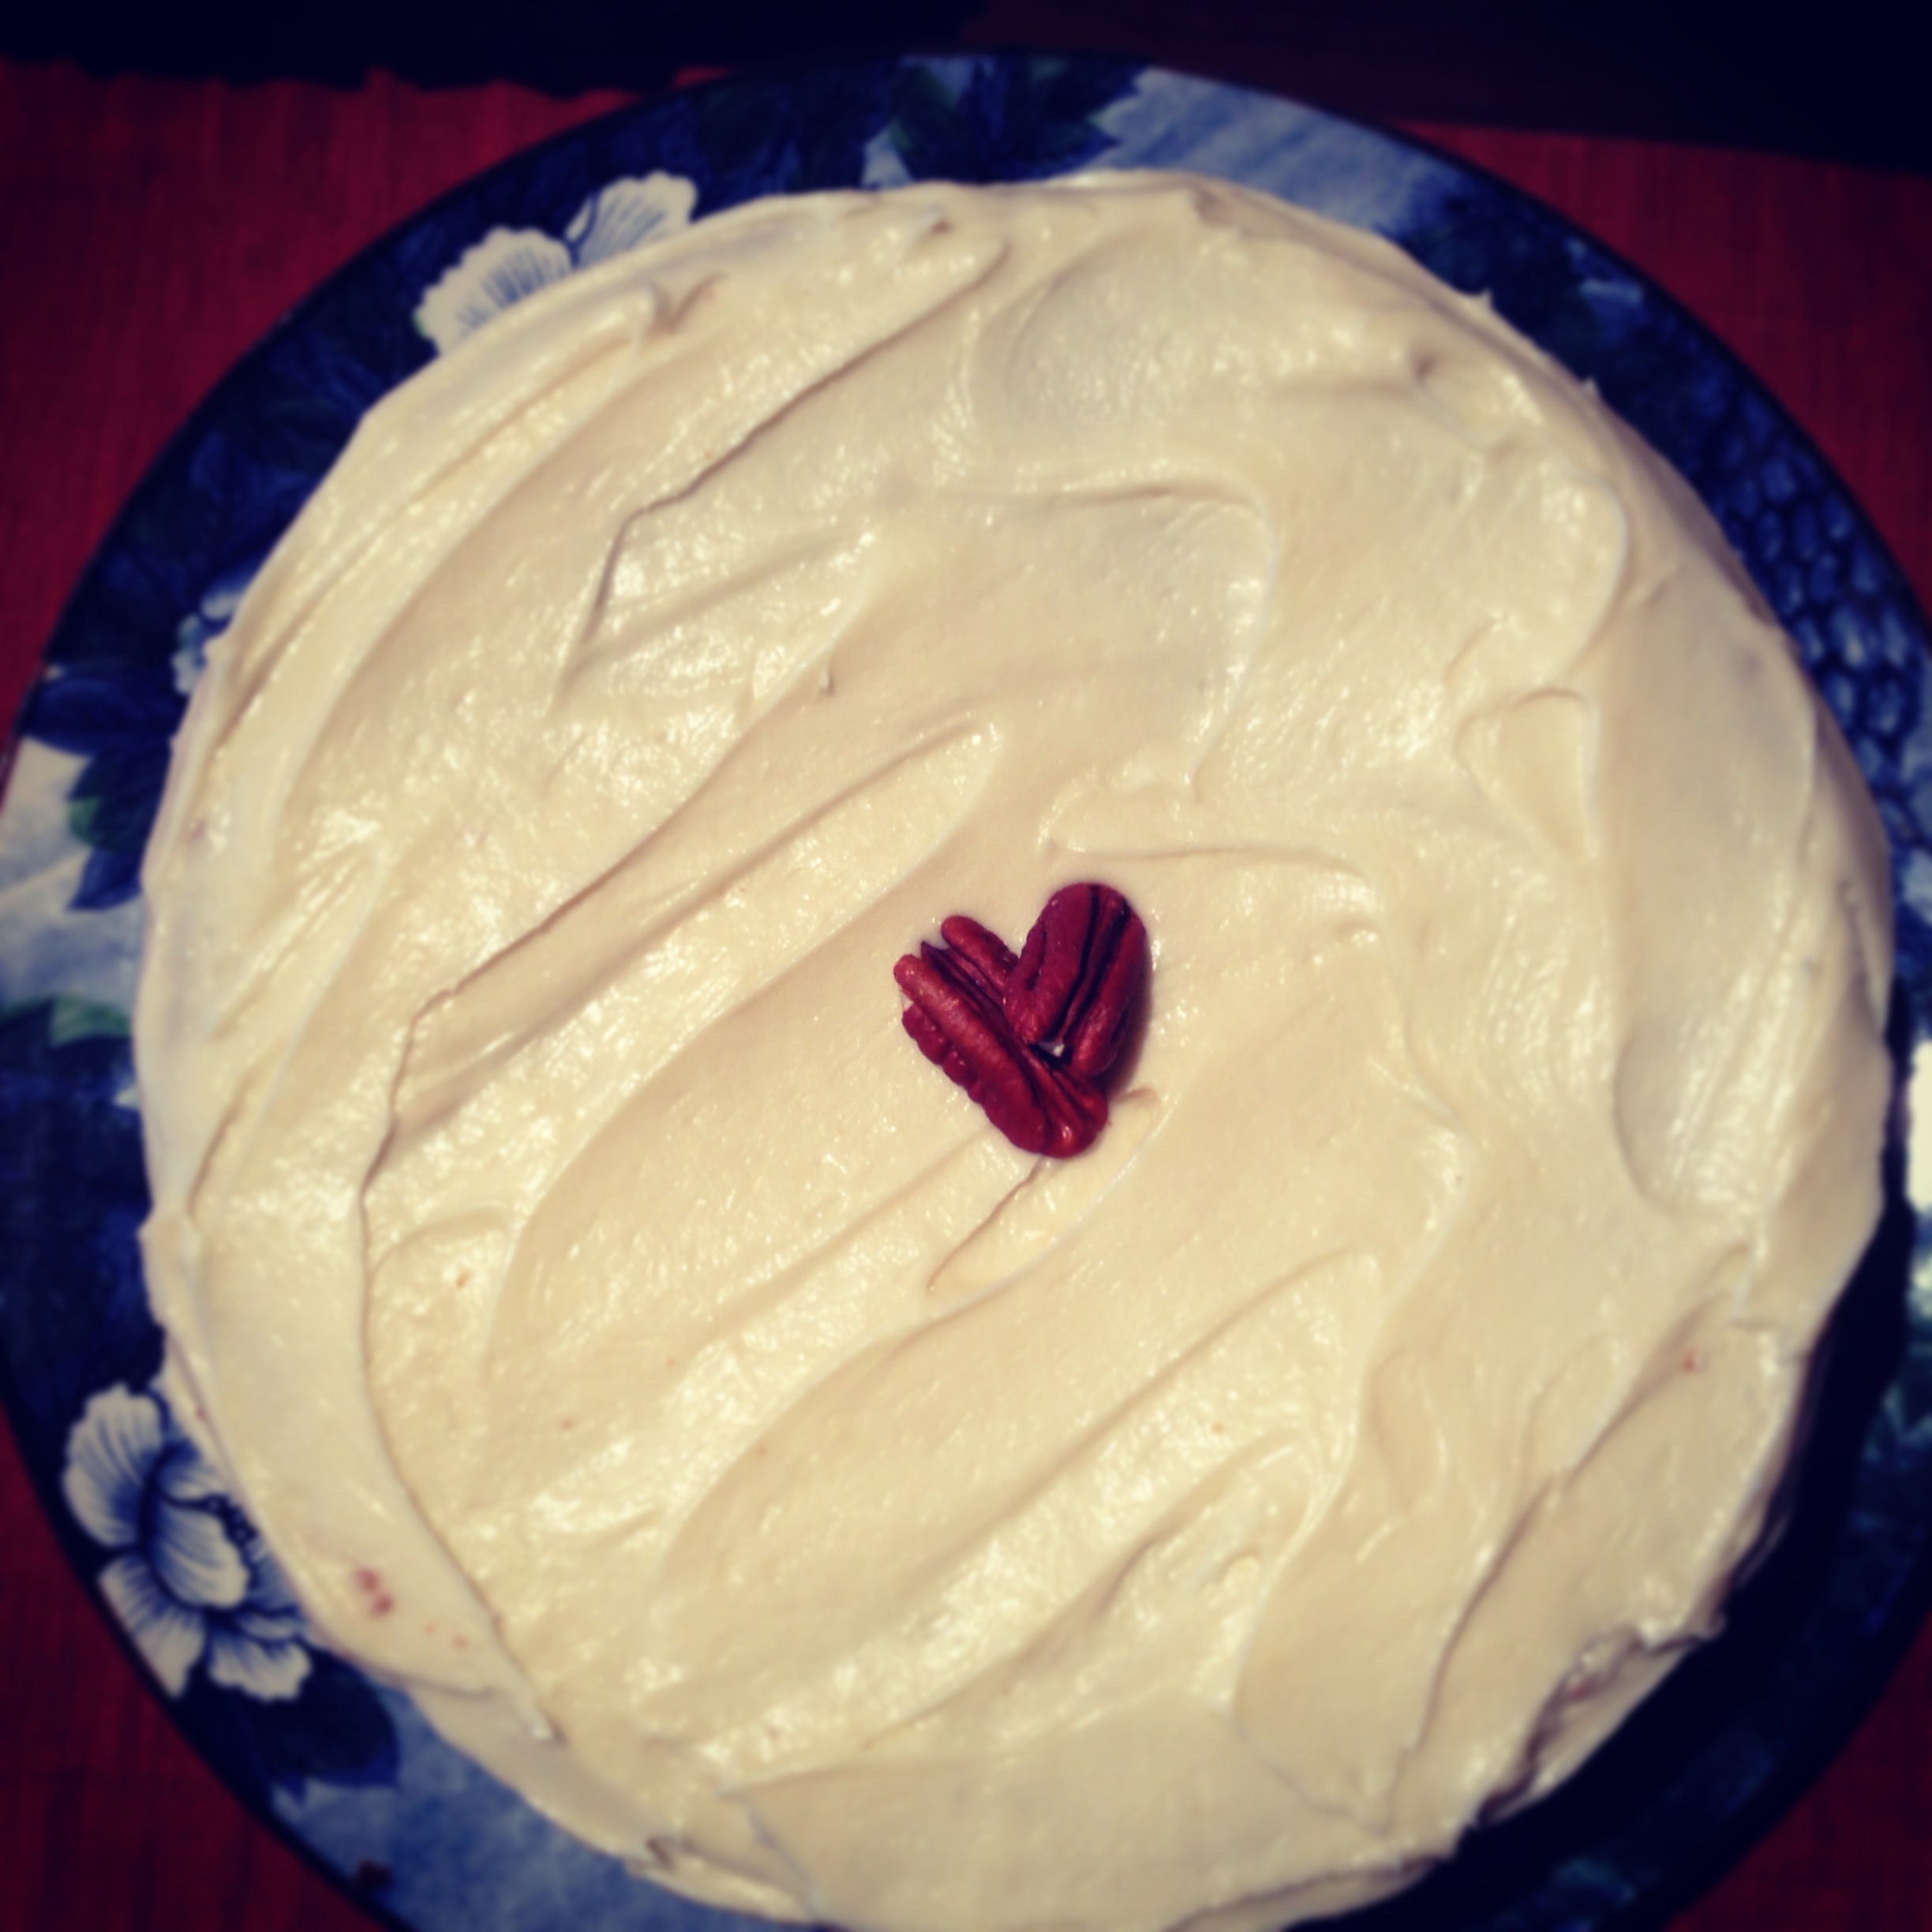
- When cake has fully cooled, place the first layer on a cake plate, spreading a thin layer of icing between each layer of cake. Spread a thin layer of icing around the outside of the cake and place in the fridge for 1 hour. This is called a “crumb layer” this will keep all the crumbs stuck to the first layer of frosting giving you the perfect looking cake when you frost the final layer! For more directions on how to perfectly frost a cake see here. Enjoy!

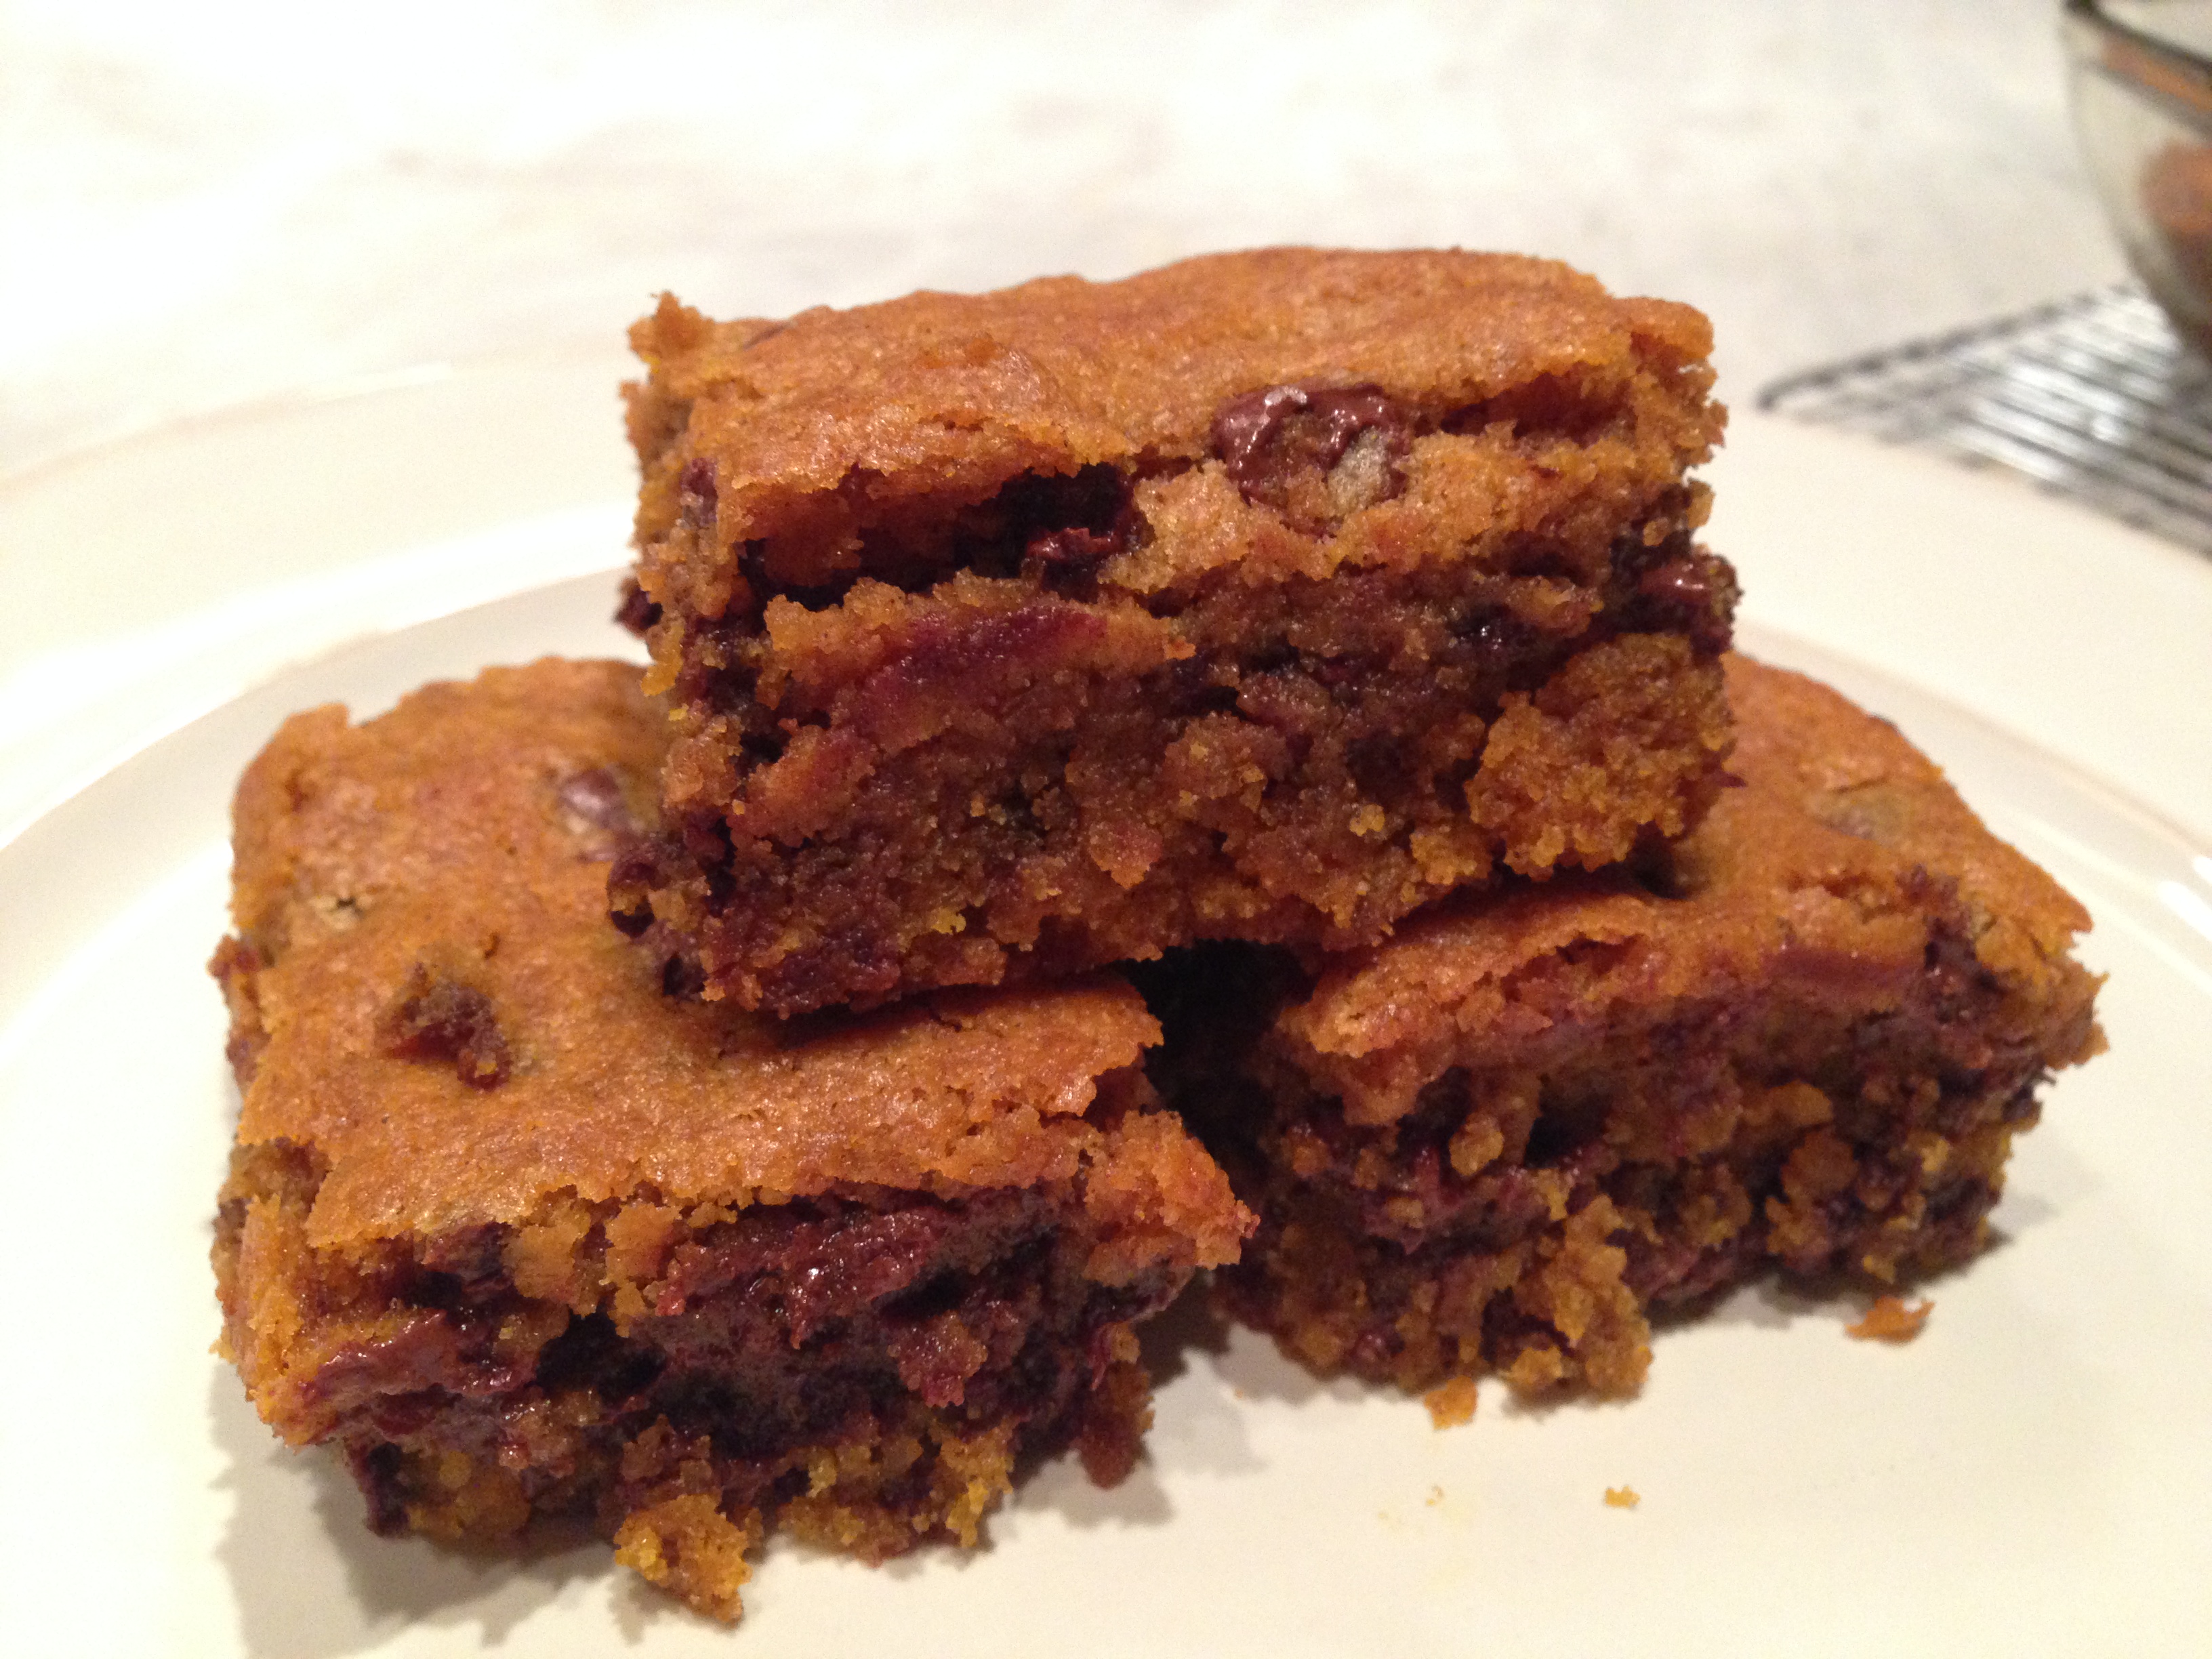
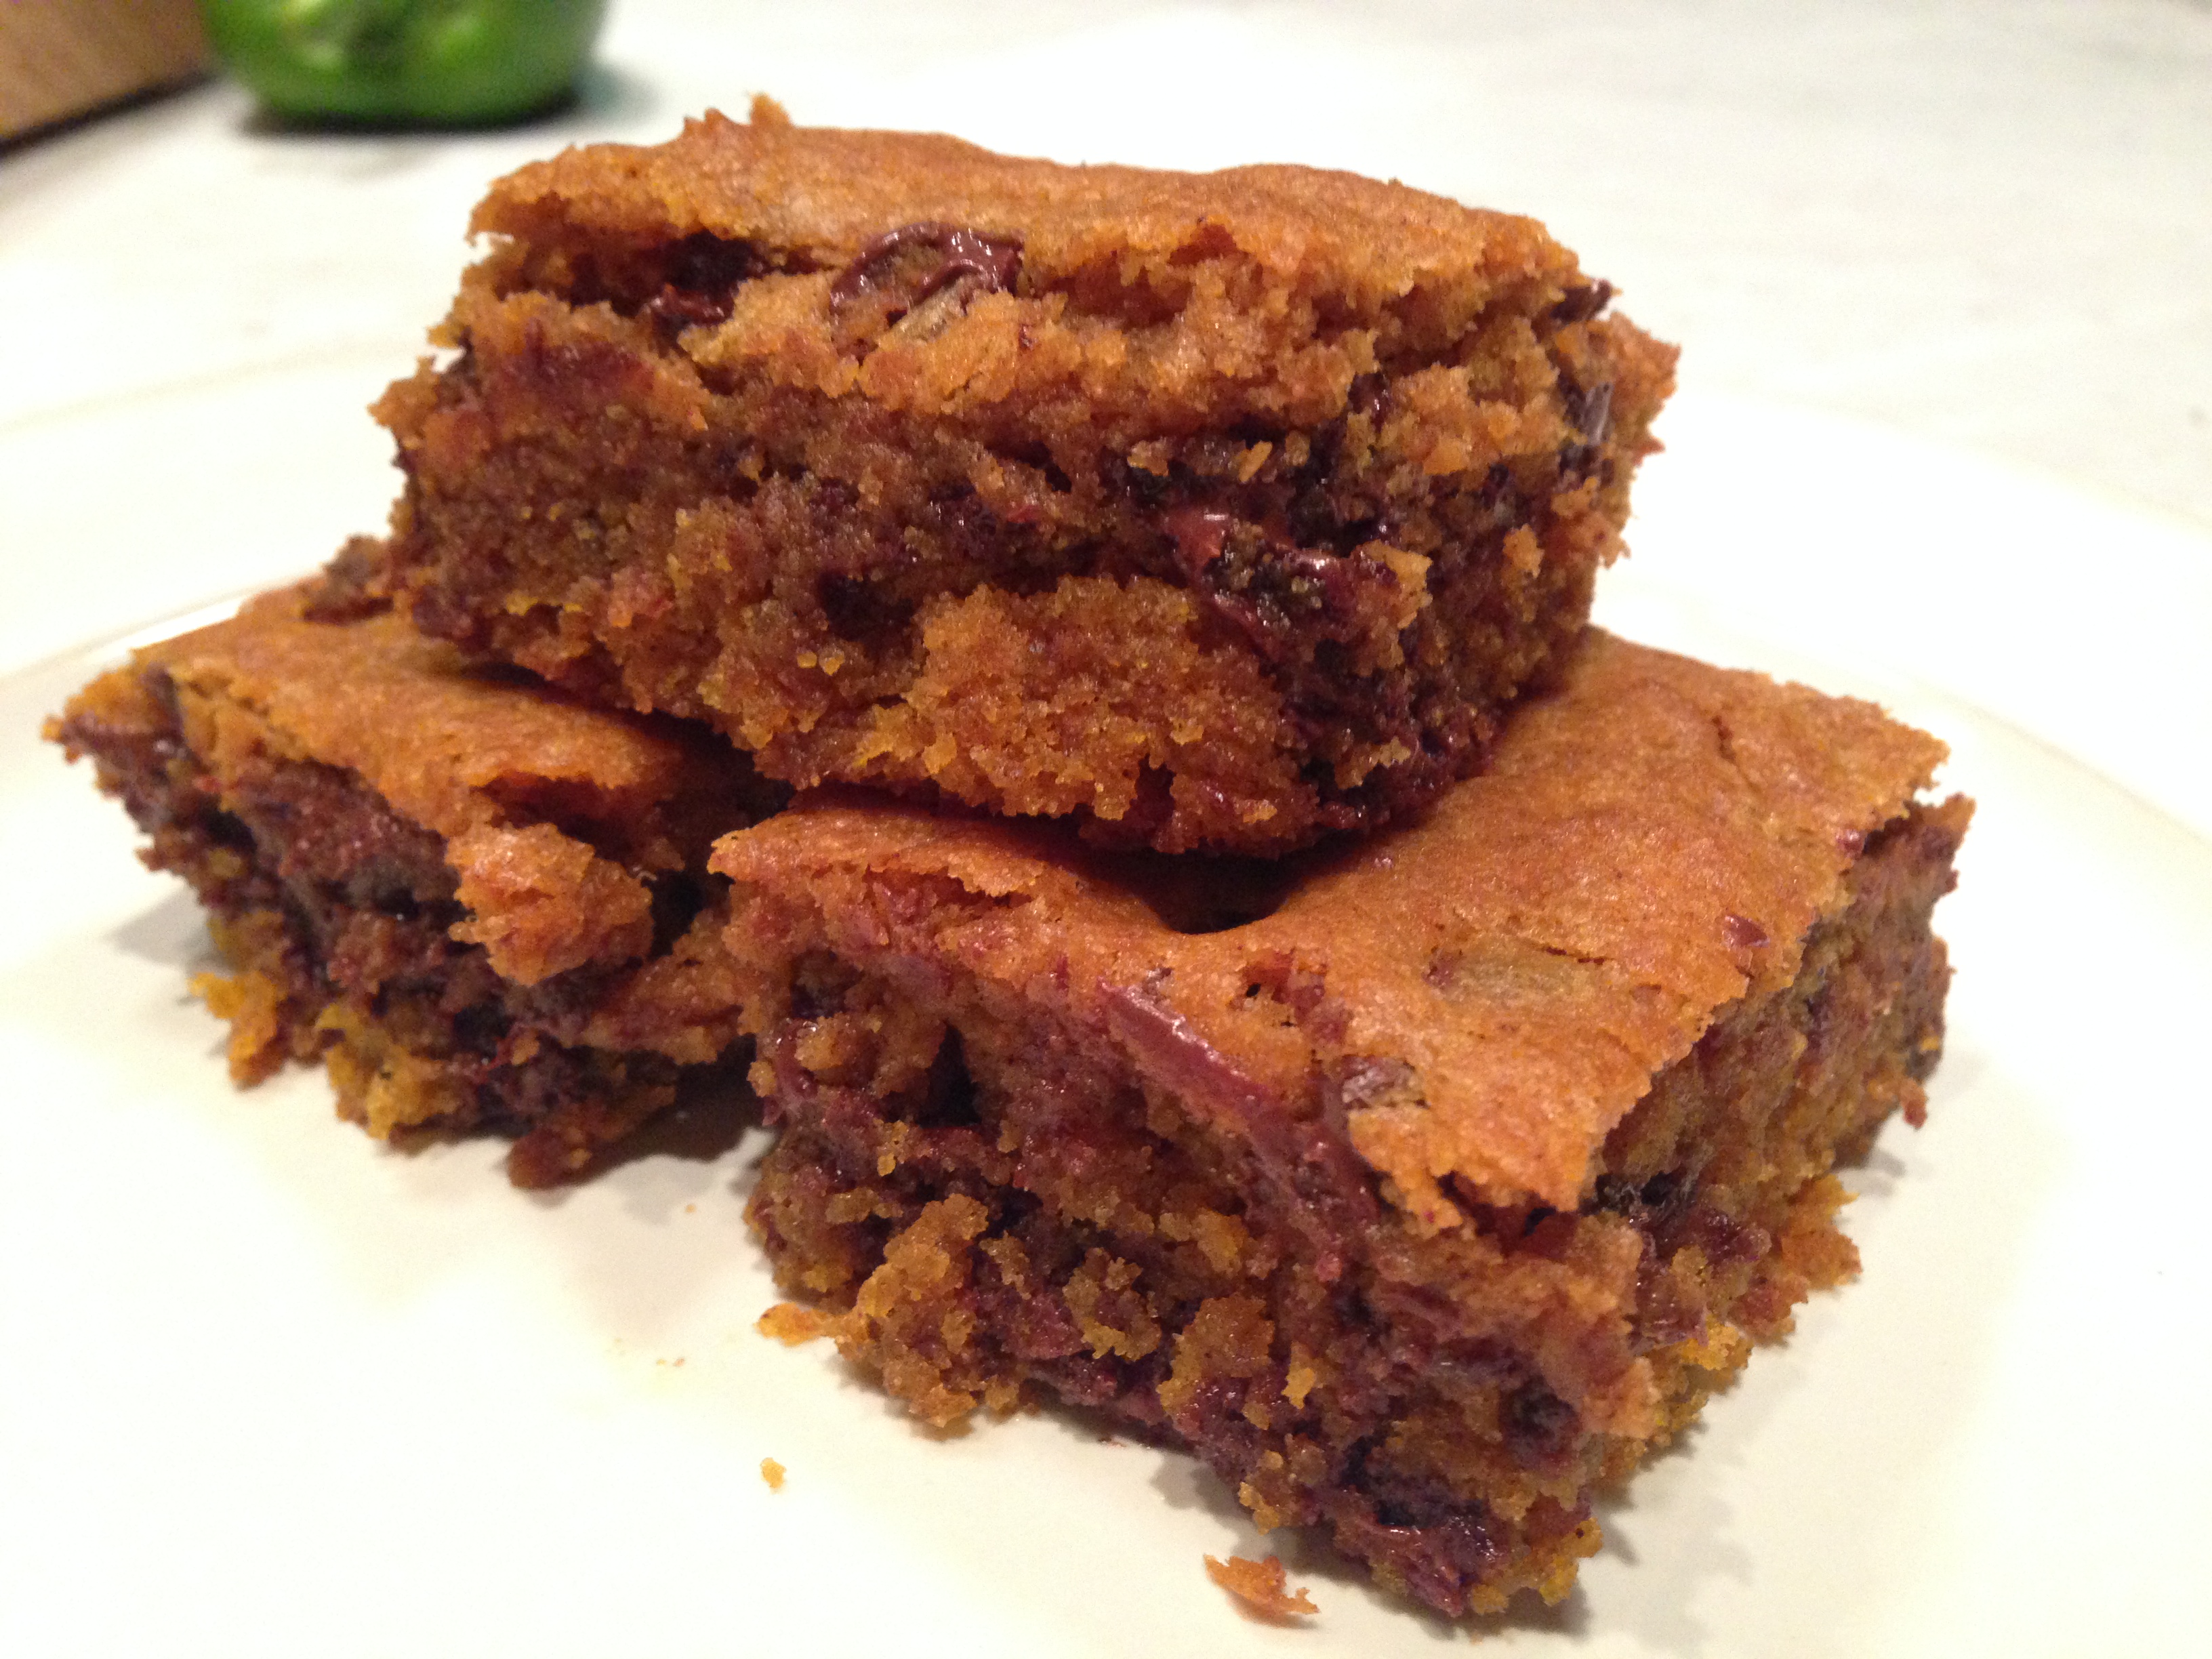
 This recipe for pumpkin bread is not my own however I did decide to add chocolate chips on my own because everything is better with chocolate! You can find this recipe all over the internet but it is one of my absolute favorites because it is moist and packed with pumpkin flavor. I also love that it makes 3 loaves which means its great to share with friends. If you’re in the mood for some festive fall flavors – this bread is for you!