Roasted Tomato Soup with Tortellini

photo-391
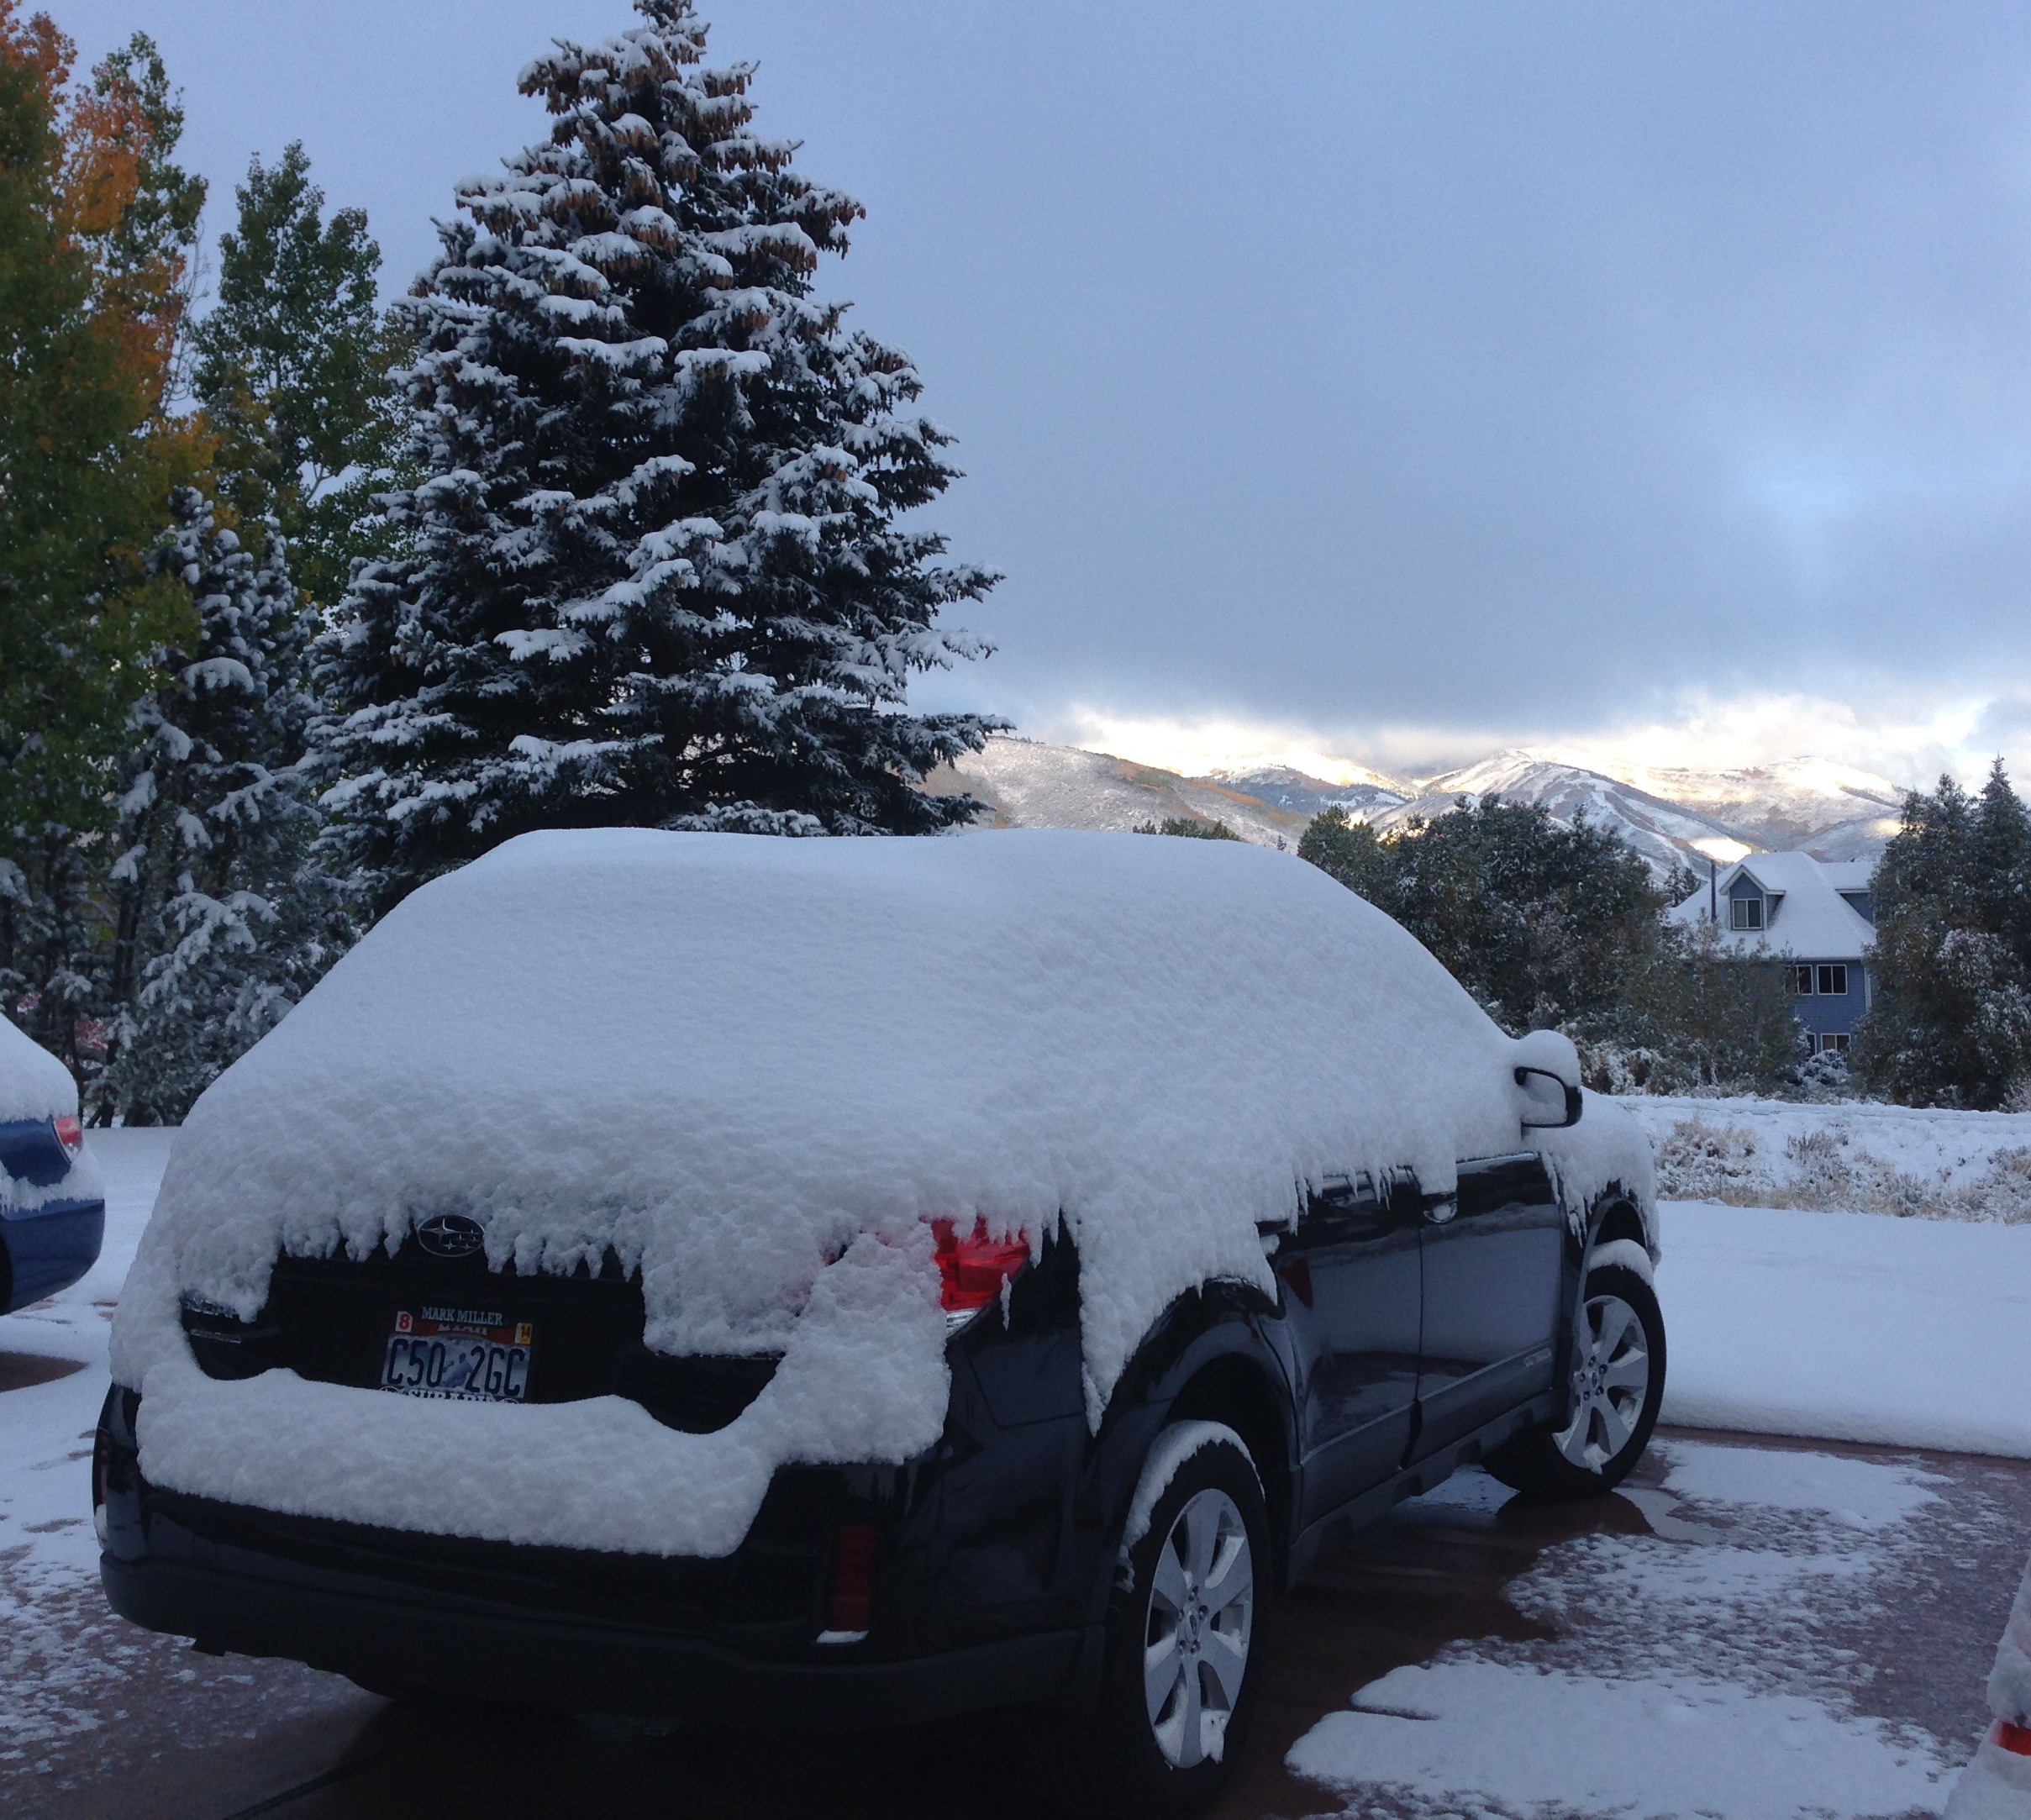
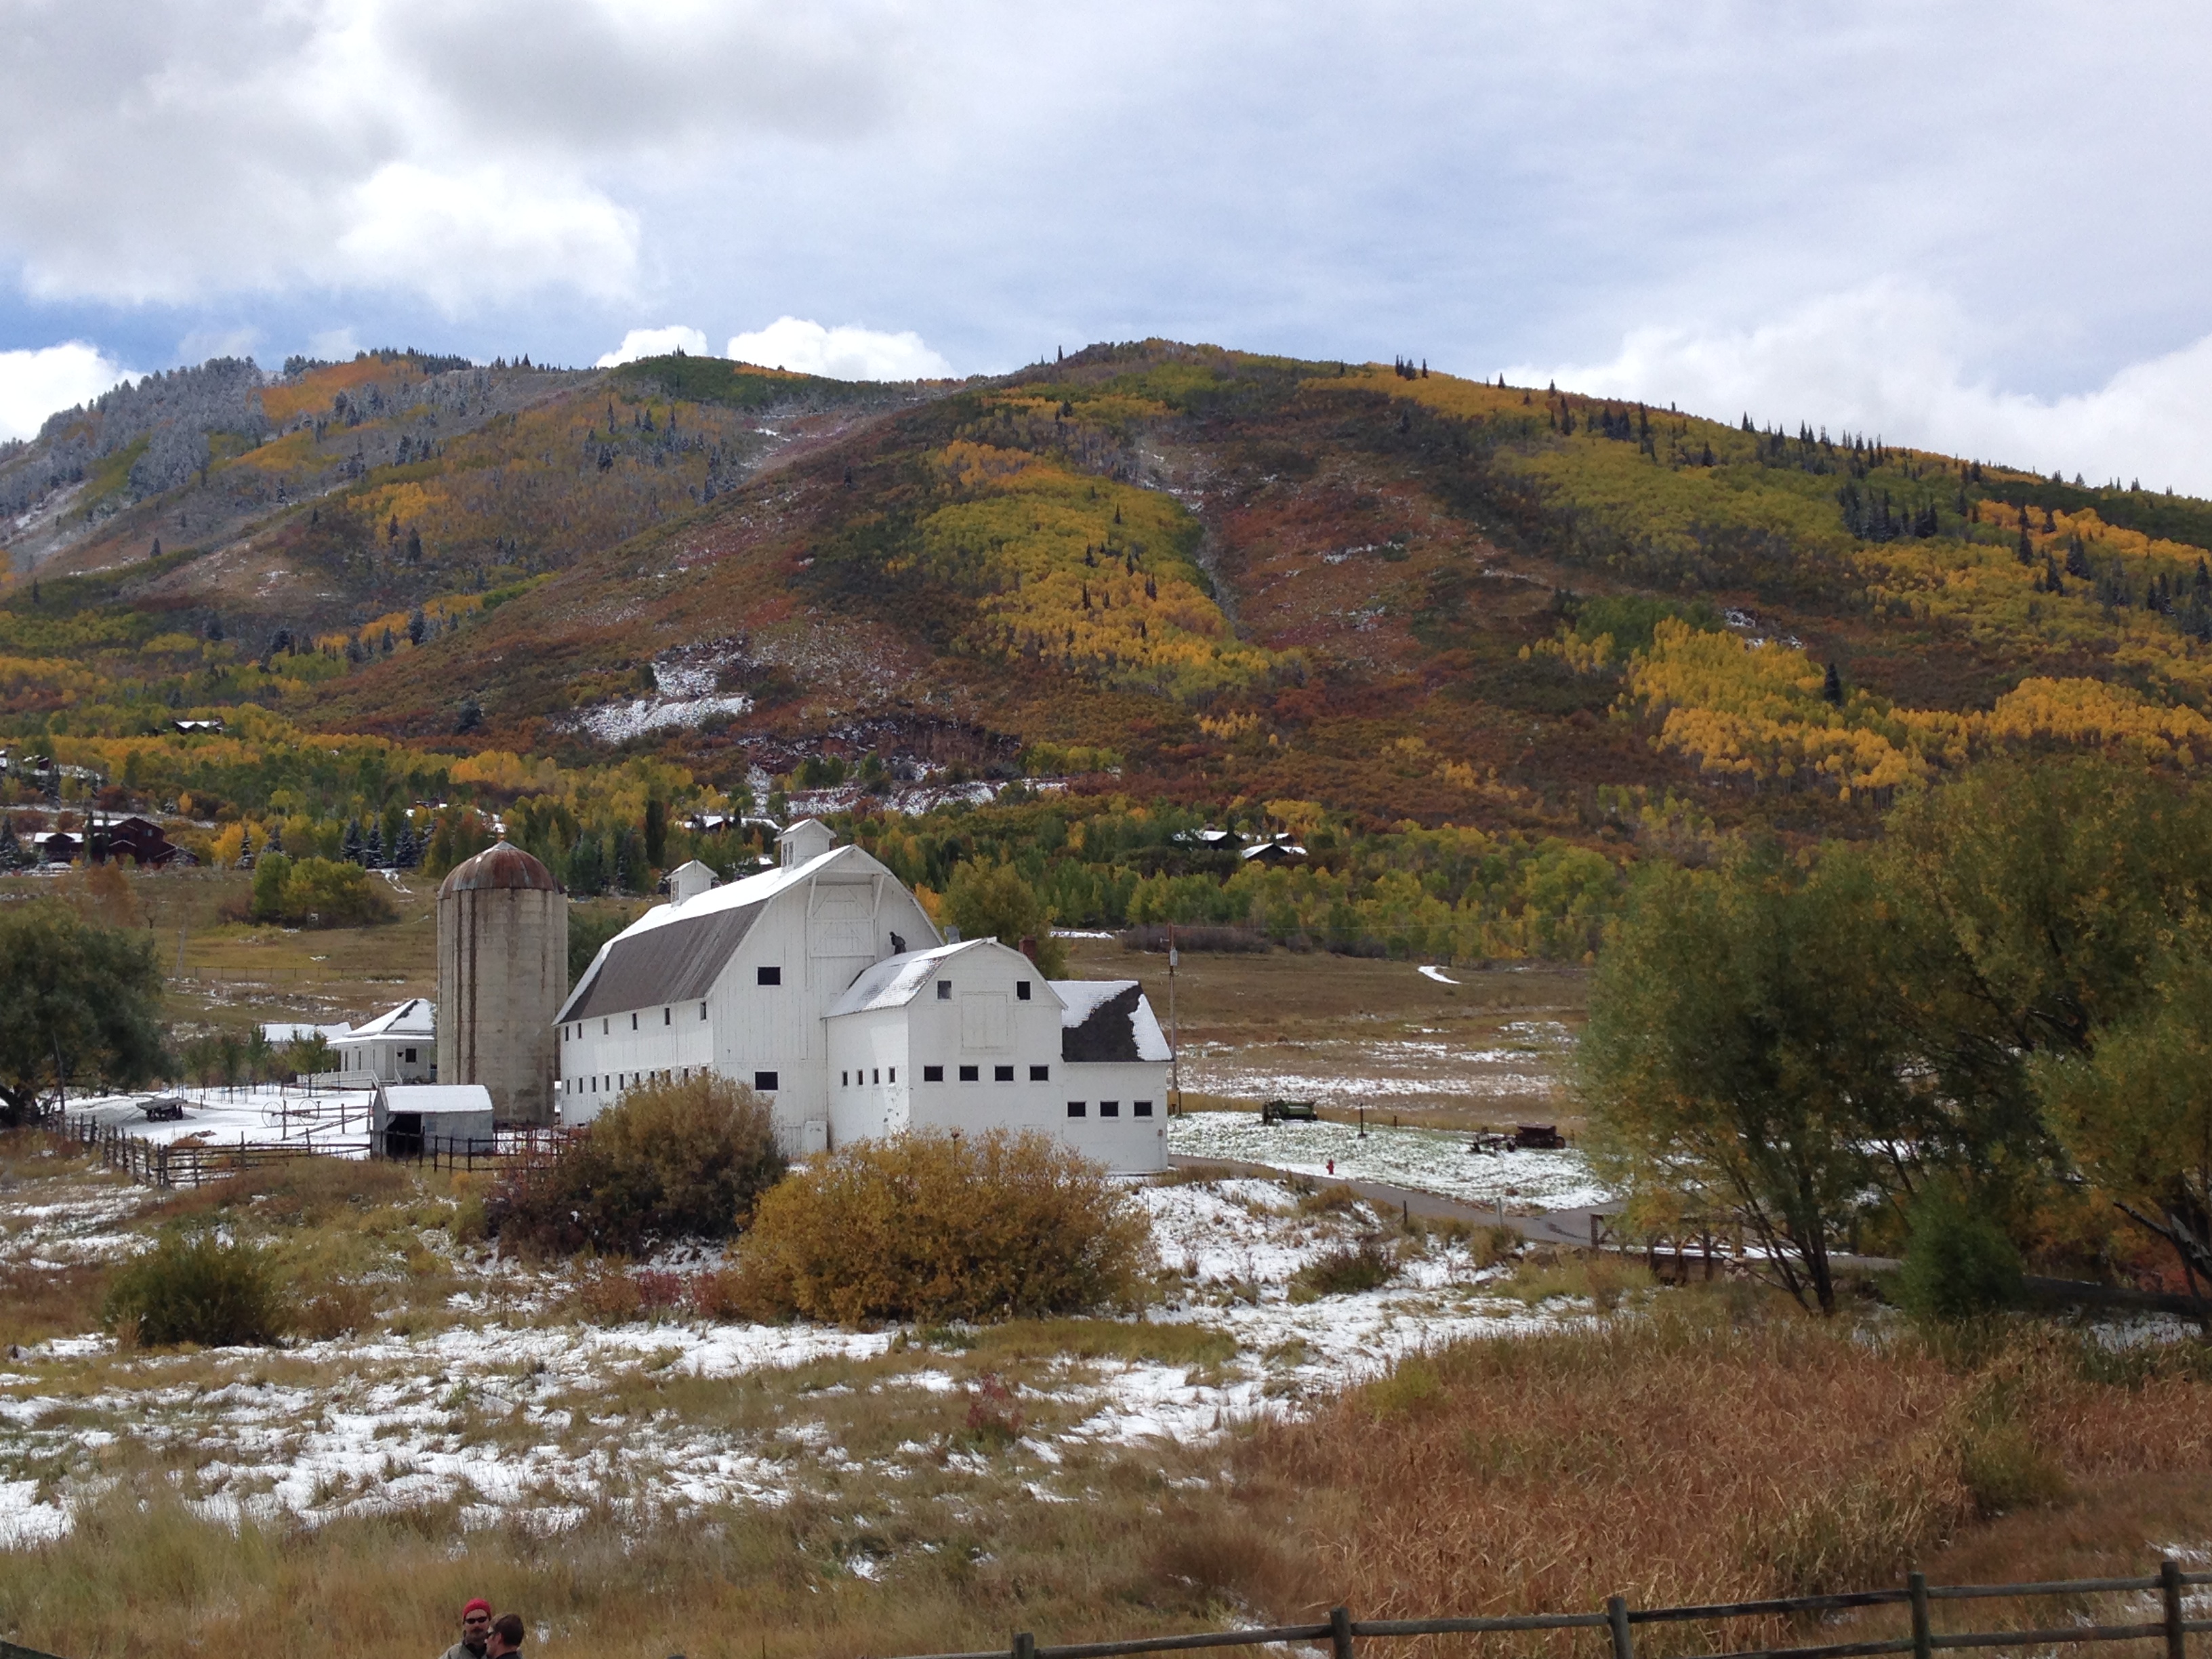
It seems as though winter is upon us in Park City. We’ve had two days of snow and cold weather (which we’ve had before this fall, but now it feels like its here to stay!) I spent part of my evening pulling out my winter boots and jackets and putting away my summer clothes. Then I enjoyed the rest of my night watching the Red Sox WIN the World Series!!! The World Series inevitably means the end of fall, day light savings is just around the corner and tomato season is on its way out. One of my favorite childhood winter lunches was tomato soup and grilled cheese. It was hearty, warm and satisfying on a cold day.

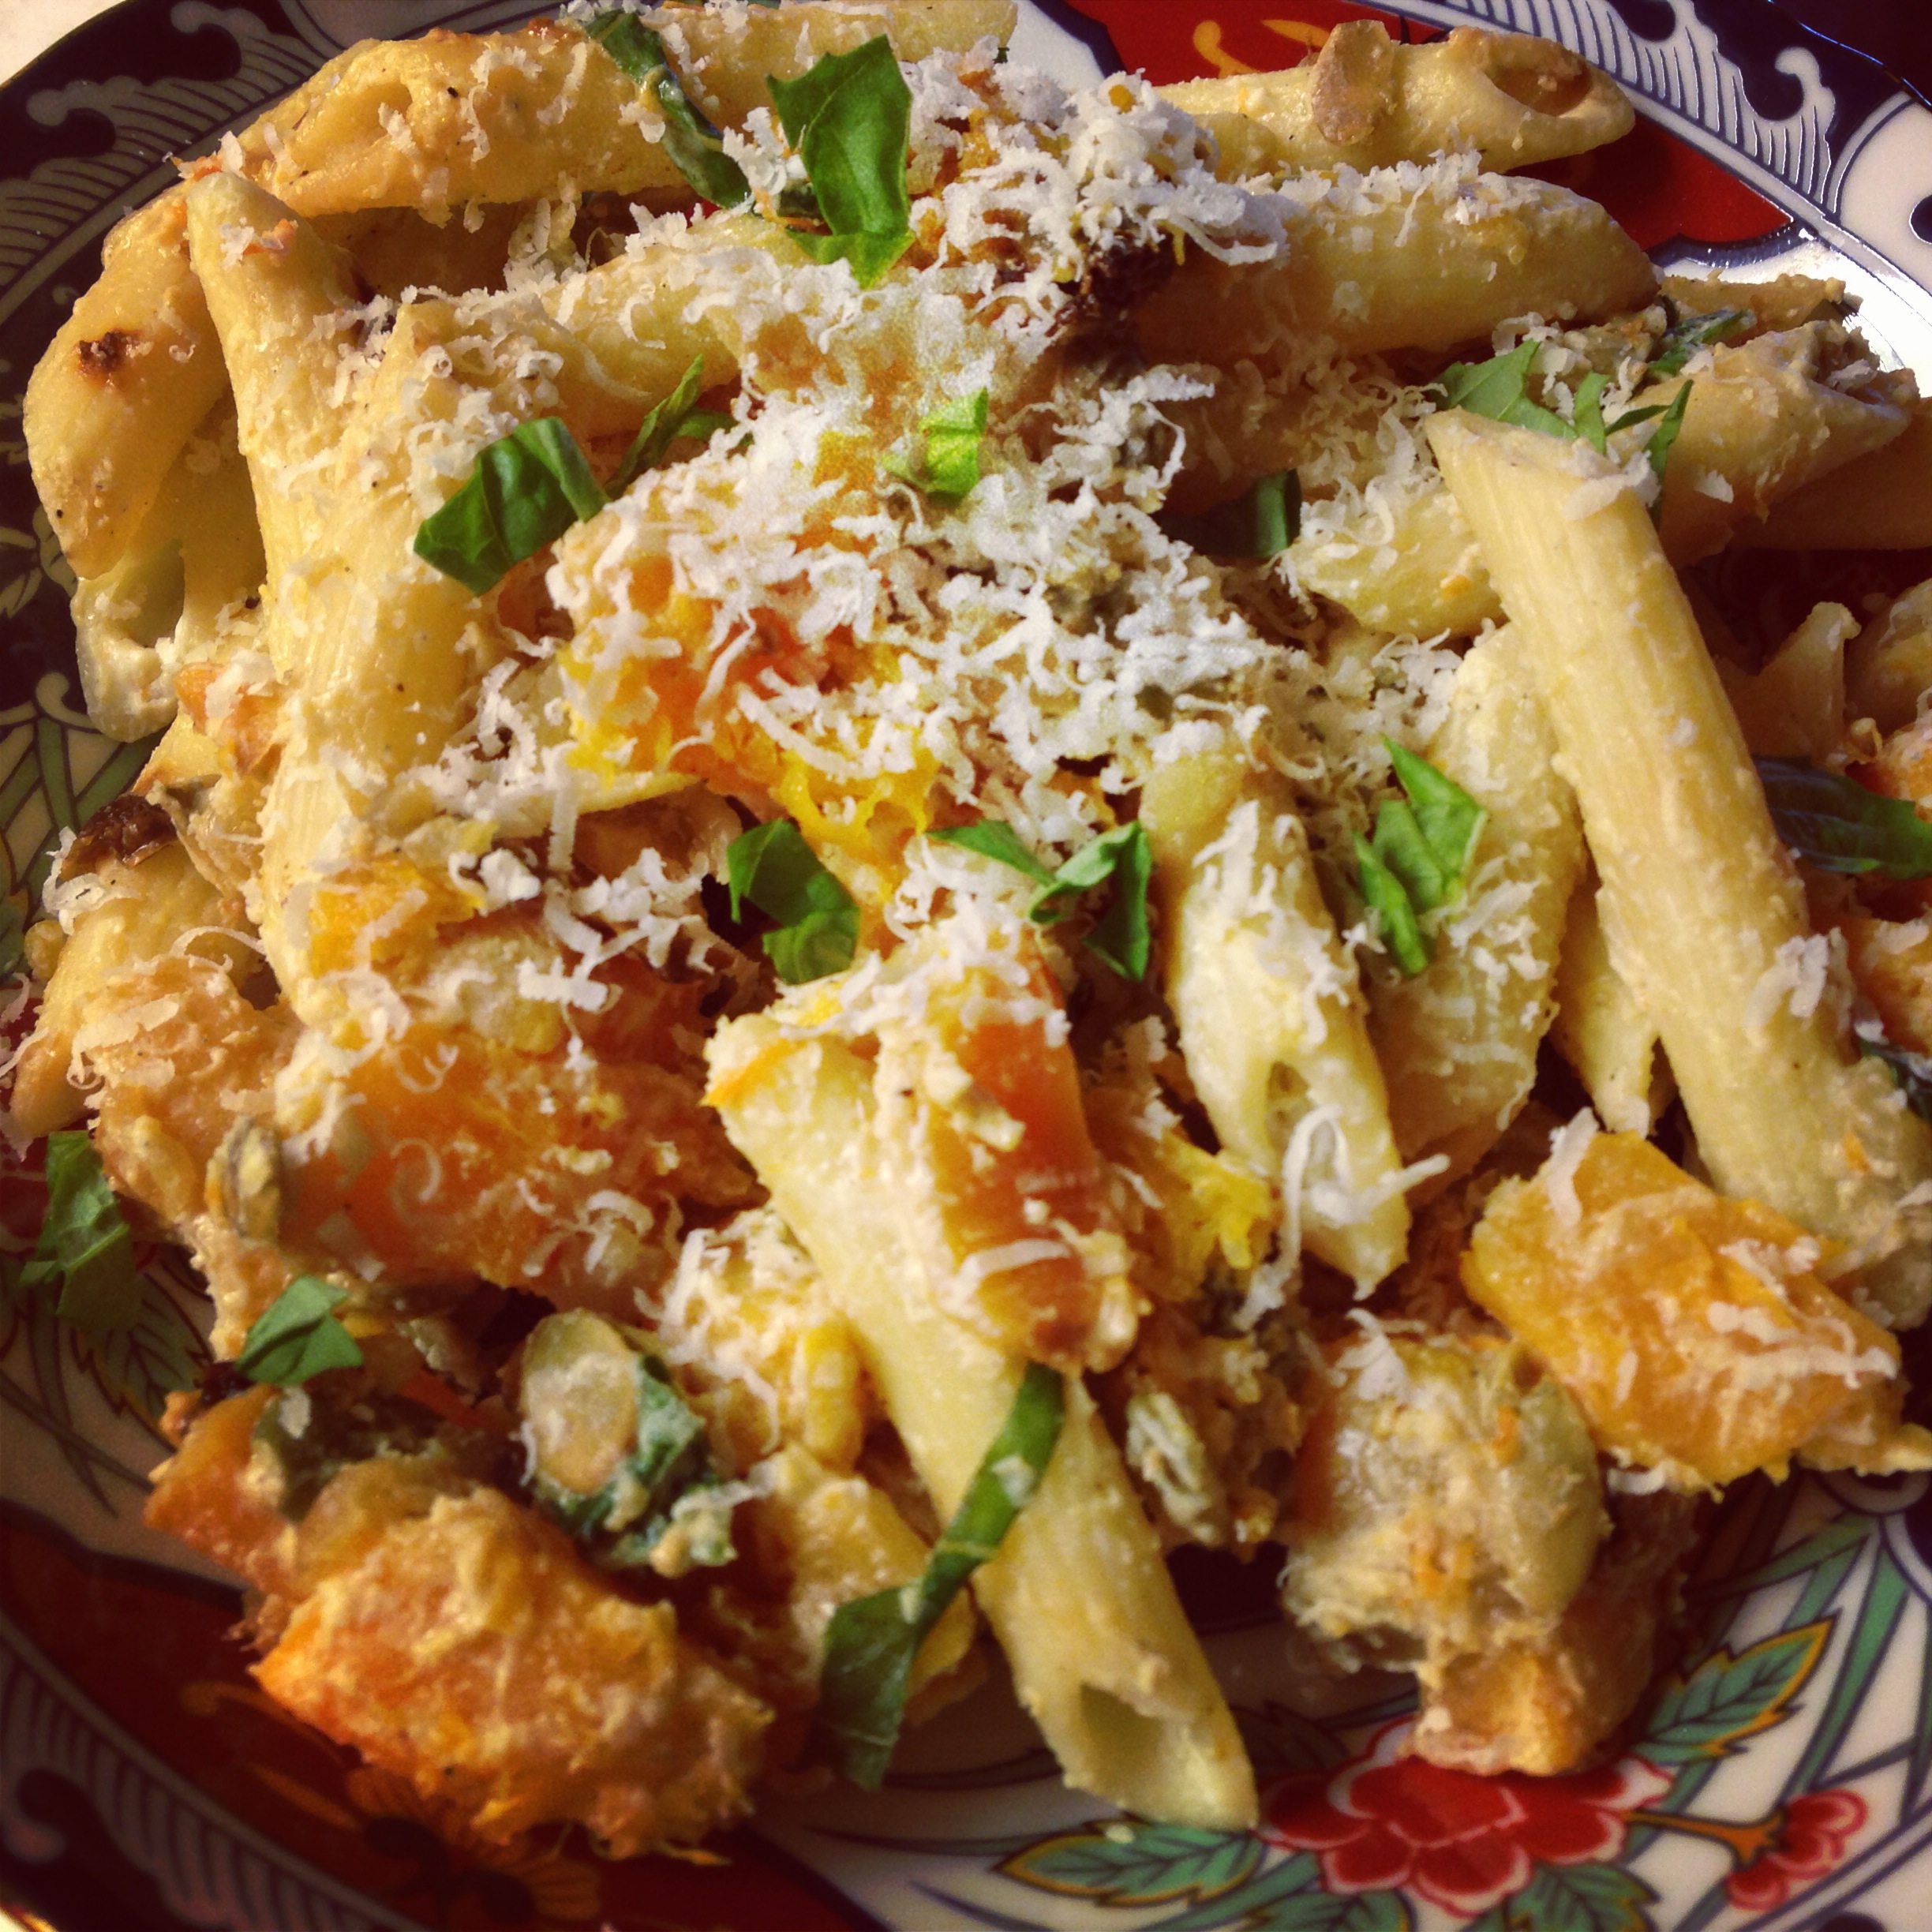
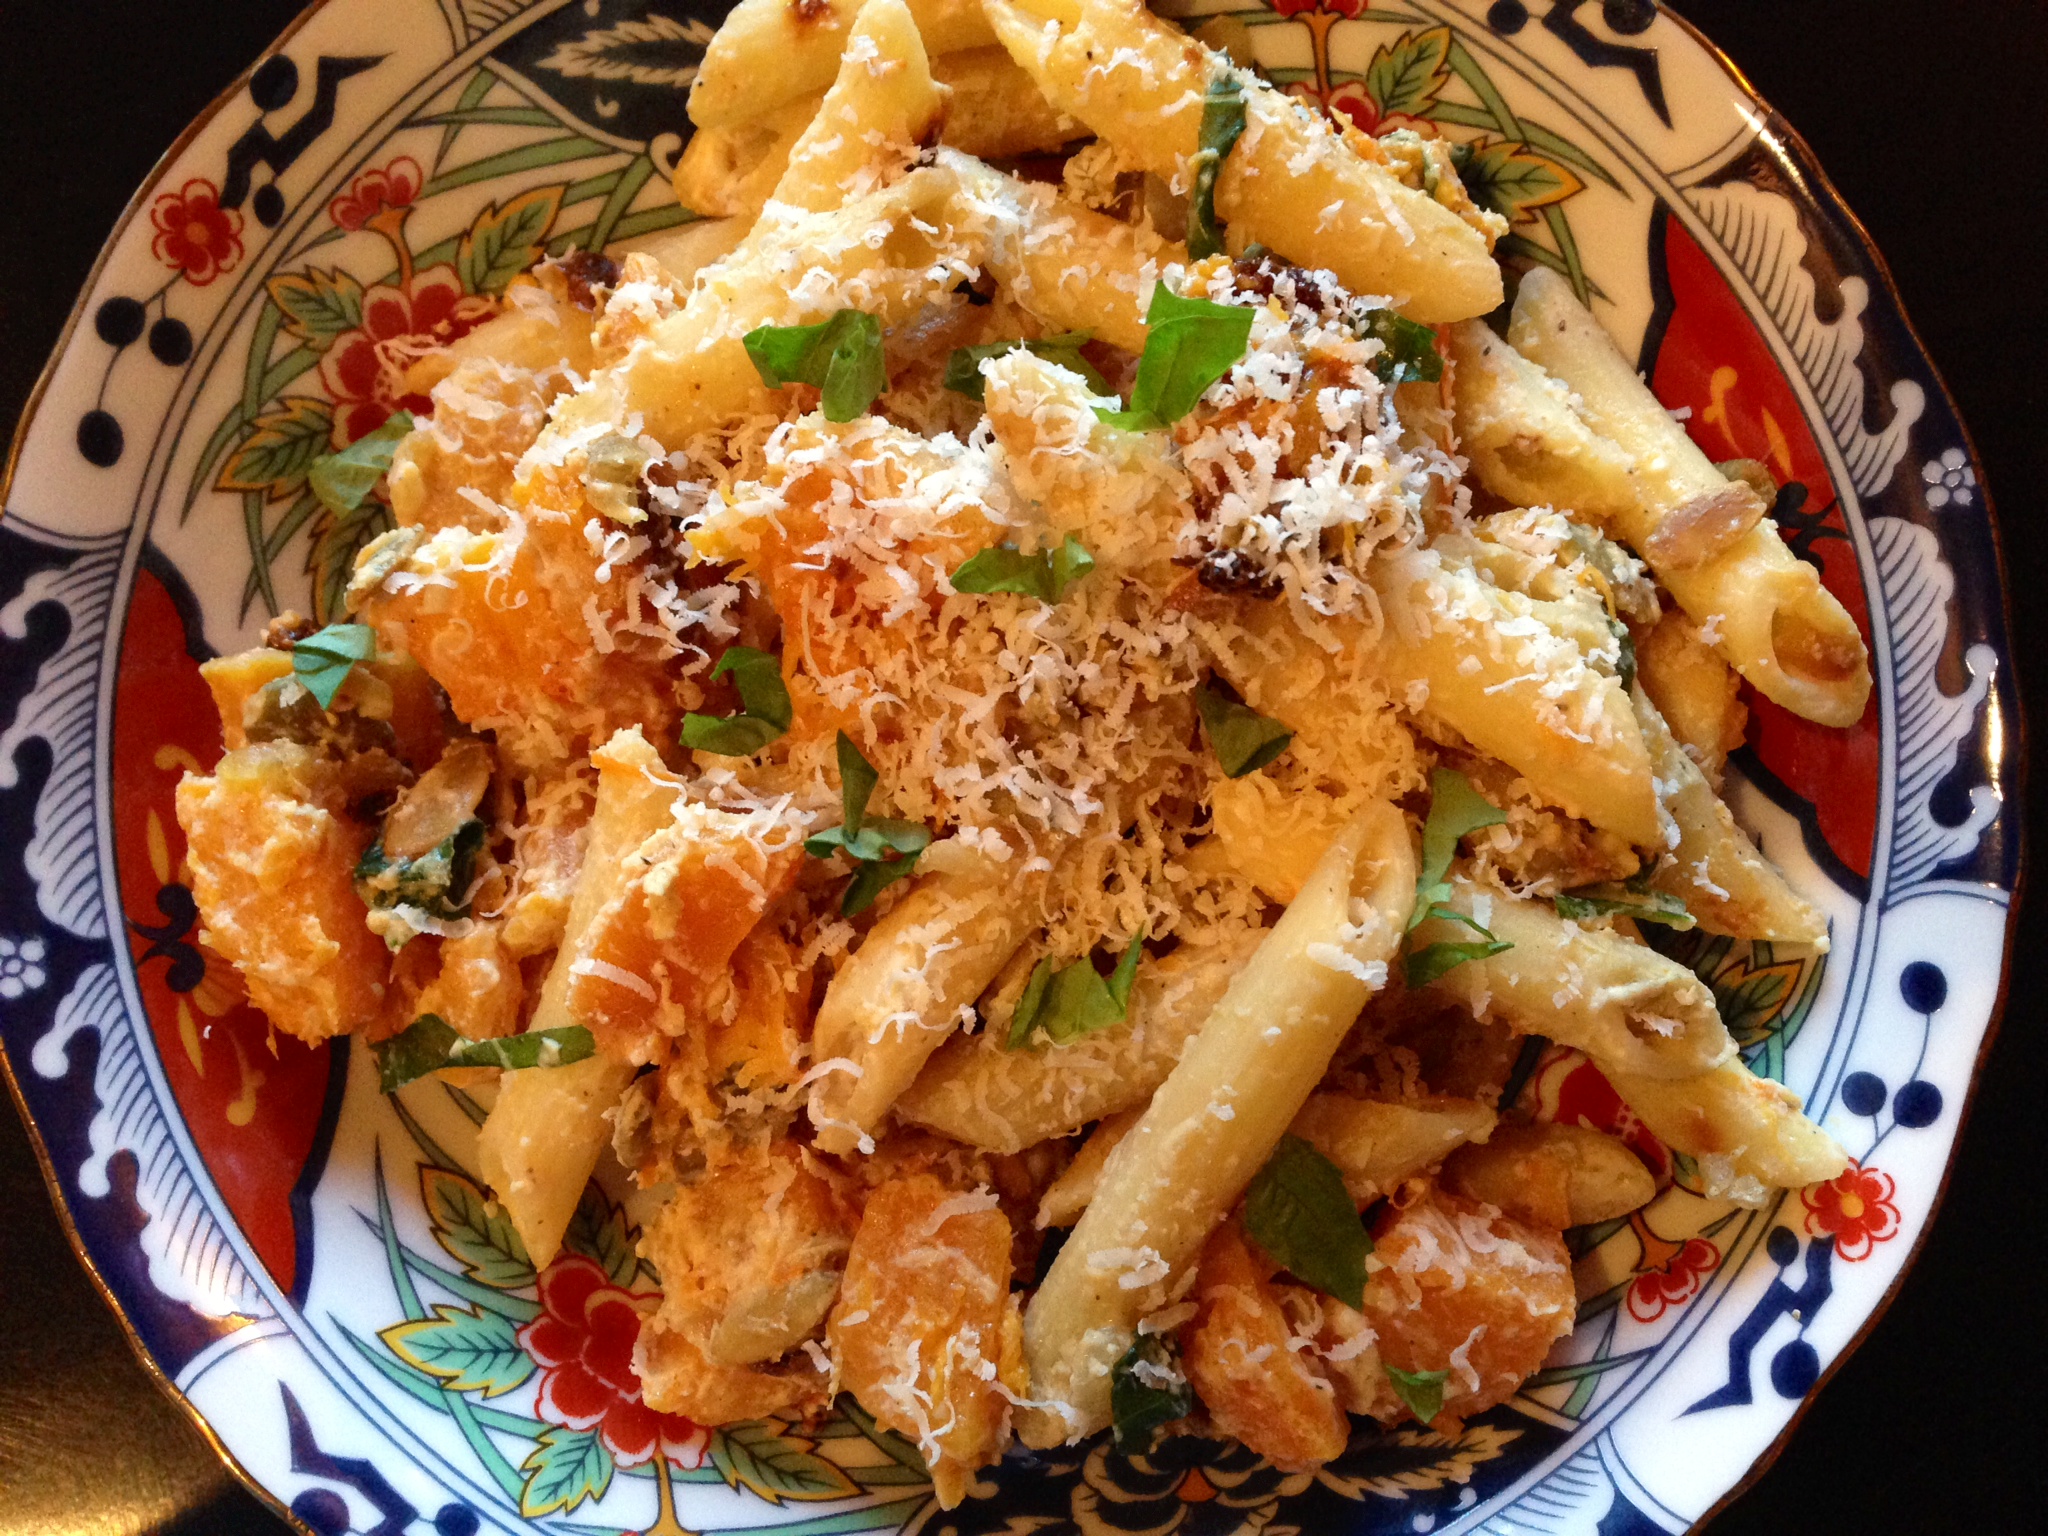
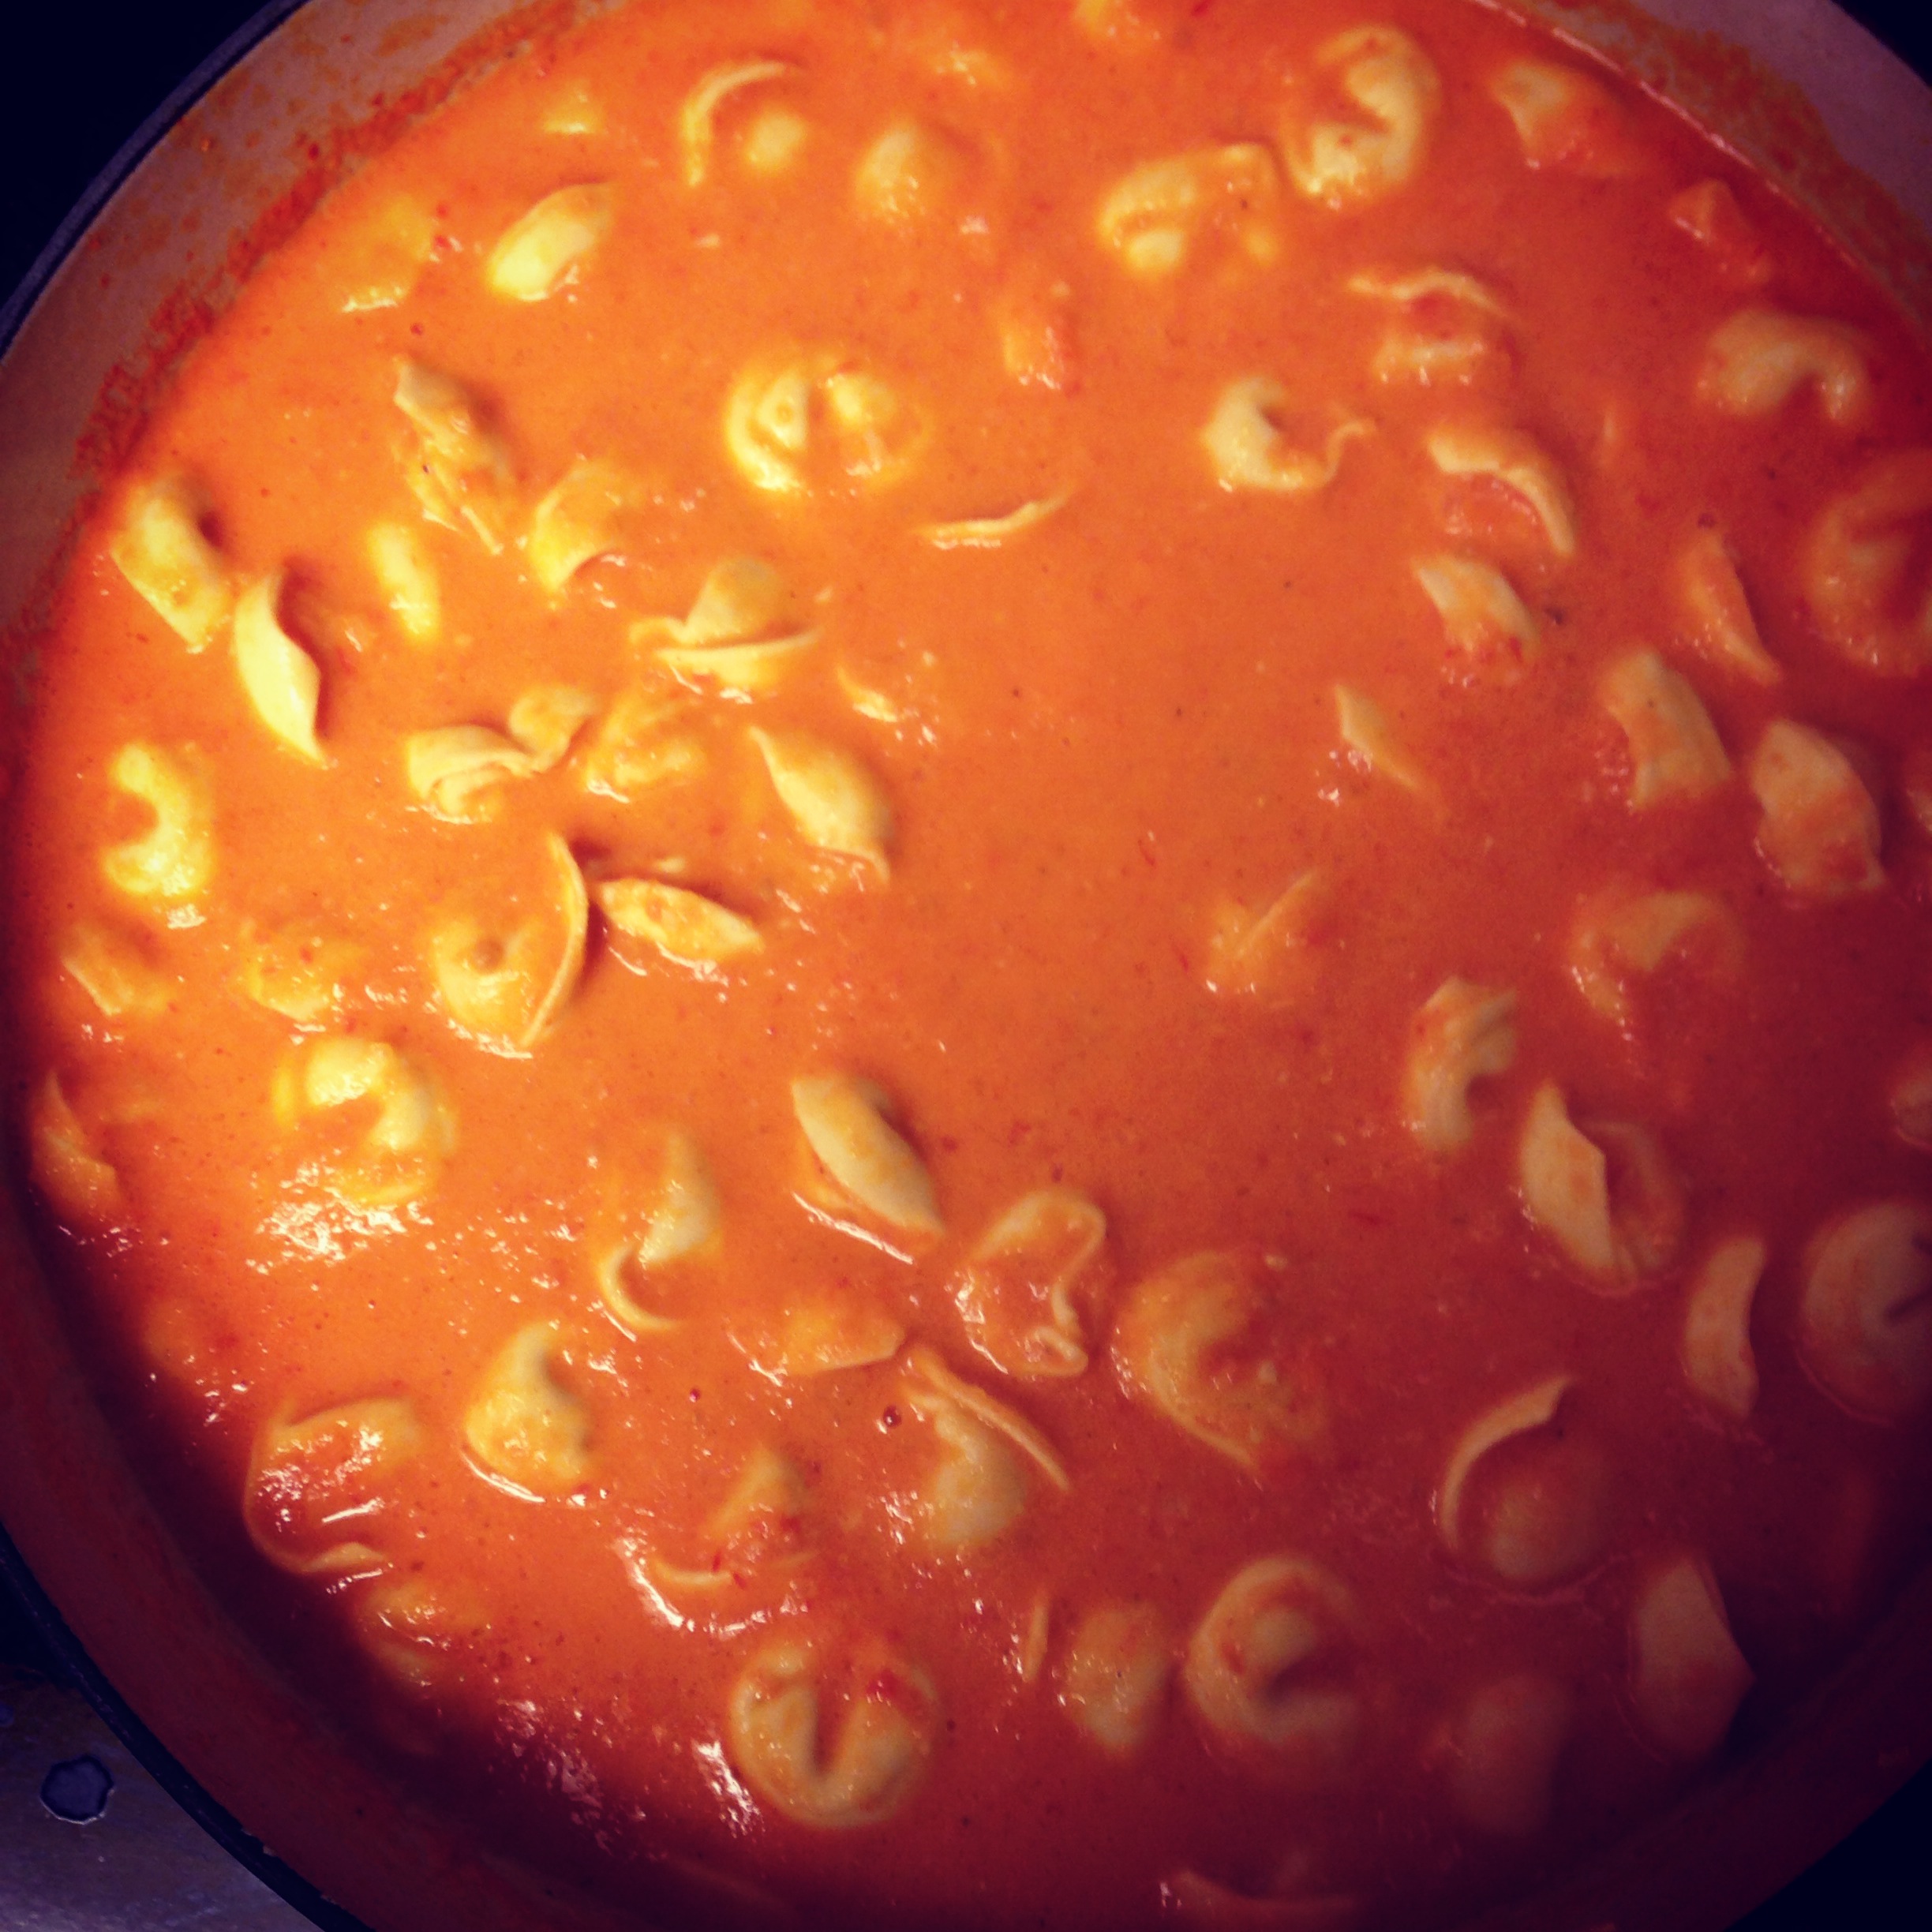
I decided to use up the last of my fall tomatoes and make up a batch of creamy tomato soup with a new twist- cheese tortellini goodness in the soup! Every bit has a burst of cheesy deliciousness against the rich tomato base. Its the perfect soul warming lunch or dinner that everyone will enjoy! Cheers!  photo-392Roasted Tomato Soup with Tortellini by Ski Boots in the Kitchen

Ingredients:

  • 8 -10 medium beefsteak tomatoes, cored and quartered
  • 6 cloves garlic, whole and skins on
  • 1 small yellow onions, chopped
  • 1/2 cup extra-virgin olive oil, divided
  • Salt and freshly ground black pepper
  • 1 quart chicken stock
  • 1 bay leaf
  • 1/2 stick butter (1/4 cup)
  • 3/4 cup heavy cream
  • 1 9oz package Buitoni three cheese tortellini
  • 1/4 cup chopped fresh basil leaves, optional
  • Shredded Parmesan cheese for garnish, optional

Directions:

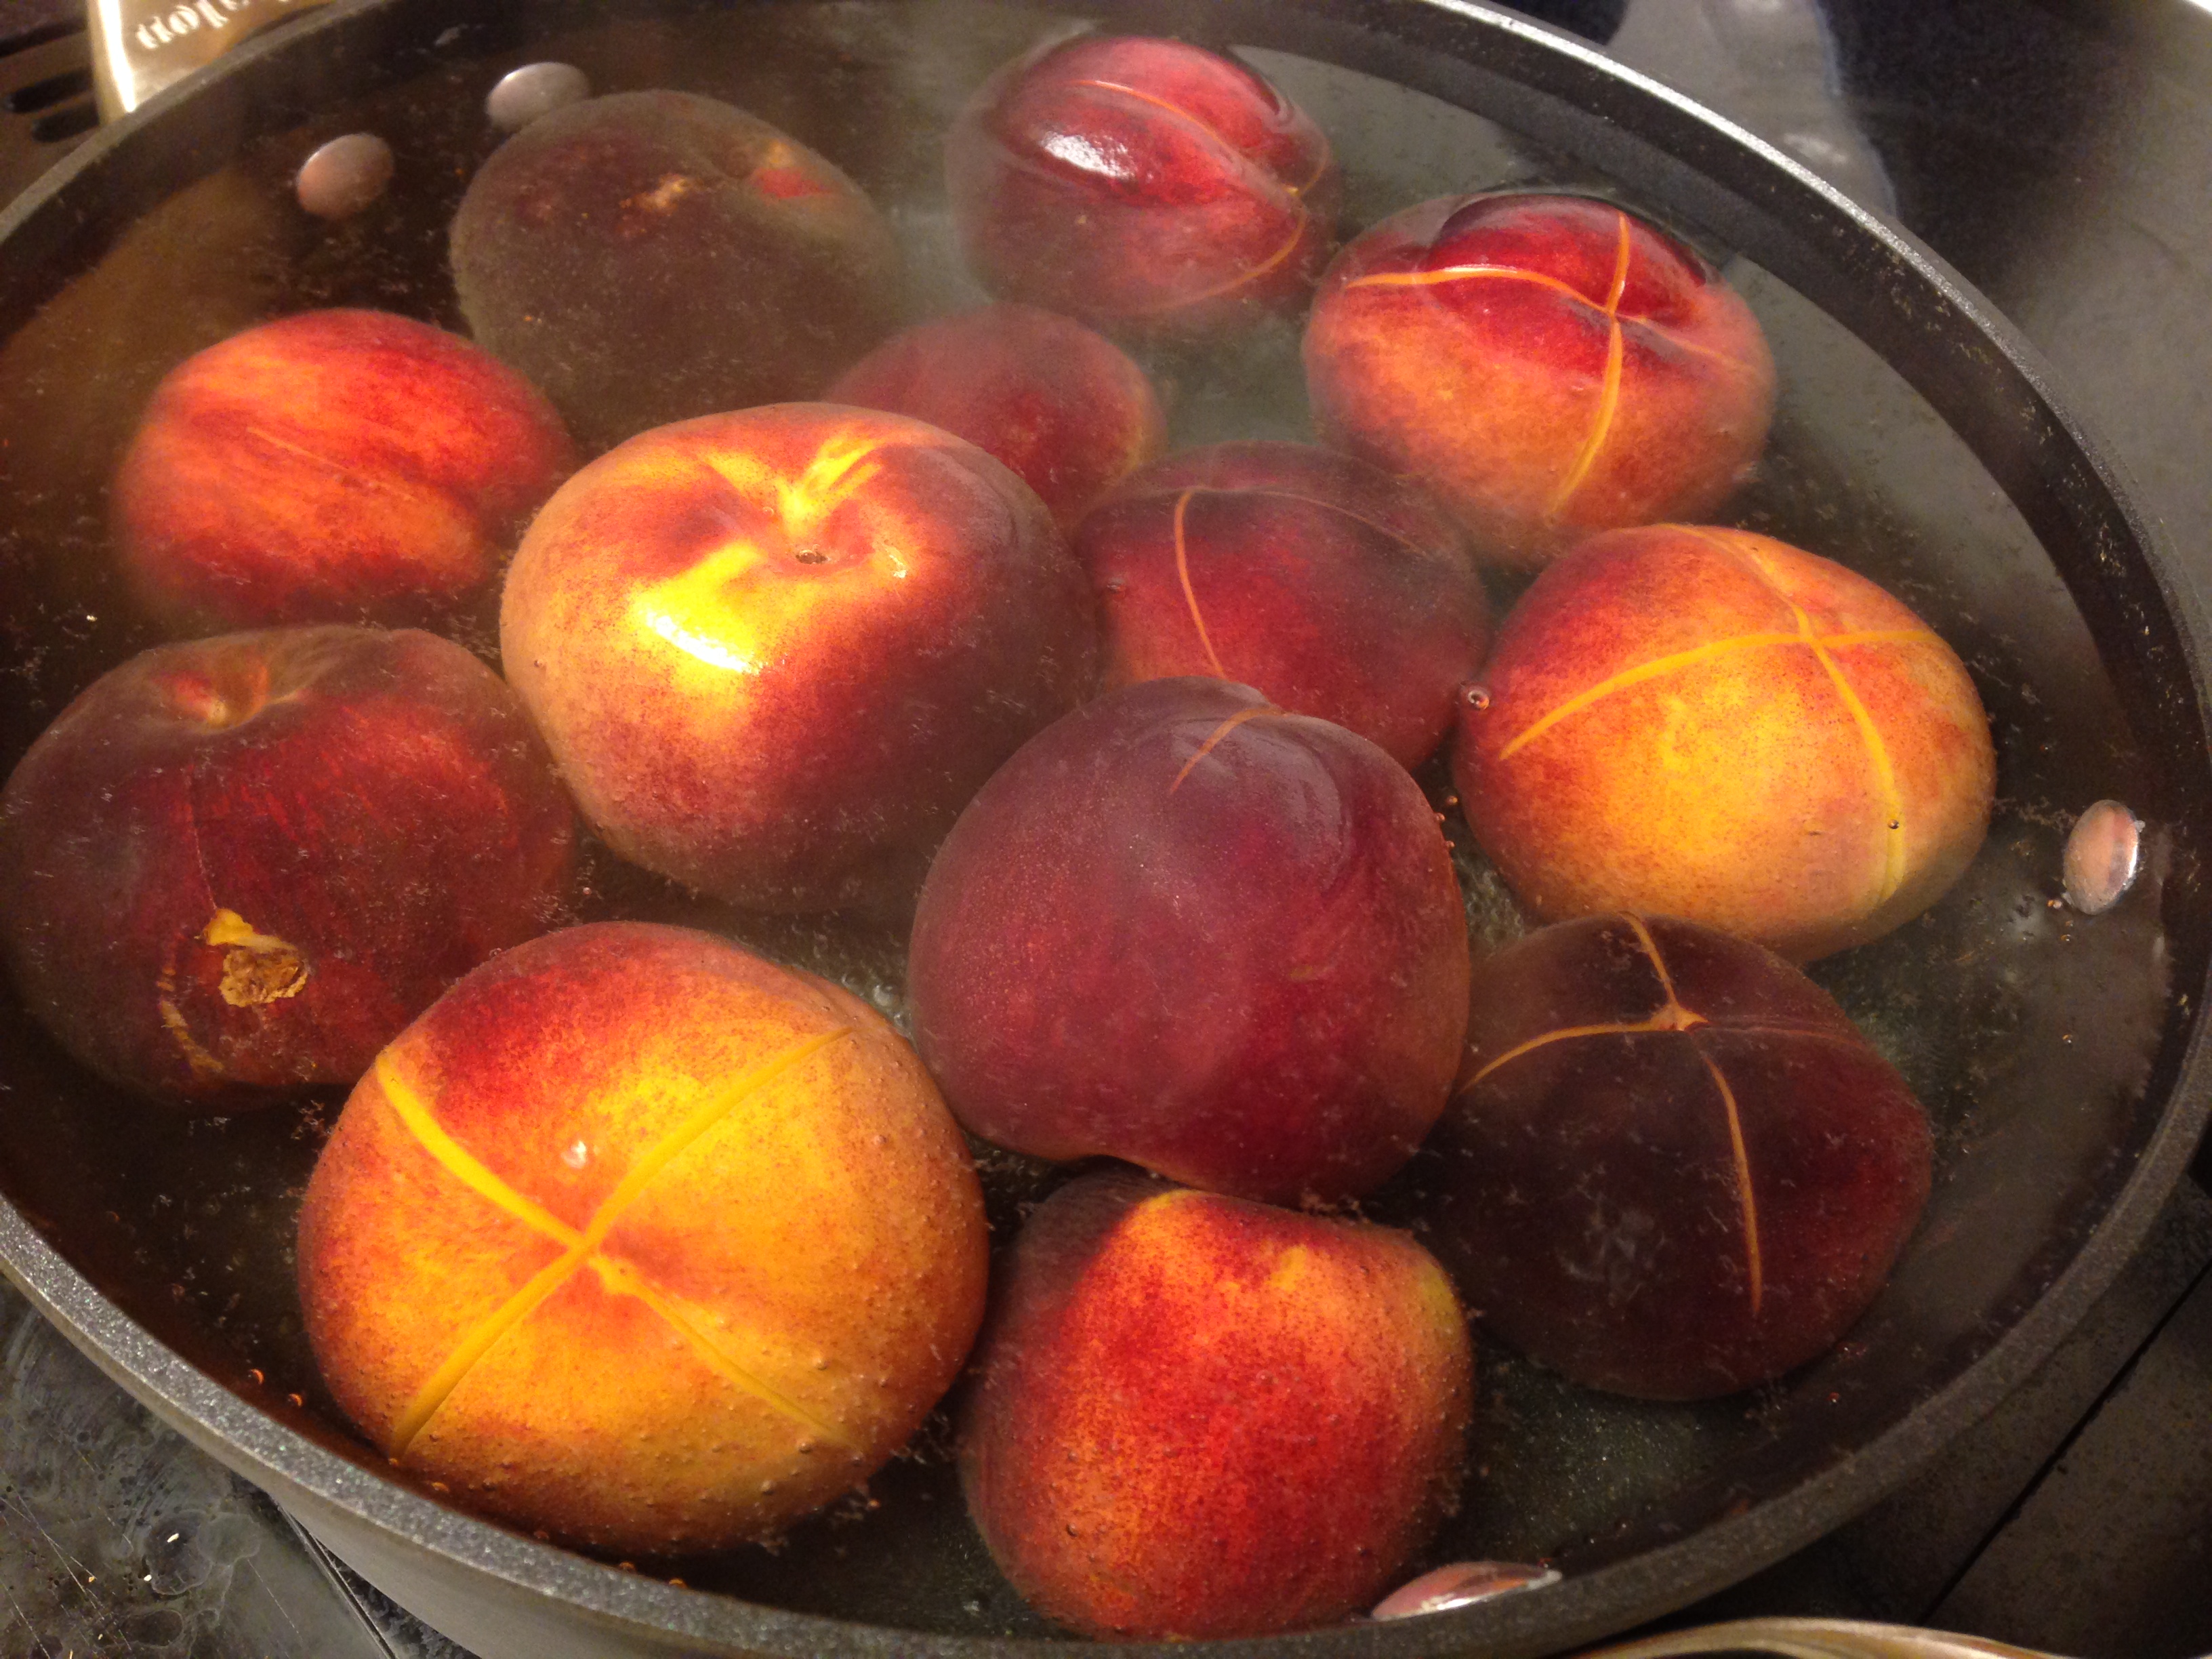
  1. Heat the oven to 400 degrees and line a rimmed baking sheet with foil. Lay the tomatoes cut-side down. Add the garlic cloves (with skins on). Sprinkle with olive oil and season with salt. Roast until the tomatoes are soft and caramelized, about 30-45 minutes.
  2. In a large stock pot saute chopped onion in 2 tablespoons of olive oil until translucent, remove from heat. When the tomatoes are done roasting, remove them from the oven and transfer tomatoes, pulp and juices to a large stock pot with onion. Squeeze the garlic from its skin and add it to the pot.
  3. Add 3 cups of the chicken stock, bay leaf, and butter. Bring to a boil, reduce heat and simmer for 15 to 20 minutes or until liquid has reduced by a third.
  4. Remove the bay leaf and use an immersion blender to puree the soup until smooth (or transfer soup to a regular blender and puree before returning to the stock pot). Return soup to low heat, add cream and adjust consistency with remaining chicken stock, if necessary.
  5. Add uncooked tortellini to the pot and continue to simmer on low heat for another 5-7 minutes. Season to taste with salt and freshly ground black pepper.
  6. Ladle into bowls and garnish with freshly chopped basil and shredded Parmesan cheese. Serve with fresh bread and enjoy!
Advertisement

Best Ever Birthday Carrot Cake

photo-384You know that cake you ask for every year on your birthday, the one that makes you feel special and loved and happy all at once? The kind of cake you go back for seconds, not only because its YOUR birthday but its YOUR favorite cake and its freaking delicious. This carrot cake is THAT cake for me, my mother’s best ever birthday carrot cake.

Today isn’t my birthday, (although you might have seen in my last post, Ski Boots in the Kitchen just turned 1!) but I decided I needed a little slice of heaven! Whenever I go to a restaurant and they have carrot cake on the menu, I have to try it. Let me tell you good carrot cake is hard to come by and I am usually disappointed because its not as good as PomPom’s recipe.

There are two places that know how to do it right- one of the best carrot cakes I’ve ever had is at Bol in Vail, Colorado and the second runner up is from the Deer Valley Bakery (they made my carrot cake wedding cake… can you tell yet I’m slightly obsessed?) but that’s it. If you come across a restaurant that has better carrot cake than these two places call me, I’ll fly anywhere just to try it.

Long story short, I’ve been tasting cakes made with carrot for years and this one will forever be my favorite not only because its outrageously delicious but it brings me back home and its always made with love! Happy celebrating and cake eating- Enjoy!

Best Ever Birthday Carrot Cake (click for printer friendly version)

Ingredients:

For the Cake:

  • 2/3 cup vegetable oil
  • 1 cup honey
  • 4 eggs
  • 1 teaspoon vanilla
  • 1 cup white flour
  • 1 cup whole wheat flour
  • 2 teaspoons baking powder
  • 2 teaspoons baking soda
  • 2 teaspoons cinnamon
  • 1/2 cup powdered milk
  • 2 cups grated carrots
  • 1 small can (8oz) crushed pineapple and juice
  • 1/2 cup golden raisins
  • 1/2 cup shredded coconut
  • 3/4 cup chopped nuts (walnuts or pecans) (optional)

For the frosting:

  • 1 8oz. block of cream cheese at room temperature
  • 1 (1/2 cup) stick of butter at room temperature
  • 2 teaspoons vanilla
  • 1 1lb box confectioners sugar

Directions:

  1. Pre-heat the oven to 325 degrees
  2. Grease, flour and line with parchment paper 3, 9″ round cake pans
  3. Using a hand mixer, combine oil and honey in a bowl. Add eggs one at a time, blend in vanilla.
  4. In a separate bowl, sift flour, wheat flour, baking powder, baking soda, cinnamon, and powdered milk.
  5. Blend the sifted dry ingredients with the honey, oil and eggs. Stir in remaining ingredients (grated carrots, crushed pineapple, coconut, raisins and chopped nuts).
  6. Pour batter into the 3 prepared baking pans and bake for 25-30 minutes. Let them cool completely on racks until ready to ice.
  7. While the cake is cooling, using a hand mixer, combine cream cheese, butter, confectioners sugar and vanilla in a bowl.
  8. When cake has fully cooled, place the first layer on a cake plate, spreading a thin layer of icing between each layer of cake. Spread a thin layer of icing around the outside of the cake and place in the fridge for 1 hour. This is called a “crumb layer” this will keep all the crumbs stuck to the first layer of frosting giving you the perfect looking cake when you frost the final layer! For more directions on how to perfectly frost a cake see here. Enjoy! 

Caribbean Cornbread

photo-370Happy 1 Year Blogiversary, Ski Boots in the Kitchen! It seems crazy to me that a year has gone by since I decided to start this blog. My first post was one of my favorite childhood fall recipes- Stew in a Pumpkin… I never thought a year later I’d be posting my 74th recipe! Stew in a pumpkin was a recipe my mom always made for us as kids and she still makes it for my nieces and nephew- we were always so excited to see the whole pumpkin on the table filled with stew! It’s usually a good excuse to carve pumpkins too!

Nothing says fall better than a Sunday afternoon watching football and eating some hearty stew or chili. One pot wonders, crock pot magic- whatever you like to call it soups are easy, cheap and feed all the hungry boys that have come over to your house, taken over your couch and drink all the beer! But serving chili without cornbread is like serving lamb without tuna fish… wait I think I meant to say, its like serving spaghetti with out meatballs (that was for all you Big Daddy movie fans…) anyways, you get the idea.photo-369What is worse than chili without cornbread? Dry, boring, stale cornbread that tastes like sawdust. That is kind of how I feel about a lot of cornbread, ohhh but not this recipe. The secret ingredients? Well not that secret because I’m going to tell you… Crushed pineapple, creamed corn and pepper Jack cheese!

This recipe was one my mother got out of Blanchard’s Cookbook but it was also one of the recipes I got at my bridal shower! Everyone that came to my bridal shower was asked to bring a copy of their favorite recipe for me to add to my collection! (that way I’ll always know your favorite dish when you come over for dinner!) This was the recipe Diane S. brought for me! So thank you Diane and mom for the recipe because it has become one of my favorites too! photo-371You’ll never think of cornbread the same after eating this deliciously moist and yummy treat! It would also make a great addition to your holiday meal and it freezes well too! So make up a big ol’ pot of chili, a big ol’ batch of cornbread and get the best spot on the couch. Enjoy!

Caribbean Cornbread (click for printer friendly)

Ingredients:

  • 1 cup all-purpose flour
  • 1 cup cornmeal
  • 2 tablespoons baking powder
  • 1 teaspoon salt
  • 1/2 pound (2 sticks) unsalted butter, at room temperature
  • 3/4 cup sugar
  • 4 eggs
  • 1 1/2 cups canned cream-style corn
  • 1/2 cup canned crushed pineapple, drained (small can)
  • 1 cup shredded Monterey Jack or mild white Cheddar cheese (definitely use Jack cheese!)

Directions:

  1. Preheat oven to 325 degrees.
  2. Butter and flour a 9-inch square glass cake pan. (You can use a metal cake pan, but glass works best).
  3. In a medium bowl, whisk together the flour, corn meal, baking powder, and salt, and set aside. (You can use gluten free all purpose flour from King Arthur for GF option).
  4. In a mixer, cream the butter and sugar. Add eggs on at a time, beating after each addition. If the mixture starts to look curdled at this point its OK.
  5. Add the corn, pineapple, and cheese, and mix to blend. On a low speed, add the dry ingredients and mix until blended well.
  6. Pour the batter into the prepared pan and bake until golden brown around the edges and a tester stuck in the center comes out clean, about 1 hour.

*to freeze- let cornbread cool completely before cutting and removing it from the pan. Double wrapping in plastic and freeze.

Recipe from Blanchard’s Table Cookbook.

Sauteed Cauliflower and Apples with Toasted Pecans

photo-362I’ve come to the conclusion lately that cauliflower is an underrated vegetable. Mostly, I used to think it was just plain boring- and yes, when you steam it and serve it plain, I think there is nothing worse.

Its lack of color is another one of its pitfalls- a white veggie on a white plate – need I say again… boring! But its all about how you cook it and fix it up that makes you realize, cauliflower is far from boring. This cauliflower recipe would make a great addition to your Thanksgiving or Holiday meal- the brightness of the apple is pleasing to the eye and gives the dish a hint of sweetness. photo-364The nutty taste from the browned butter and toasted pecans give it that holiday essence and amazing flavor that is sure to please even the picky eaters!

Sauteed Cauliflower and Apples with Toasted Pecans (Serves 4)

Ingredients

  • 1 small head cauliflower (about 1 1/2 pounds), cut into florets (about 5 cups)
  • 1 small shallot, chopped
  • 2 tablespoons olive oil
  • kosher salt and black pepper
  • 1 red apple (such as Fuji or Gala), thinly sliced
  • 1 teaspoon fresh thyme leaves or 1/2 teaspoon dried thyme
  • 3 tablespoons unsalted butter
  • 1/4 cup pecans

Directions

  1. Spread the pecans on a rimmed baking sheet and toast in a 350 degree oven, tossing occasionally, until fragrant, 6 to 8 minutes. Let cool, then roughly chop.
  2. Heat the oil in a large skillet over medium-high heat. Add the shallot and cook, stirring frequently, until softened, 3 to 4 minutes. Add the cauliflower and ¼ teaspoon each salt and pepper and cook, tossing occasionally, until golden, 4 to 6 minutes. Add the thyme and ½ cup water. Cover and cook 5 minutes. Add the apple, cover and continue cooking until the cauliflower is tender,  5 to 7 minutes more. Remove from heat and transfer to a serving bowl.
  3. In a small sauce pan melt butter on low heat until its completely melted. Once it is fully melted raise the heat to medium-high stirring constantly. The butter will begin to foam and brown. Once the butter has reached a medium caramel brown color remove from heat. Pour browned butter over Cauliflower and toss and sprinkle with the pecans.

Recipe adapted from Real Simple October 2013

Roasted Butternut Squash and Goat Cheese Penne

photo-155Ah Park City in the off season- beautiful blue skies, sunny crisp weather, snow capped mountains… and construction EVERYWHERE. I feel like the city votes that September through November will be the months they rip up every road, pipe and drain in the town, all at once and inconveniently detour you or make you wait in traffic. The only other place you can travel 1/2 a mile in 25 minutes is New York City during rush hour and the roundabout at Deer Valley.photo-153 photo-154The good news, you can go to the farmers market at the Canyons and buy a butternut squash the size of a small baby. Seriously, I bought one butternut squash and I was able to make three separate recipes with it: Soup, Pizza and Pasta! photo-359This recipe was adapted from my favorite little Italian chef, Giada. It’s actually quite genus and I wish I could say I came up with the technique. Pasta water and goat cheese combine to make a creamy and delicious sauce with little effort!photo-158The roasted squash and onions caramelize in the oven before they are tossed with the creamy penne and fresh basil. The last touch, toasted little pepitas that lend a lovely crunch. The original recipe called for walnuts but I much prefer the delicate flavor of the pumpkin seeds with this pasta.photo-156 I am always looking for tasty and filling vegetarian recipes to have on hand- vegetarian or not, this recipe is definitely one of my go-to, crowd pleasing pasta dishes! Enjoy!

Roasted Butternut Squash and Goat Cheese Penne (Serves 6)

Ingredients:

  • 1 (2-pound) butternut peeled, seeded and cut into 3/4-inch cubes
  • 1 sweet onion, diced into 1/2-inch pieces
  • 1 pound penne pasta
  • 1 cup (8 ounces) goat cheese- A large log is 11 oz I used the whole thing
  • 1 cup pepitas, toasted (pumpkin seeds)
  • 1 packed cup chopped fresh basil leaves
  • Finely grated Parmesan for garnish
  • Olive oil, for drizzling
  • Kosher salt and freshly ground black pepper
  • Vegetable oil cooking spray

Directions:

  1. Preheat the oven to 425 degrees F.
  2. Chop onion and squash, mix together in a bowl and drizzle with olive oil, season with salt and pepper to taste (just enough oil to lightly coat the squash 1-2Tbls.) Arrange in a single layer on a prepared baking sheet sprayed with vegetable oil cooking spray. Bake for to 40 to 45 minutes, tossing occasionally, until the vegetables are golden and cooked through.  Remove from the oven and set aside to cool slightly.
  3. While the squash mixture is cooling, bring a large pot of water to a boil over high heat. Add salt after the water boils then add the pasta and cook until tender but still firm to the bite, stirring occasionally, about 8 to 10 minutes.
  4. Reserve about 2 cups of the pasta water before draining the pasta. Put the pasta, goat cheese and 1 cup of pasta water in a large serving bowl. Toss until the cheese has melted and forms a creamy sauce.
  5. Add the squash and onion mixture, the pepitas and the basil. Toss well and season with salt and pepper, to taste.
  6. Garnish with Parmesan and serve.
Recipe adapted from Giada De Laurentiis

Glazed Brussels Sprouts & Apples in Beurre Noisette

photo-353We had another day of weird snow/rain/sleet- it was cool and crisp and all the tops of the mountains were dusted white. It makes for beautiful views and photos- but not so great when you’re leaving the store in the middle of a freak rain/snow downpour.photo-357 Hopefully everyone enjoyed their Columbus Day- the state of Utah apparently doesn’t recognize this holiday, kids were in school and most businesses where open – unless of course you’re the state liquor store which uses any excuse to close. photo-354As I posted a few weeks ago, I’ve decided to post some great Thanksgiving recipes in the month of October! Over the weekend I asked people to post to Facebook what their favorite side veggie is and I got an overwhelming response for BRUSSELS SPROUTS – which are also one of my all-time favorites! If you haven’t seen my recipe for Maple-Roasted Brussels Sprouts with Rutabaga and Toasted Hazelnuts its also a winner! photo-356As promised here is an amazing recipe for Brussels Sprouts and thank you to everyone that gave their input for their favorite veggie! These Brussels sprouts are so delicious, the Beurre Noisette (which is just fancy French for browned butter- but sounds so much better) gives the recipe a wonderful nutty flavor that is balanced by the apple cider and nutmeg. photo-358The best part about cooking with fresh apple cider? Cocktails! I know you can see that little bottle of Myers’s Rum peeking out from behind the jug of cider. It always seems to find its way out of the liquor cabinet when there’s cider around, plus cooking is always better when you’re sipping on wine or my favorite fall cocktail, Rum & Cider. Thanks to the unwavering recipes from Food52 this rich, creamy and delicious dish is one of the better Brussels Sprouts recipes I’ve tried! Enjoy!

Glazed Brussels Sprouts and Apples in Browned Butter and Cream (Serves 4)

Ingredients:

  • 1 pound Brussels sprouts
  • 1/8 teaspoon celery salt
  • 1/2 cup butter (1 stick)
  • 2 ounces heavy cream
  • 2 pieces bacon, chopped
  • 1 apple, peeled, cored and chopped
  • 4 teaspoons apple cider
  • 1/2 teaspoon fresh grated nutmeg; more to sprinkle at the end

Directions:

  1. Wash and trim the stems from the brussels sprouts. Cut in half, discarding any discolored leaves. Steam brussels sprouts over salted water until fork tender (7-10minutes). Drain and lightly sprinkle and toss with celery salt. Set aside.
  2. In a separate pan, cook bacon until crisp- transfer bacon to paper towels to drain, then chop coarsely.
  3. Over low heat, melt butter in a heavy pot. Once the butter is completely melted, turn heat to medium high. It will quickly begin to foam. Keep stirring the butter and moving around the pan. Once it hits the color and flavor you want (don’t let it turn black and burn- medium to dark brown is good), immediate reduce the heat to low and add the cream. Stir to completely incorporate the cream. Immediately add the apple pieces, bacon and brussels sprouts. Don’t worry if the sauce looks like its starting to separate- continue stirring!
  4. With a large spoon, keep turning the brussels sprouts mixture in the cream/noisette sauce while the sauce thickens and the brussels sprouts mixture becomes glazed with the sauce (5-10 minutes). The apple pieces should be just cooked, not mushy. Add the apple cider and nutmeg. Continue to carefully turn the mixture in the glaze for another 2-3 minutes.
  5. Turn out in a serving dish or the individual plates and add a pinch of nutmeg over the dish.

Recipe from Food52

Bourbon-Poached Peaches

photo-149Wow, what a weekend to be a New England sports fan! My throat hurts from yelling with excitement! After a beautiful Friday and Saturday in the mountains, Sunday was raining and gray and perfect for sitting inside to watch two amazing games. photo-143The Patriots and The Red Sox both coming back with two big wins in the last seconds of the game. To celebrate- we ate some delicious drunk fruit! I used some really nice bourbon for this recipe thanks to High West, the whiskey distillery in town. photo-142These Bourbon poached peaches are a great way to preserve summer fruit and it is easy to can them and store them for up to a year! The recipe also works well with pears too if you prefer!photo-140 If you’re looking for a quick dessert option to satisfy your sweet tooth, throw these over some ice cream, frozen yogurt or greek yogurt for an easy treat! Enjoy!

Bourbon Poached Peaches:

  • 4 pounds peaches (about 12)

  • 2 1/2 cups sugar

  • 2 vanilla beans, split and scraped, pods reserved

  • 1 cup bourbon

Directions:

  1. Bring a large pot of water to a boil. Meanwhile, prepare an ice-water bath. Cut a small X into the bottom of each peach. Boil peaches for 1 minute.

  2. Transfer to ice-water bath. Let cool slightly. Peel and pit peaches, and cut into 3/4-inch-thick wedges.

  3. Bring 4 cups water, the sugar, and vanilla seeds and pods to a boil in a large saucepan, stirring until sugar dissolves. Add peaches and bourbon. Simmer until peaches are tender but still hold their shape, 5 to 7 minutes.

  4. Transfer peaches to a large bowl using a slotted spoon. Cook syrup over medium heat until reduced by half, about 15 minutes. Pour over peaches. Let cool completely.

  5. Divide peaches among five 12-ounce sterilized jars using a slotted spoon. (Jars can be sterilized by boiling in water, submerged, for 10 minutes.) Pour syrup over tops. Add vanilla pods to jars if desired. Seal jars, and refrigerate until ready to use or can and process in a hot water bath for long term shelf storage. photo-352Recipe from Martha Stewart Living, August 2011.

Chicken Enchiladas with Spicy Pumpkin ‘Mole’

photo-137I wasn’t a huge fan of Mexican food before I moved west. New England isn’t exactly known for its authentic Mexican cuisine (unless you think Taco Bell is authentic) But here in Park City we’ve got more Mexican restaurants in a 10 mile radius than you can count on two hands. photo-131I’ve become a huge fan of mole- there is a restaurant in Salt Lake called the Red Iguana that has some of the best Mexican food I’ve ever had and is known for their 8 different kinds of Mole. To make homemade classic mole you’ll need at least 3 different types of dried and fresh chilies that are only found at specialty food stores and a list of spices longer than a football field. photo-133Other than chilies and spices mole is usually made with either chocolate, peanuts or pepitas (pumpkin seeds) giving the sauce a rich base. Needless to say making real mole is labor intensive! photo-132So when I’m looking for some homemade mole that’s quick and easy I use this recipe which calls for pureed pumpkin as the base giving it an authentic feel with out all the fuss. Oh yeah, the creamy chicken enchiladas aren’t bad either! photo-134Top them with some spicy pepper jack cheese and pumpkin mole- this is a super delicious week night or weekend dish! Last weekend I made these enchiladas for some friends after going to a beautiful fall festival at High Star Ranch in Kamas! photo-148There was live music and local vendors selling a variety of goods like hand thrown ceramic mugs, peppered jellies, and apple pies!!! photo-150There was even livestock roaming around, this adorable mule enjoyed nibbling at our hair and jackets when we went over to see it. photo-146 These enchiladas can be made with or without the pumpkin mole, top them with classic enchilada sauce (store bought from a can) or just sprinkle with cheese, bake and enjoy! Chicken Enchiladas:

  • 1 whole rotisserie chicken, shredded (about 2-3 cups of chicken)
  • 1 block of cream cheese
  • ½ cup of fresh salsa
  • 1 can black beans, drained and rinsed
  • 2 tomatoes, diced
  • 1 red bell pepper, diced
  • 1 medium sweet onion, diced
  • 1 jalapeno, diced
  • 1 package of shredded pepper jack cheese or sharp cheddar
  • 1 package of flour tortillas (or corn if you want it to be gluten free!)

For the pumpkin mole:

  • 2 cups or 1 can (15 ounces) pumpkin puree
  • 1 cup tomato sauce (pureed tomato sauce from the can)
  • 1 cup low-fat sour cream
  • 2 tablespoons chili powder
  • 2 cloves of garlic, peeled
  • salt and pepper to taste

Directions:

  1. Preheat the oven to 375 degrees. Spray a 9×13″ baking dish with cooking spray.
  2. Cut up cream cheese and melt in sauce pan over medium to low heat.
  3. Add shredded chicken to the cream cheese, stirring to combine chicken and cheese completely.
  4. Add salsa, black beans, onions, peppers and tomatoes. Cook on low heat for 10 minutes. Remove from stove.
  5. While the chicken is cooking start the pumpkin sauce.
  6. Combine pumpkin puree, tomato sauce, sour cream, chilli powder, garlic, salt and pepper in a food processor or blender and puree until smooth.
  7. Spread enough of the pumpkin mole on the bottom of the baking dish so the enchiladas don’t stick to the bottom (1-1 1/2 cups)
  8. Put chicken mixture into tortillas, roll up and put seam side down in baking dish.
  9. Cover tortillas with remaining pumpkin sauce and top with shredded cheese
  10. Bake at 375 degrees for 20-30 minutes or until the cheese is bubbly and melted.
  11. Serve with salsa, guacamole, beans and rice or your favorite side! Enjoy!


Corn Chowder and Bacon, Cheese & Chive Biscuits

photo-117It has been perfect soup weather lately. It snowed 3 days last week- enough that I needed a scraper to get the snow off my car one morning (too bad I couldn’t find one because when do you ever need an ice scraper in October? I ended up using a plastic spoon…not so helpful it turns out).photo-350 The fall foliage is at its peak right now and the fresh snow against the bright leaves has been gorgeous! photo-129There is nothing more satisfying then a bowl of hot soup on a cold day. Normally when you think of chowder, you think of a rich soup thickened with heavy cream. What is particularly wonderful about this corn chowder is its creamy base is created by pureeing vegetables, giving the soup a chowder like consistency with out all the fat.photo-119 This recipe can easily be made vegan or vegetarian by substituting olive oil for butter and vegetable broth for the chicken stock. The fresh corn, carrots, peppers and dill give this chowder amazing flavor and makes for an easy week night dinner!photo-120 It also makes enough for leftovers which are perfect for lunch the next day or you can pop it in the freezer for a quick meal later! photo-128The bacon, cheese and chive biscuits pair perfectly with the flavors of the chowder and are great for moping up the leftovers at the bottom of the bowl. Corn, bacon, cheese… what more could you want on a cold fall day? Enjoy!

Corn Chowder

Ingredients:

  • 3 Tablespoons unsalted butter (use olive oil to make it vegan)
  • 3 medium yellow onions, chopped
  • 5 carrots cut into 1/4 inch slices
  • 5 celery stalks, cut into 1/4 inch slices
  • 6 cups fresh uncooked corn kernels (8-10 ears depending on their size)
  • 3 cups chicken broth (or veggie broth to make it vegan/vegetarian)
  • 3/4 teaspoon salt
  • 1/2 teaspoon fresh cracked pepper
  • 2 large bell peppers, seeded and cut into 1/2-inch pieces
  • 3 Tablespoons chopped fresh dill, plus more for garnish

Directions:

  1. Melt butter in a large pot. When the butter is hot, add the onion, carrots, and celery and cook just until tender, stirring frequently (10-12 minutes). Add the corn and cook 2-5 minutes more
  2. Remove 4 cups of the vegetables and transfer to a food processor or blender. Puree the mixture until fairly smooth and return it to the soup pot
  3. Add the chicken or veggie broth, salt, and pepper and bring to a boil. As soon as it boils add the red peppers and simmer for 2 minutes
  4. Add the dill, and taste for salt and pepper
  5. Serve hot, garnish with more dill. Serves 8

photo-122photo-123photo-126photo-127This biscuit recipe was originally from Bon Appetit. I tweaked the recipe a bit- The original recipe calls for sharp cheddar however to liven up these biscuits sub out cheddar for pepper jack for a spicy kick! I also added more bacon as I felt there was not enough bacon in each biscuit.

Bacon, Cheese and Chive Biscuits

Ingredients:

  • 7-8 thick-cut bacon slices
  • 3 3/4 cups bread flour
  • 1 1/2 tablespoons baking powder
  • 1 1/2 teaspoons baking soda
  • 1 1/4 teaspoons salt
  • 1/2 cup (1 stick) chilled unsalted butter, cut into 1/2-inch cubes, plus melted butter for brushing
  • 2 1/2 cups (packed) coarsely grated sharp cheddar cheese or pepper jack cheese (about 12 ounces)
  • 1/3 cup chopped fresh chives
  • 1 3/4 cups chilled buttermilk

Directions:

  1. Position rack just above center of oven and preheat to 425°F. Line a large baking sheet with parchment paper.
  2. Cook bacon in heavy large skillet over medium heat until crisp and brown. Transfer bacon to paper towels to drain, then chop coarsely.
  3. Combine flour, baking powder, baking soda, and salt in a food processor; blend 5 seconds. Add butter cubes. Blend until coarse meal forms, about 30 seconds (this can be done by hand by cutting the butter into flour mixture with two knives or by grating chilled butter into flour mixture with a box grater).
  4. Transfer flour mixture to large bowl. Add cheese, fresh chives, and chopped bacon; toss to blend. Gradually add buttermilk, stirring to moisten evenly (batter will feel sticky).
  5. Using lightly floured hands, drop generous 1/2 cup batter for each biscuit onto prepared baking sheet, spacing batter mounds about 2 inches apart.
  6. Bake biscuits until golden and tester inserted into center comes out clean, 18 to 20 minutes. Brush biscuits lightly with melted butter.
  7. Let cool 10 minutes. Serve biscuits warm or at room temperature with honey, if desired. Makes 12 biscuits.

(Biscuit recipe adapted from Bon Appetit, chowder recipe from Blanchar’s Kitchen)

Pumpkin Maple Protein Smoothie

photo-114It’s fall, so obviously everyone is into anything pumpkin related. I thought people were going to die of excitement when Starbucks finally released their PSL (pumpkin spice latte… who knew it was being abbreviated these days?) on September 3!! Three days past August is NOT considered fall people. So now that its October and it actually IS fall, I’m jumping on the pumpkin wagon!photo-346 I love getting my fix of pumpkin treats but if you’re not careful that casual PSL in the morning can run you close to 400 calories! I don’t know about you but that is way more than I’m willing to waist on a cup-o-joe! This protein smoothie is a great way to satisfy your pumpkin craving without killing your waistline (which is always an added bonus going into the holiday season!) photo-347I use Teras Whey protein powder that I purchase from Whole Foods but any kind of vanilla protein powder will do. Also be sure to use canned pumpkin puree and not canned pumpkin pie filling (there is a difference!)photo-348Pumpkin Maple Protein Smoothie by Ski Boots in the Kitchen

Ingredients:

  • 8 oz vanilla almond milk
  • 1 scoop vanilla protein powder
  • 1/4 cup pumpkin puree (not pumpkin pie filling)
  • 1 tablespoon real maple syrup
  • 1/8 teaspoon pumpkin pie spice (make your own if you don’t have it)
  • hand full of ice cubes

Combine all the ingredients in a blender, blend until smooth. Enjoy! photo-349