Chocolate Peppermint Bark

IMG_1159Happy Monday! Hope you had a wonderful weekend and got all your Christmas shopping done… because Christmas is a week from Thursday, Oh My! Trying to find the perfect gift for co-workers, friends or neighbors is difficult, which is why I think food is always a safe bet! Delicious, homemade, baked with love, treats! I mean seriously, who doesn’t love a gift they can eat? Its better than an ugly pair of socks or an awkward Christmas tree ornament you’ll feel obligated to hang on your tree for the next 10 years.

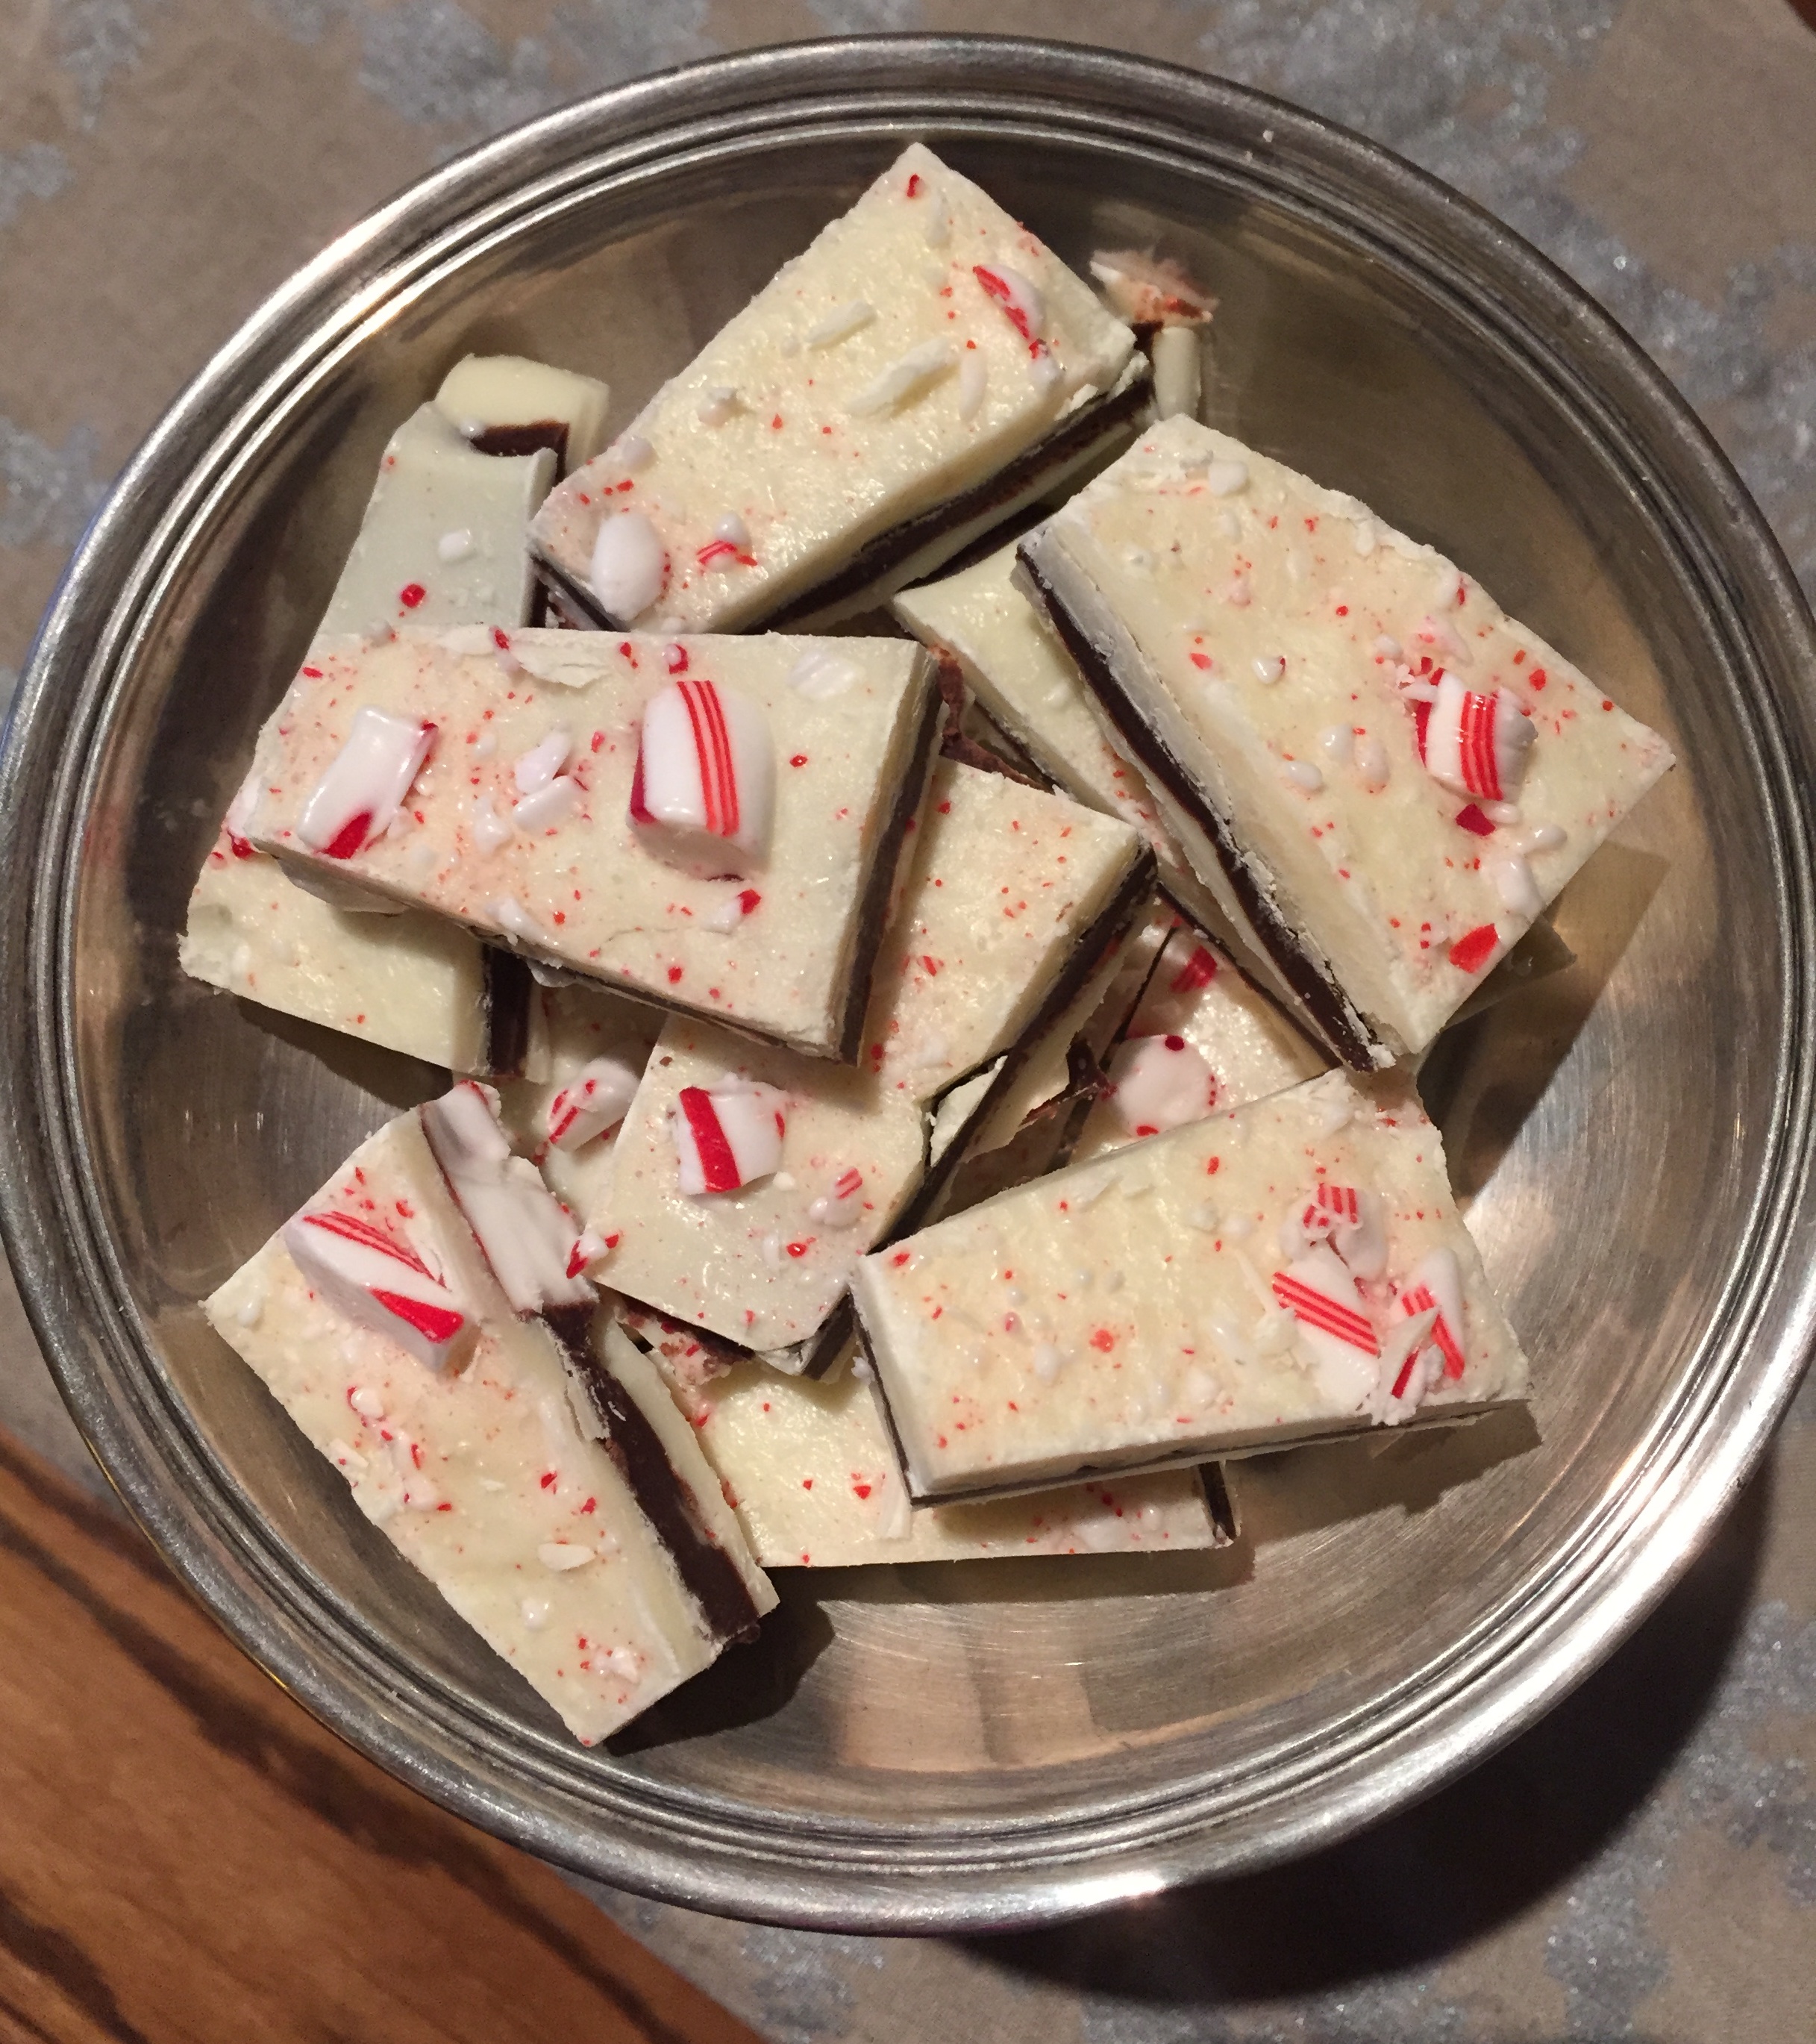
After reading this hilarious article, 2014 Hater’s Guide to The Williams-Sonoma Catalog, I learned just how expensive chocolate peppermint bark is when you purchase it from the designer brand Williams Sonoma… $30 per tin!!! That’s right, I can almost fill my car with gas for the same price. Unless their bark has flecks of gold in it or it was literally made by elves in the North Pole, there is NO reason you should pay that much for candy.IMG_1147 
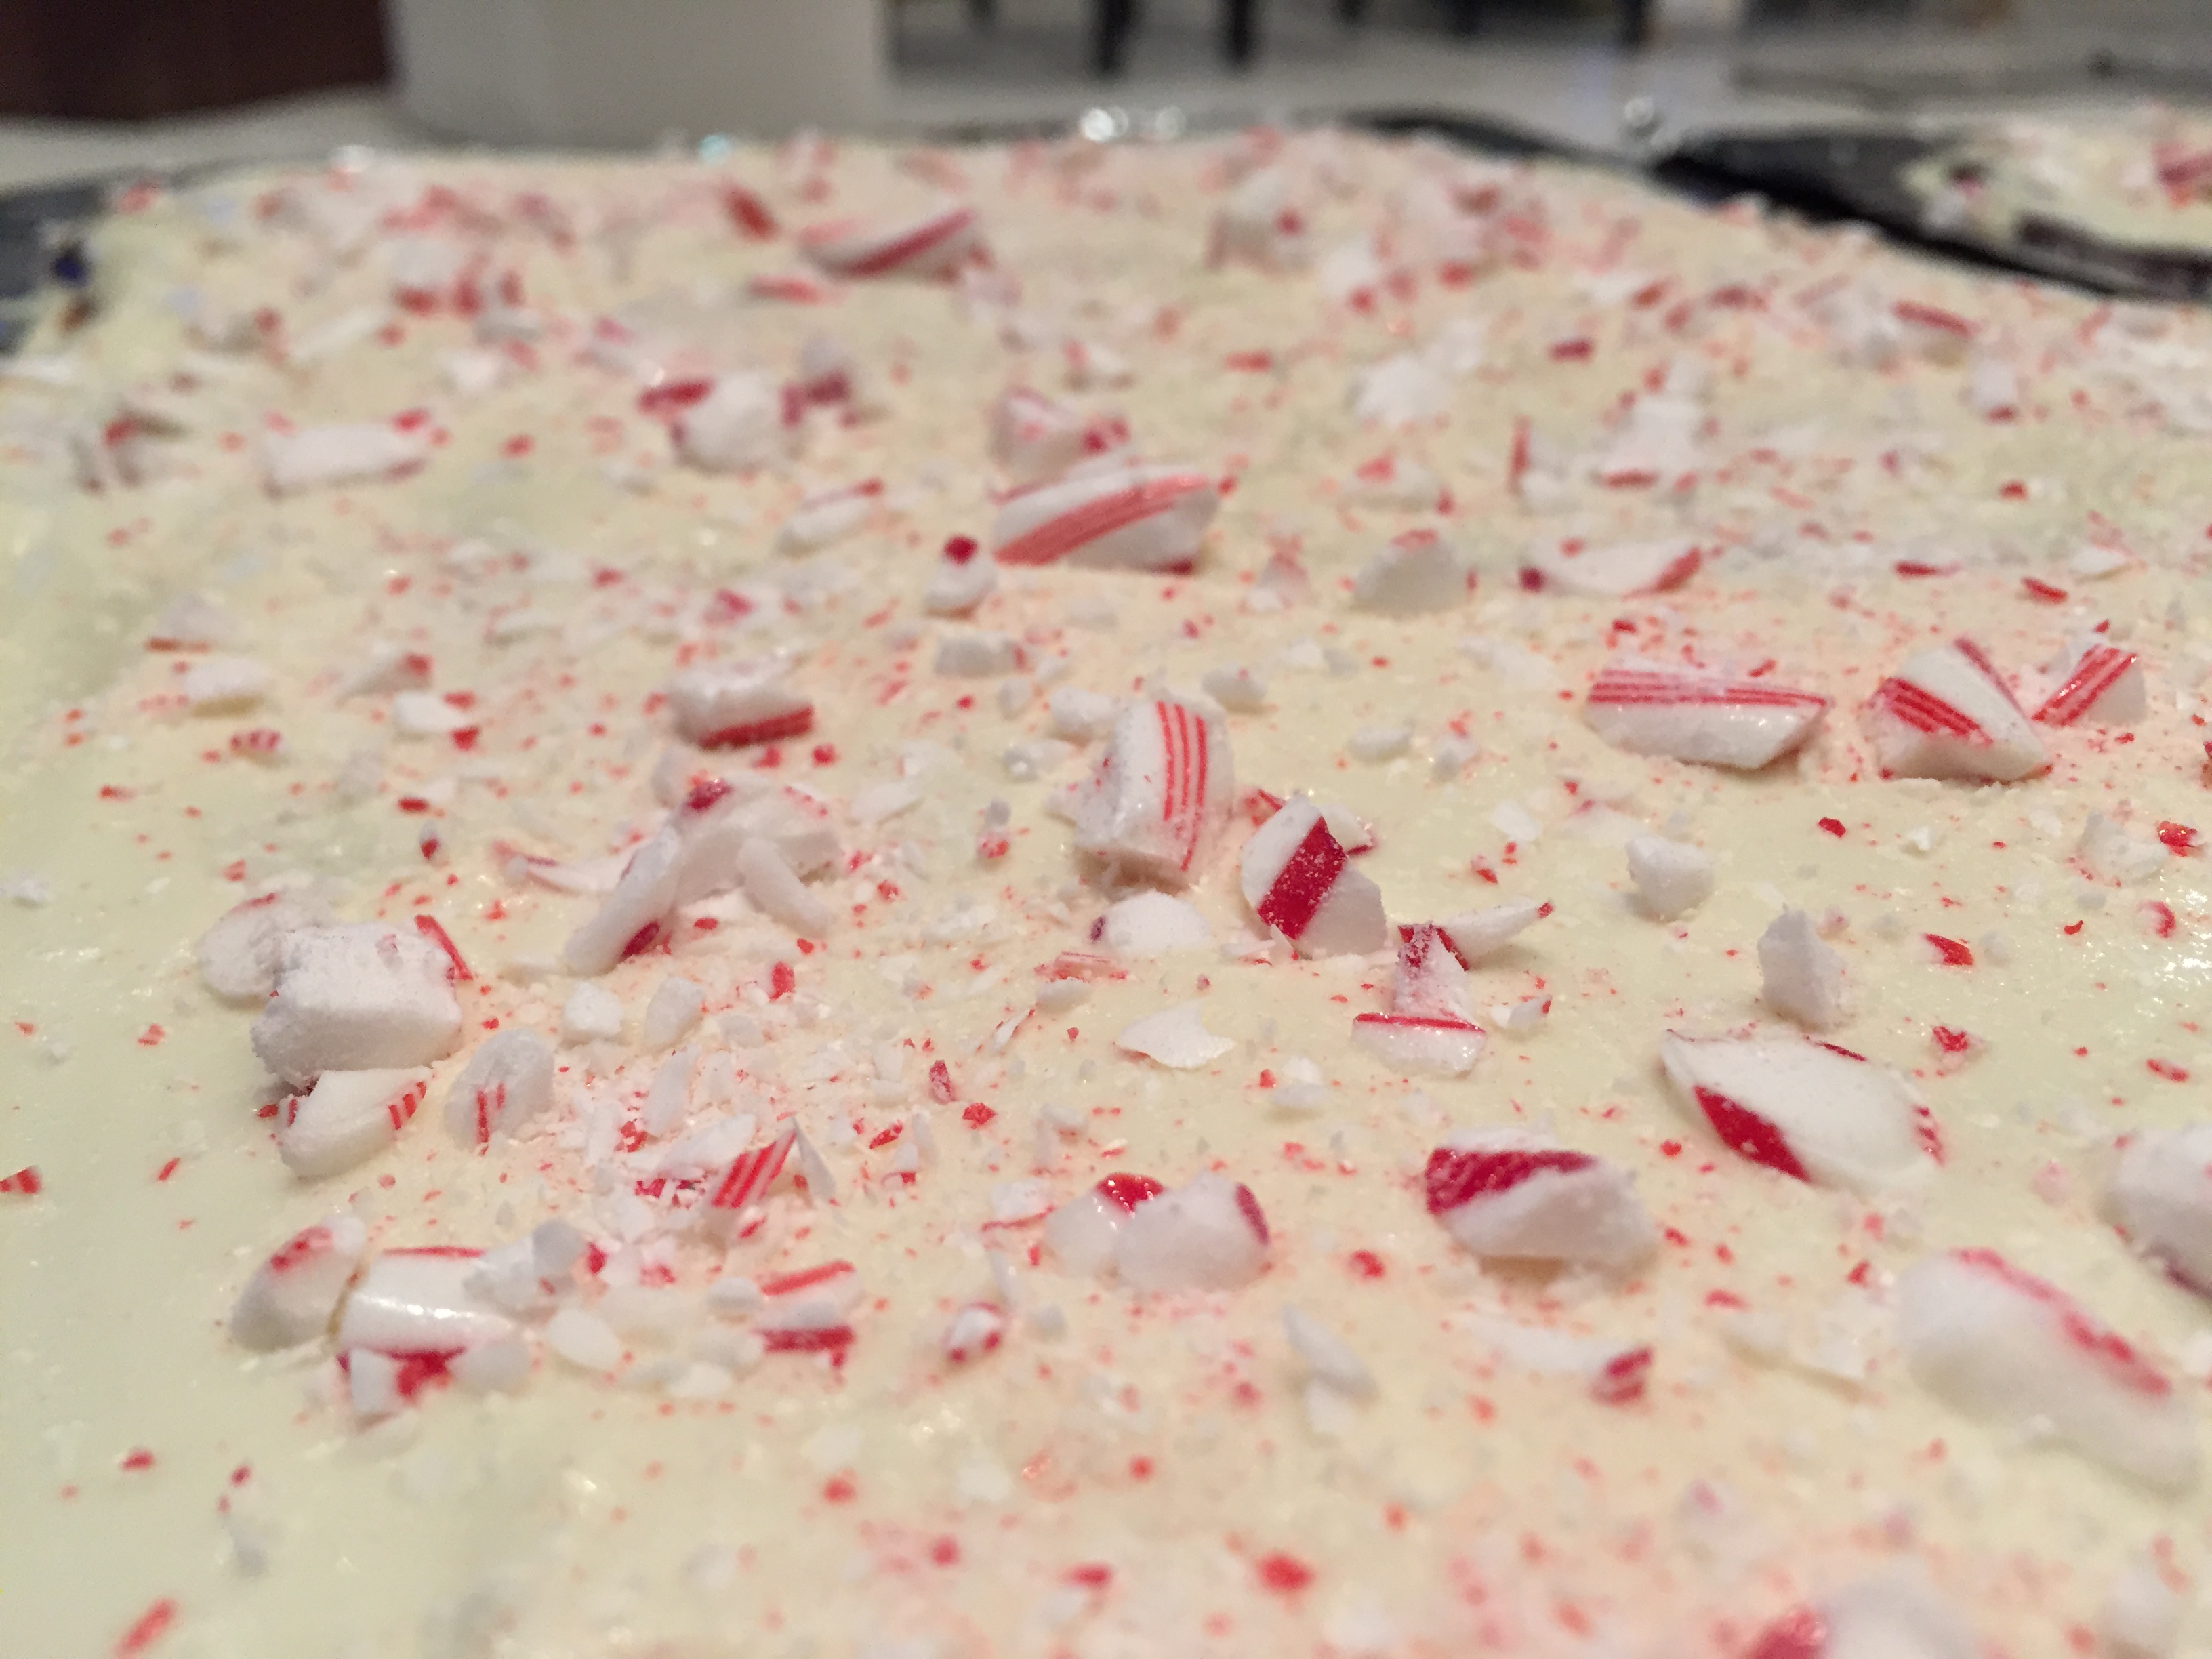
I took it as a challenge to make an equally delicious, wait no, an even BETTER bark than WS, and I’m pretty sure this recipe takes the cake. Creamy, rich, chocolate ganache sandwiched between two layers of silky white chocolate and topped with crunchy peppermint candy. Are you drooling yet? Forget the cookies, Santa wants peppermint bark this year! Enjoy! IMG_1163

Chocolate Peppermint Bark (Makes 30-35 pieces)

Ingredients:

  • 20 ounces good white chocolate, coarsely chopped, divided
  • 15 peppermint candy canes, crushed, divided
  • 12 ounces good dark chocolate, coarsely chopped
  • 6 tablespoons heavy cream
  • 1 teaspoon peppermint extract

Directions:

  1. Turn a 9×12 inch baking sheet bottom side up. Cover securely with foil.
  2. Melt half of the white chocolate (I used Ghirardelli) in the top of a double boiler over just barely simmering water, stirring frequently. If you do not have a double boiler you can use a Pyrex bowl over a pot of boiling water, see picture above.
  3. Spread the white chocolate evenly on to the prepared pan. Sprinkle with 1/4-1/3 of the crushed peppermints evenly over the white chocolate. Chill until firm, about 15 minutes.
  4. Meanwhile, melt dark chocolate, heavy cream and peppermint extract together in the top of a double boiler like you did with the white chocolate. Quickly pour the dark chocolate over the chilled white chocolate layer; spread evenly. Chill until firm about 20 minutes.
  5. Finally, melt the remaining white chocolate in the double boiler, stirring frequently. Spread white chocolate over the layers of chocolate. Sprinkle with remaining peppermint pieces; chill until very firm about 1 hour. Cut or break into small pieces and serve!
Advertisement

Zucchini “Latkes”

FullSizeRender-3It’s starting to feel a lot like the holidays around Park City. Every night I notice a new house lit up with festive twinkly lights. You know it’s almost Christmas when you spend your whole weekend dodging cars on the highway with Christmas trees loosely tied to the roof. If only we had a few inches of snow to blanket the ground, it would really feel like winter. For those people celebrating Christmas, there are still have two weeks to deck the halls and plan menus. Hanukkah, however, starts Dec. 16, and in the words of Adam Sandler, “Instead of one day of presents, we have eight crazy nights.” That also means eight nights of food… Yikes! Time to get planning on that menu of yours! One of the most classic Hanukkah dishes is potato latkes, delicious little potato pancakes topped with sour cream or other yummy toppings of your choice.

IMG_1085This year, I wanted to put a fresh twist on this classic dish and lighten it up with a fewer carbs and calories. Growing up my mother used to make zucchini fritters in the summer with fresh zucchini from our CSA. She would top them with plain Greek yogurt and applesauce. I took her recipe for fritters and added my own twist by incorporating leeks and green onions for a little something extra.

IMG_1075One thing I refuse to change is topping them with yogurt and applesauce. So, if you’re looking to mix it up a little this year and wow your family, substitute these fritters for your traditional latkes, just be sure to make a double batch, because everyone will be asking for more. From my mountain kitchen to yours, happy holidays to all!

For more recipes from Ski Boots in the Kitchen click Here or like me on Facebook and Instagram.
Originally posted by Ski Boots in the Kitchen on Dishing PC

Zucchini Fritters (Makes 10 fritters)

Ingredients:

  • 2 medium zucchini, shredded
  • 1 teaspoon coarse or Kosher salt, plus extra to taste
  • 2 scallions, split lengthwise and sliced thin
  • 1/2 cup thinly sliced leek (split lengthwise and sliced thin)
  • 1 large egg, lightly beaten
  • Freshly ground black pepper
  • 1/2 cup all-purpose flour
  • 1/2 teaspoon baking powder
  • Olive or another oil of your choice, for frying
  • Non-Fat Greek yogurt & apple sauce for serving

Directions:

  1. Preheat the oven to 200 degrees to keep fritters warm.
  2. Trim ends off zucchini and grate them either on the large holes of a box grater or, if you have one, using the shredding blade of a food processor.
  3. In a large bowl toss the shredded zucchini with 1 teaspoon coarse salt and a set aside for 10 minutes. Wring out the zucchini by pressing it against the holes of a colander with a wooden spoon to remove some of the water. This is an important step as it will keep the fritters from getting soggy.
  4. Return the shredded zucchini to the bowl. stir in scallions, leeks and egg. season with salt and pepper. In another dish mix together flour and baking powder. Sprinkle flour mixture over zucchini and mix well.
  5. Heat 2 tablespoons of oil in a large skillet. Drop a spoonful of the zucchini mixture into the skillet, (don’t over crowd the pan with too many fritters) using the back of a spatula flatten the fritter slightly. Cook them over medium-high heat until the edges of the fritter are golden brown, about 3-4 minutes. Flip and fry on the other side for the same amount of time until golden brown.
  6. Transfer to a baking sheet and keep warm in the oven while you finish the rest of the batter.
  7. Top with a dollop of yogurt and apple sauce, enjoy!

White Chicken Chili

IMG_0408I am very excited to share that I am now writing a weekly column for a new magazine and food blog in Park City called Dishing PC. They are a food-lovers guide to great dining around Park City and the Wasatch front. If you are looking for fun food related activities, recipes or happenings around town, check out there website! This recipe for white chicken chili is my first post for them! I hope you enjoy!

Winter puts me into a soup and chili frenzy, I could literally eat the stuff for every meal! Especially on those super cold days, there is nothing better than warming up with a big bowl of chili after a long day skiing or riding on the mountain, right? In my eyes, a key component to enjoy that bowl of chili… is keeping the cooking a prep time to a minimum! I want more time cruising around the mountain or enjoying an apres drink with friends, not cooking in the kitchen! Fear not, this creamy chicken chili recipe is quick, easy and super delicious, so you can get that last run on the mountain or linger for one last apres drink! This chili gets part of its creaminess from pureeing some of the beans with the chicken stock which gives it a thicker and healthier base. In under an hour you have a yummy dish that will feed and please a crowd! Happy eating!

White Chicken Chili (Serves 6-8)

Prep & Cook Time: 50 minutes

What You’ll Need:

  • 1 pound boneless skinless chicken breasts, cut into 1/2- inch cubes
  • 1 medium onion, chopped
  • 1 1/2 teaspoons garlic powder
  • 1 tablespoon canola oil
  • 3 15.5oz cans great northern beans, rinsed and drained (keep 1 can separate)
  • 1 can 14.5oz chicken broth
  • 2 cans, 4oz each, chopped green chilies
  • 1/2 pound mushrooms, sliced
  • 1 teaspoon salt
  • 1 teaspoon ground cumin
  • 1 teaspoon dried oregano
  • 1 teaspoon pepper
  • 1/4 teaspoon cayenne pepper
  • 1 cup sour cream
  • 1/2 cup heavy whipping cream
  • shredded cheese for serving

What You’ll Do:

  1. In a large saucepan, saute chicken, onion and garlic powder in oil until chicken is no longer pink. Meanwhile, in a blender, blend 1 can of beans and 1 can of chicken broth until smooth, add to chicken and onion mixture. Add the two remaining cans of beans, mushrooms, chilies and seasonings to the pot and bring to boil. Reduce heat; Simmer uncovered for 30-40 minutes.
  2. Remove from heat and stir in sour cream and cream. Be sure to do this after you have removed the chili from the heat or it will curdle.  Top with shredded cheese and more sour cream if you desire. Enjoy!

For more delicious recipes check out Ski Boots in the Kitchen blog at www.skibootsinthekitchen.com or follow me on Facebook and Instagram