I realized today that there was no way on Earth that I was going to make all the amazing looking recipes that I wanted to before next Thursday. Its become seriously stressful, I’m thinking about taking the advice from the picture above. Every morning I wake up with my inbox full of new delicious dishes from cocktails, to turkeys and all the fixings in between. In the process of trying to planning my own holiday menu I put together about 30 others… But how do I choose what to make?! If I could have it my way we’d do 3 stuffings, potatoes 3 ways, Brussels sprouts 9 ways and I haven’t even got to dessert yet! So I decided to put together a few menu ideas. Mix and match from each menu, or supplement a few dishes on your own menu! I’ll be sure to let you know which ones make it onto my table! Happy cooking!
Traditional


- Bacon Bird with Turkey Neck Gravy from Food52
- Pear, Brandy and Walnut Cranberry Sauce from Food52
- Spinach, Sausage and Fennel Stuffing with Toasted Brioche from Bon Appetit
- Green Bean Casserole with Crispy Onions from Smitten Kitchen
- Scallop Potato Gratin from Smitten Kitchen
- Heavenly Oatmeal Molasses Rolls from Food52
- Apple Pie with Spiced Caramel Sauce from Bon Appetit
Unconventional


- Asian Rubbed Thanksgiving Turkey from a Spicy Perspective
- Mixed Mushroom and Tarragon Gravy from Bon Appetit
- Cranberry Pear and Ginger Chutney from Bon Appetit
- Butternut Squash, Brussels Sprout, and Bread Stuffing with Apples by Food52
- Miso-Creamed Kale from Food52
- Sweet Potato and Parsnip Mash by Food 52
- Sour Cream Dinner Rolls by Food52
- Gluten-Free Pear Cranberry Crisp from Cookie & Kate
Healthy


- Turkey with Lemon Sage Butter from Bon Appetit
- Vegetarian Mushroom Thyme Gravy from Food52
- Cranberry and Blood Orange Relish from Bon Appetit
- Wild Rice, Farro and Tangerine Salad from Bon Appetit
- Skinny Green Beans with Shallots from Food52
- Parsnip and Potato Mash by Merrill Stubbs
- Sweet Potato Biscuits from Bon Appetit
- You Won’t Believe its Vegan Pumpkin Pie from Food52
Favorite Holiday Dishes from Ski Boots in the Kitchen


- Pumpkin, Spinach, Tomato Gratin
- Fresh Cranberry Sauce
- Cornbread, Sausage and Pecan Stuffing
- Scalloped Yukon Gold and Sweet Potato Gratin
- Absurdly Addictive Asparagus
- Maple Roasted Brussels Sprouts with Rutabaga and Toasted Hazelnuts
- Glazed Brussels Sprouts & Apples with Beurre Noisette
- Sauteed Cauliflower & Apples with Toasted Pecans
- Baked Stuffed Winter Squash
- Almond Crisped Peaches
- Rum Chocolate Mousse
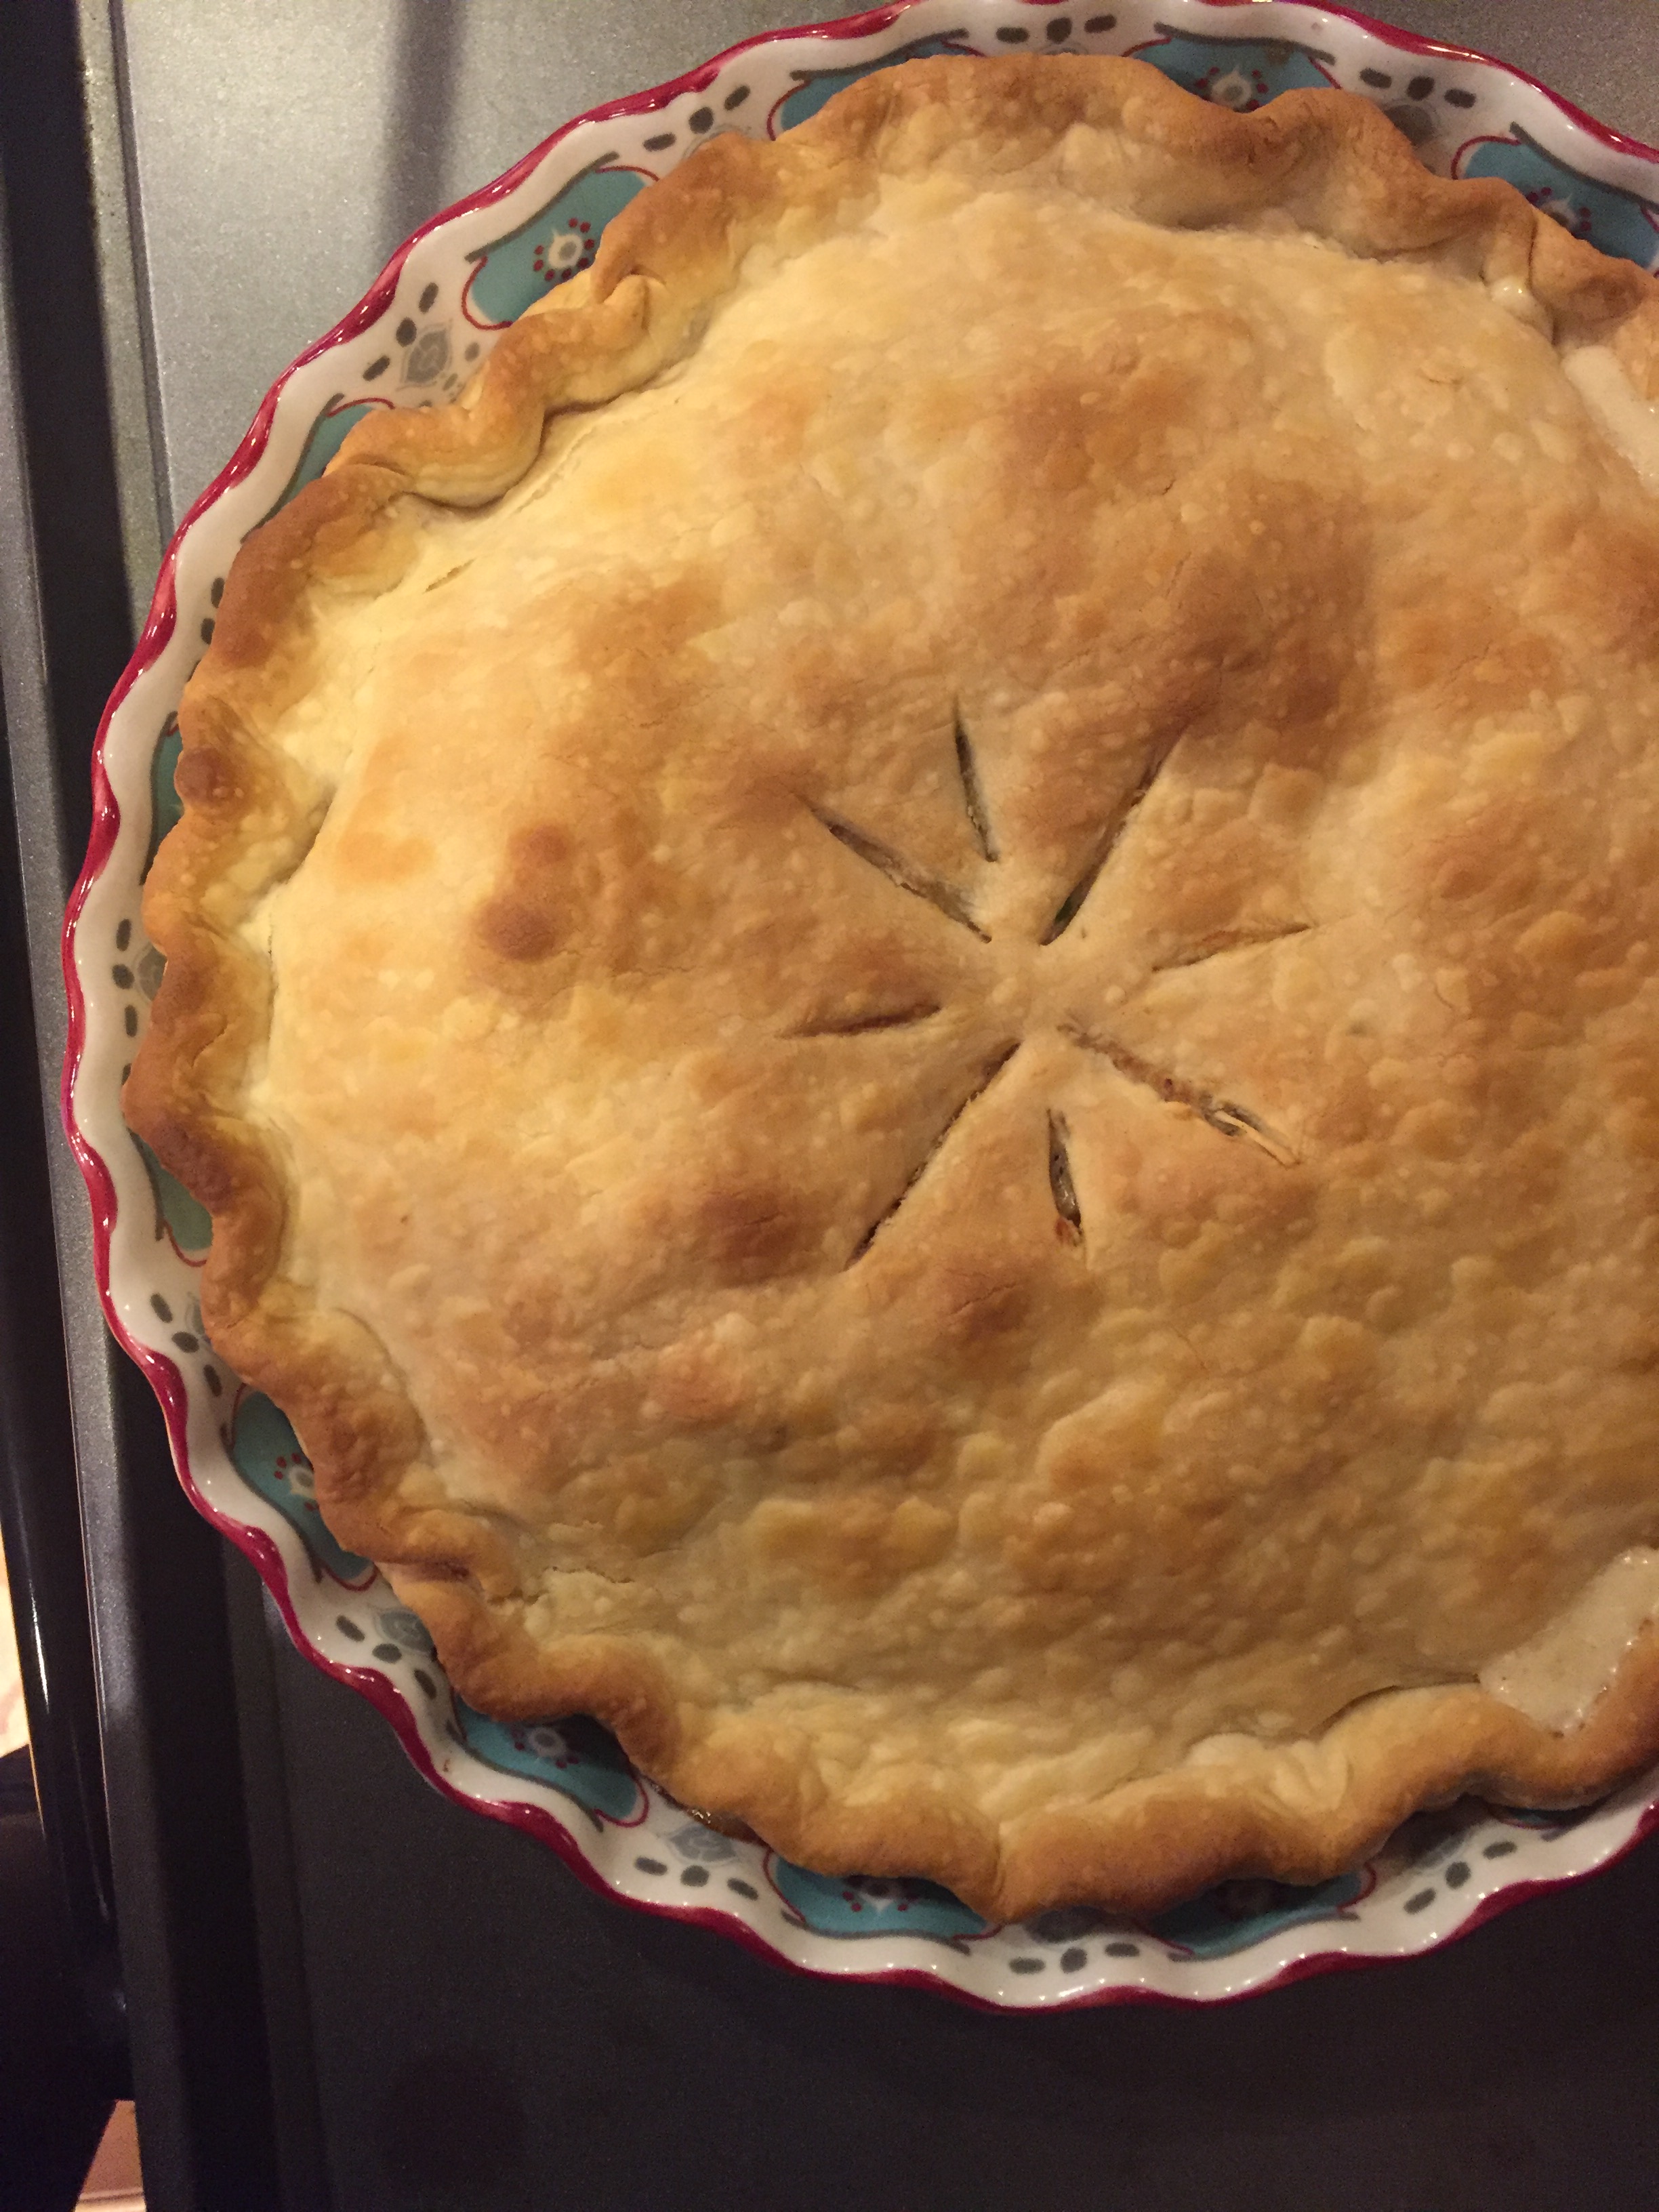
- Apple & Cranberry Harvest Pie
- Thanksgiving Whites (Joel Gott Sauvignon Blanc, Chehalem Inox Chardonnay, Aveleda Vinho Verde)
- Thanksgiving Reds (BenMarco Malbec, Meiomi Pinot Noir, Montepulciano d’Abruzzo)