Last weekend was the autumnal equinox which means bye, bye summer, welcome autumn, fall, bright colored leaves, pumpkins and… snow? Yup that’s right it was snowing in the mountains today!
  Big fluffy flakes, which we are all hoping means its going to be a great ski year. I am still trying to hold on to a few last pieces of summer and nothing says summer like ice cream. Unfortunately, I have a slight intolerance to classic ice cream, which is a HUGE bummer, because its so unbelievably delicious. Then I found out you can make “ice cream” from frozen bananas and my whole life changed. I wish that I was brilliant enough to come up with this idea because it actually is brilliant.
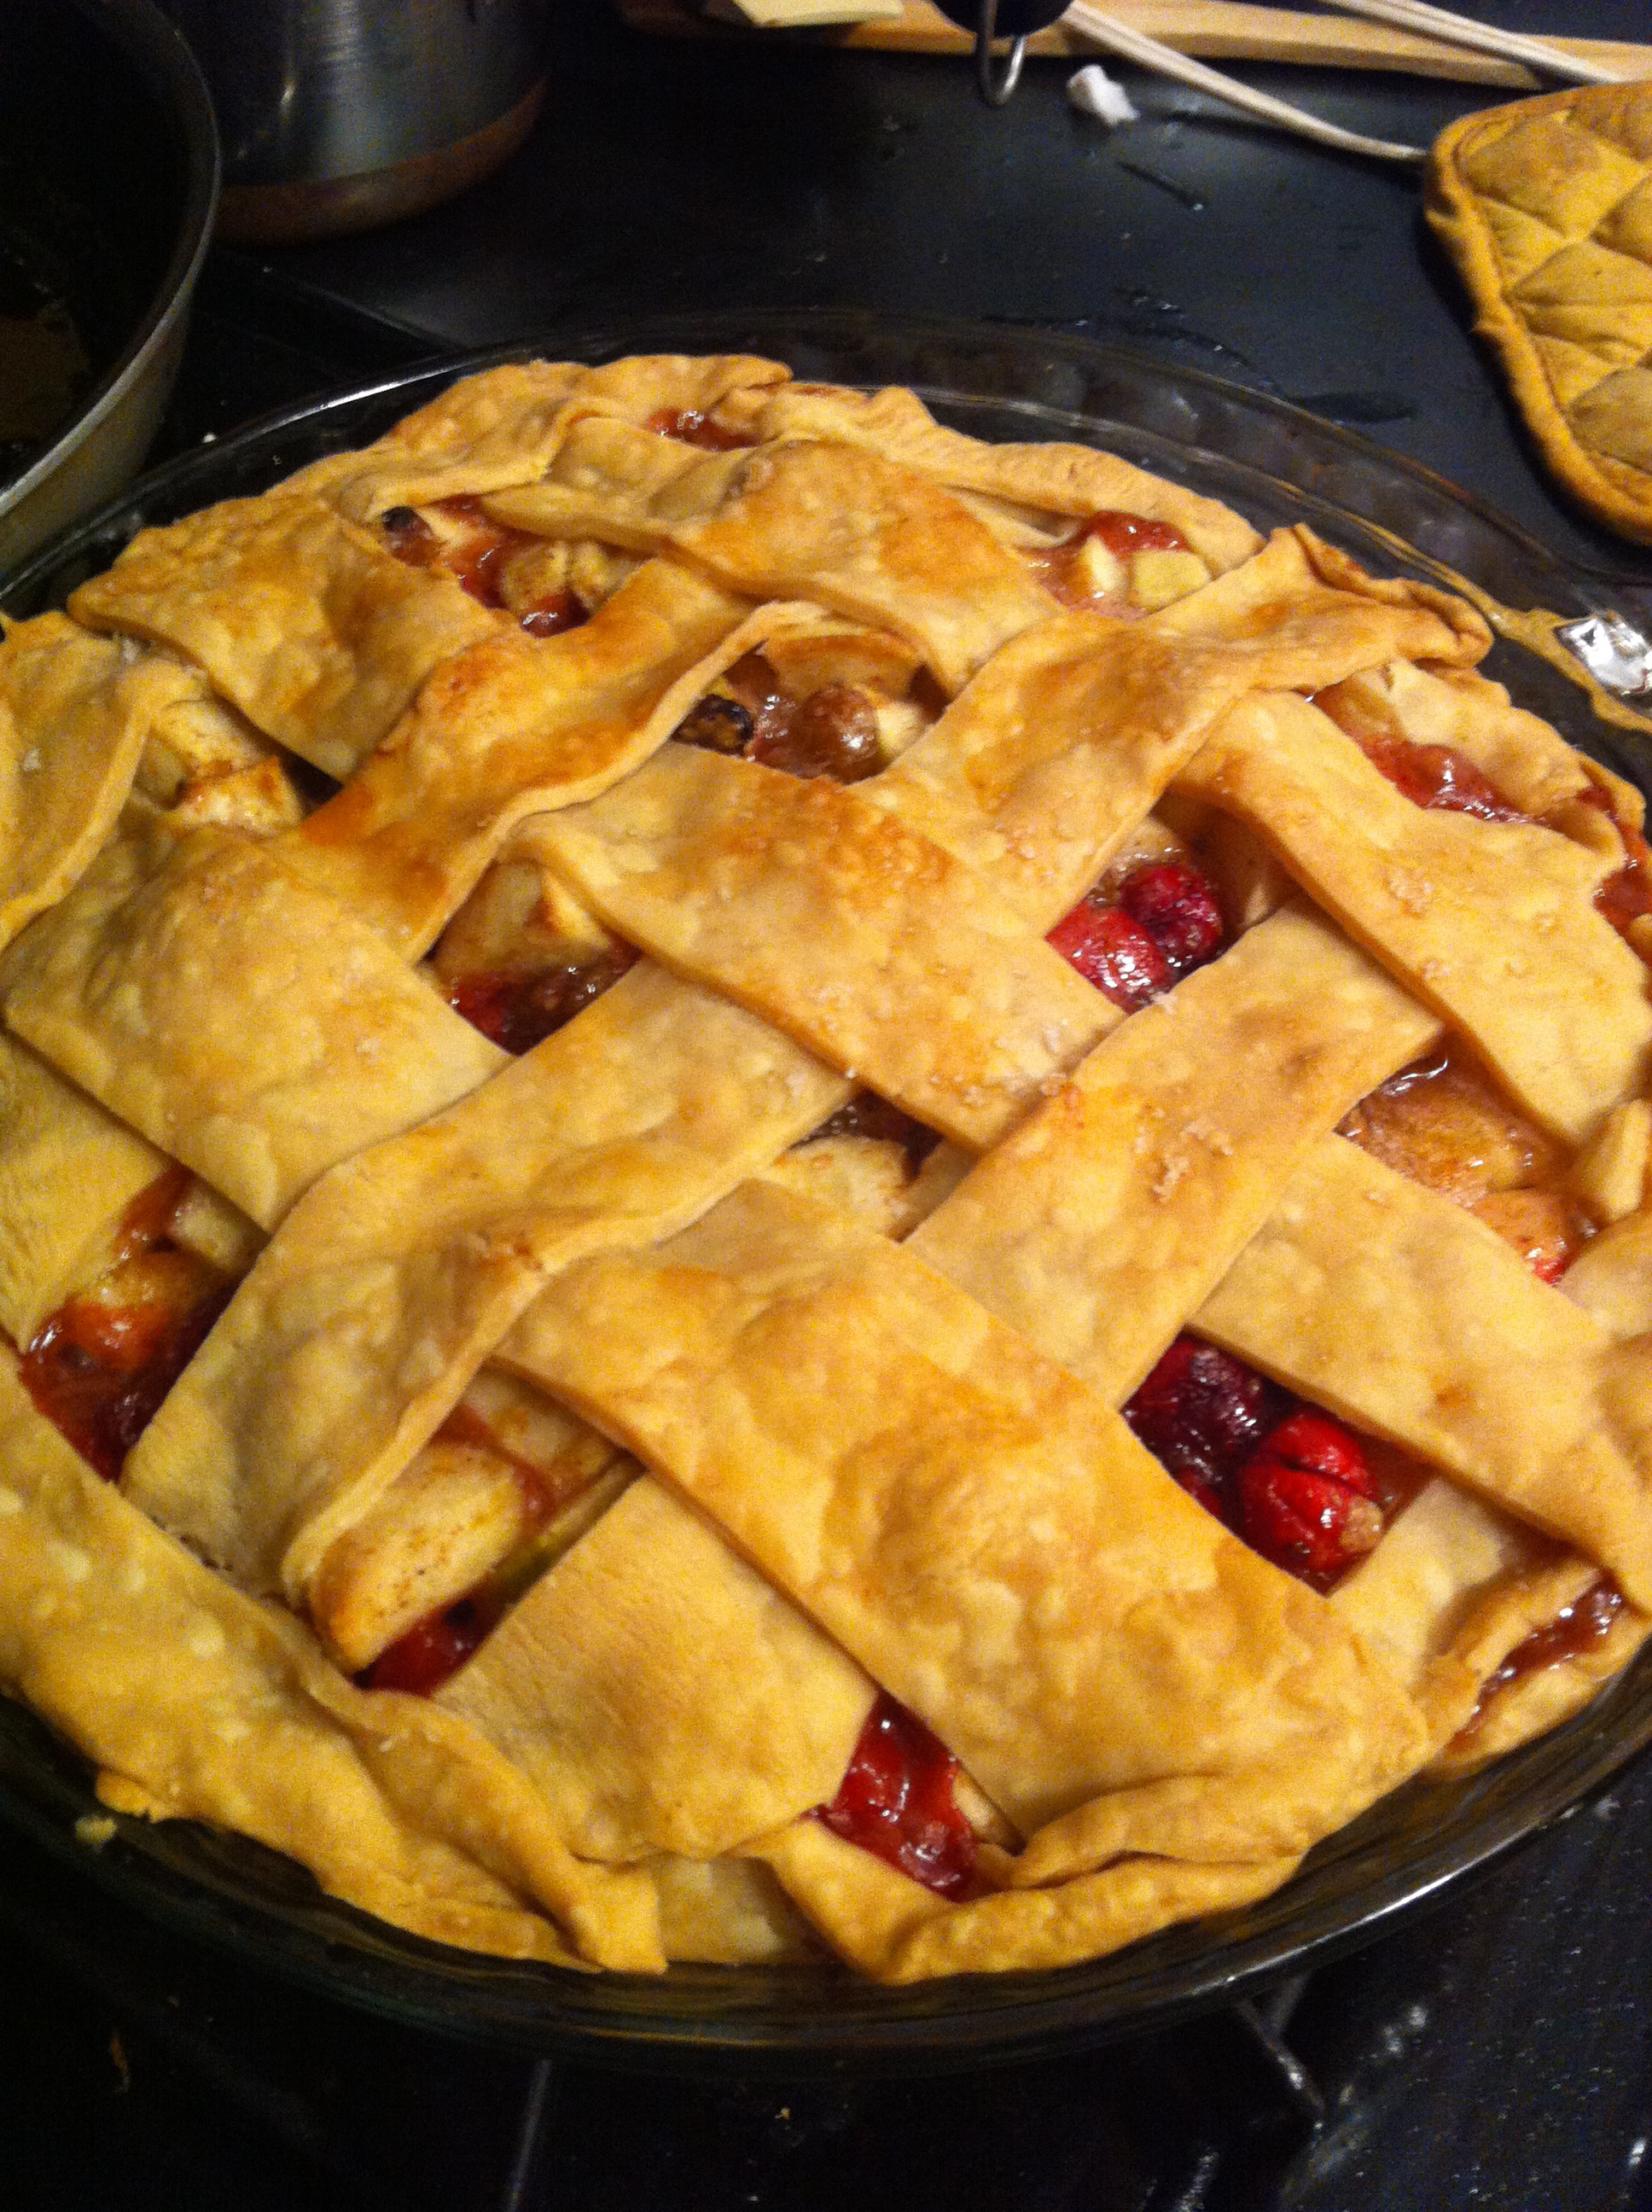
  It’s creamy, thick, and tastes like real ice cream, you’d never know it was just frozen whipped bananas. Yup that’s it- ONE ingredient. Which means its vegan, dairy free, sugar free, low calorie but it tastes like the full fat, total guilty pleasure stuff… I promise! This recipe falls into my favorite category of should I eat it for “breakfast or dessert?” It’s so healthy you could eat if for breakfast sprinkled with your favorite granola or put a scoop on pie, peach crumble or chocolate cake for an unbelievable topping.
  Add your favorite ingredients to make it your own: peanut butter, chocolate chips, Nutella, maple syrup, almond butter, even a few strawberries and you’ve got a totally different treat! All those ripe bananas you’ve been saving for banana bread but haven’t gotten around to it- this recipe requires less time, effort and is more delicious! Enjoy!
Ingredients:
Optional:
- 3-4 Tablespoons peanut butter, almond butter or Nutella
- 1/2 Cup chocolate chips
- 3 Tablespoons Maple syrup or honey
- 1/4 teaspoon sea salt
- 1 Cup frozen strawberries
Directions:
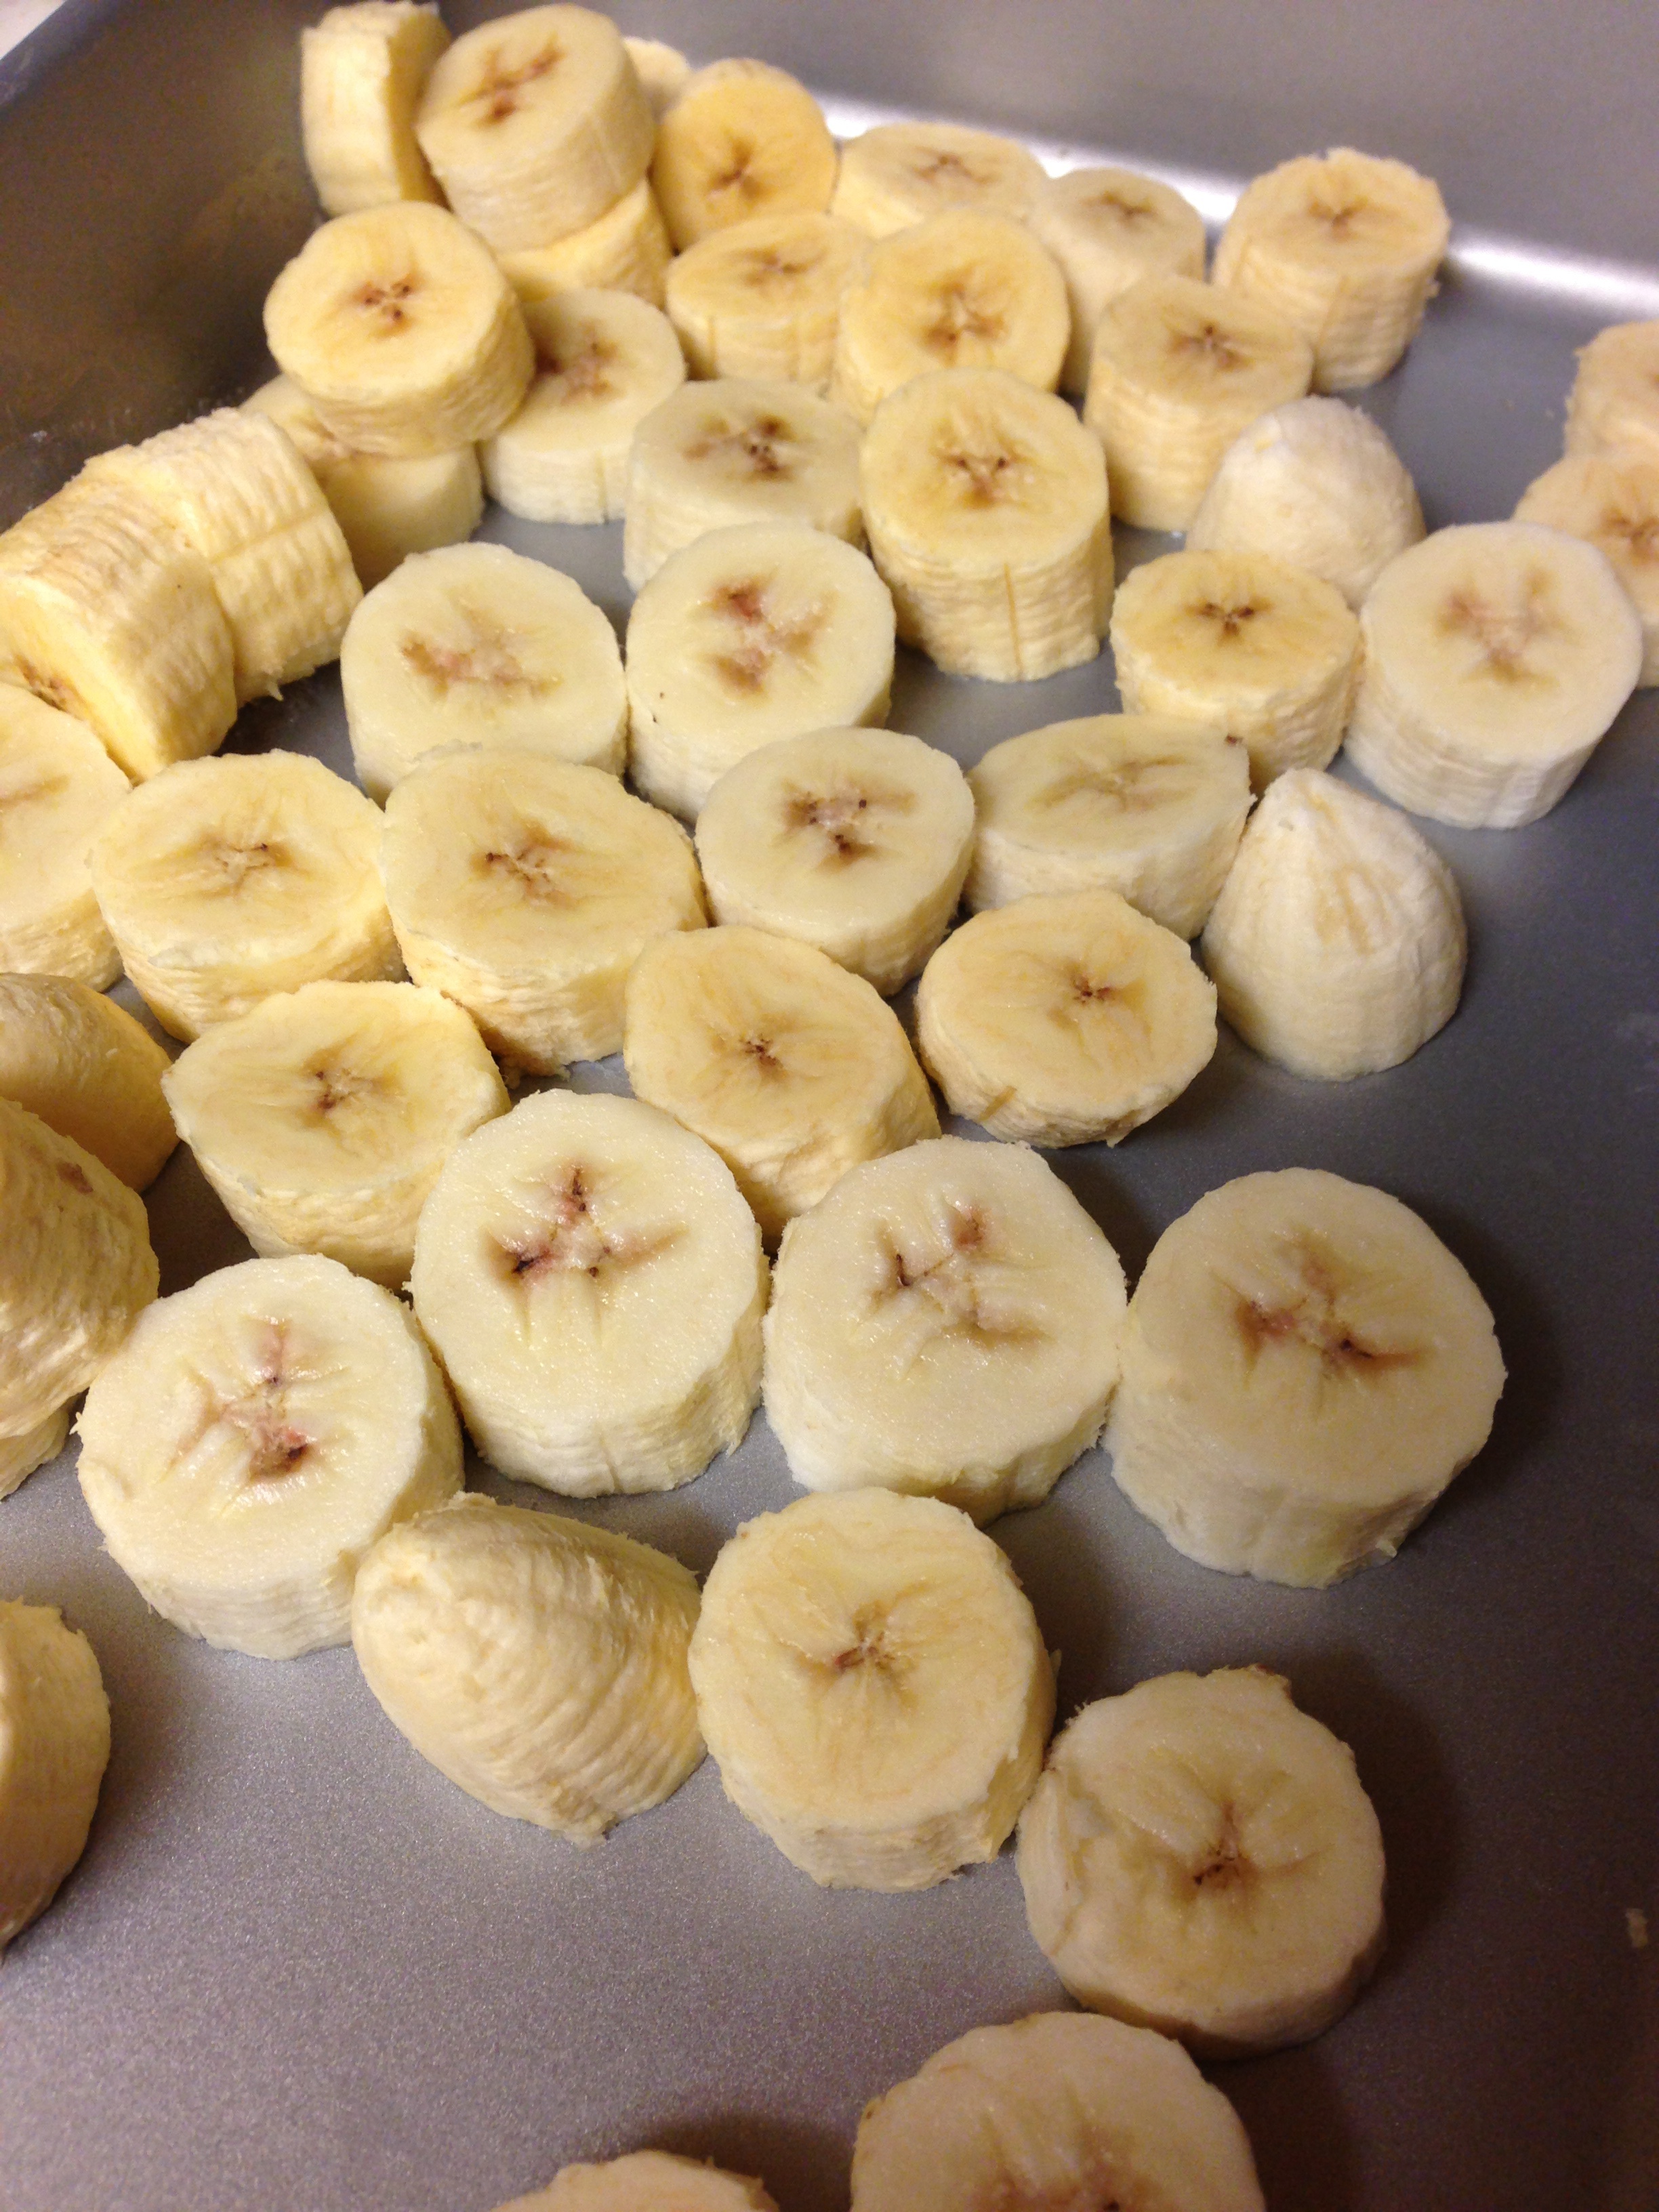
- Slice bananas (like you would for cereal- pictured above) and freeze for a minimum of 3 hours or overnight, on a flat cookie sheet, baking dish or Tupperware.
- Place bananas in a food processor with desired ingredients (peanut butter, syrup, strawberries etc). I did peanut butter chocolate chip! Add bananas and 3-4 Tablespoons peanut butter (depending on how much you love peanut butter add more or less) and pulse until fully combined, use a spoon or spatula to break up large chunks of frozen banana.
- Once mixed, stir in chocolate chips at the last minute with a spoon (otherwise the food processor will chop them up.)
- Scoop into bowls and top with chocolate sauce, sprinkles, pretzels or your favorite ice cream sunday toppings or put a scoop on pie, cake or another delicious dessert and enjoy!
- If your bananas don’t seem to be mixing as easily as you’d like, add 2-3 tablespoons of almond milk or soy milk which will speed up the mixing process.
- Looking for more ideas to mix with your banana ice cream? Dark chocolate chunks and sea salt, strawberry banana, peanut butter and honey, Nutella banana, 2 teaspoons mint extract and dark chocolate chunks… mint chip! the options are endless… get creative!
 It’s fall, so obviously everyone is into anything pumpkin related. I thought people were going to die of excitement when Starbucks finally released their PSL (pumpkin spice latte… who knew it was being abbreviated these days?) on September 3!! Three days past August is NOT considered fall people. So now that its October and it actually IS fall, I’m jumping on the pumpkin wagon!
 I love getting my fix of pumpkin treats but if you’re not careful that casual PSL in the morning can run you close to 400 calories! I don’t know about you but that is way more than I’m willing to waist on a cup-o-joe! This protein smoothie is a great way to satisfy your pumpkin craving without killing your waistline (which is always an added bonus going into the holiday season!)
 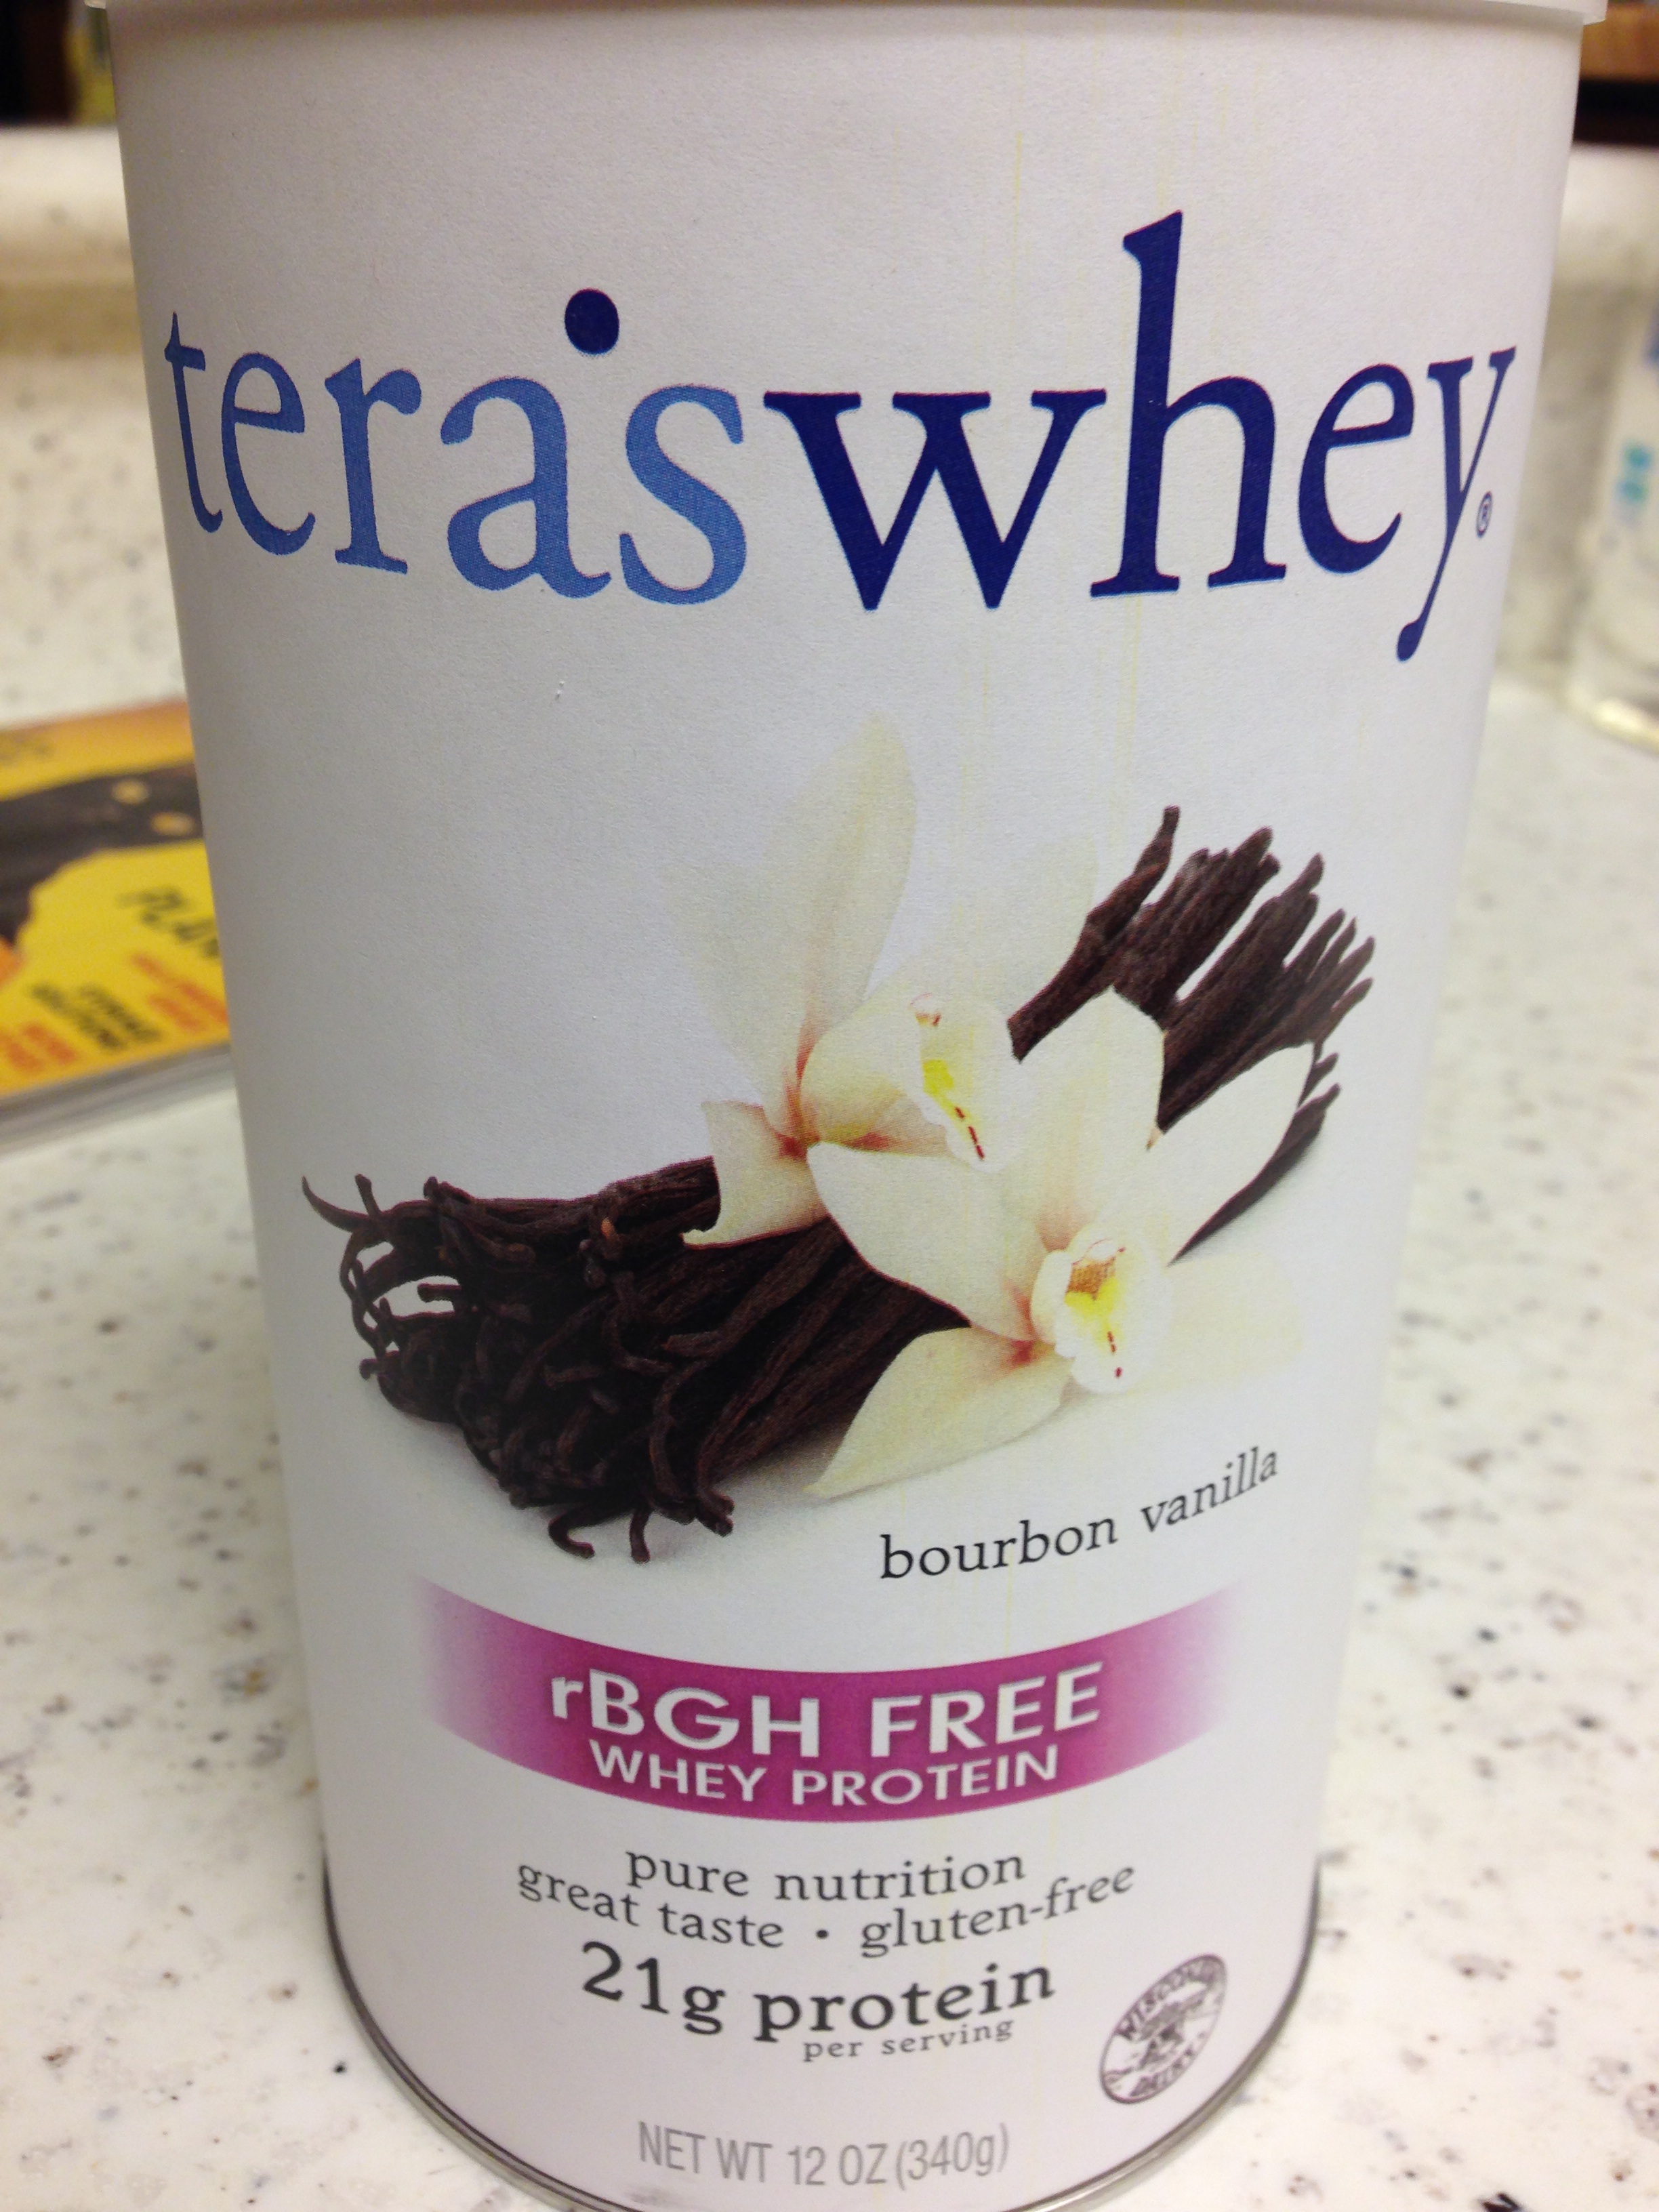 I use Teras Whey protein powder that I purchase from Whole Foods but any kind of vanilla protein powder will do. Also be sure to use canned pumpkin puree and not canned pumpkin pie filling (there is a difference!)
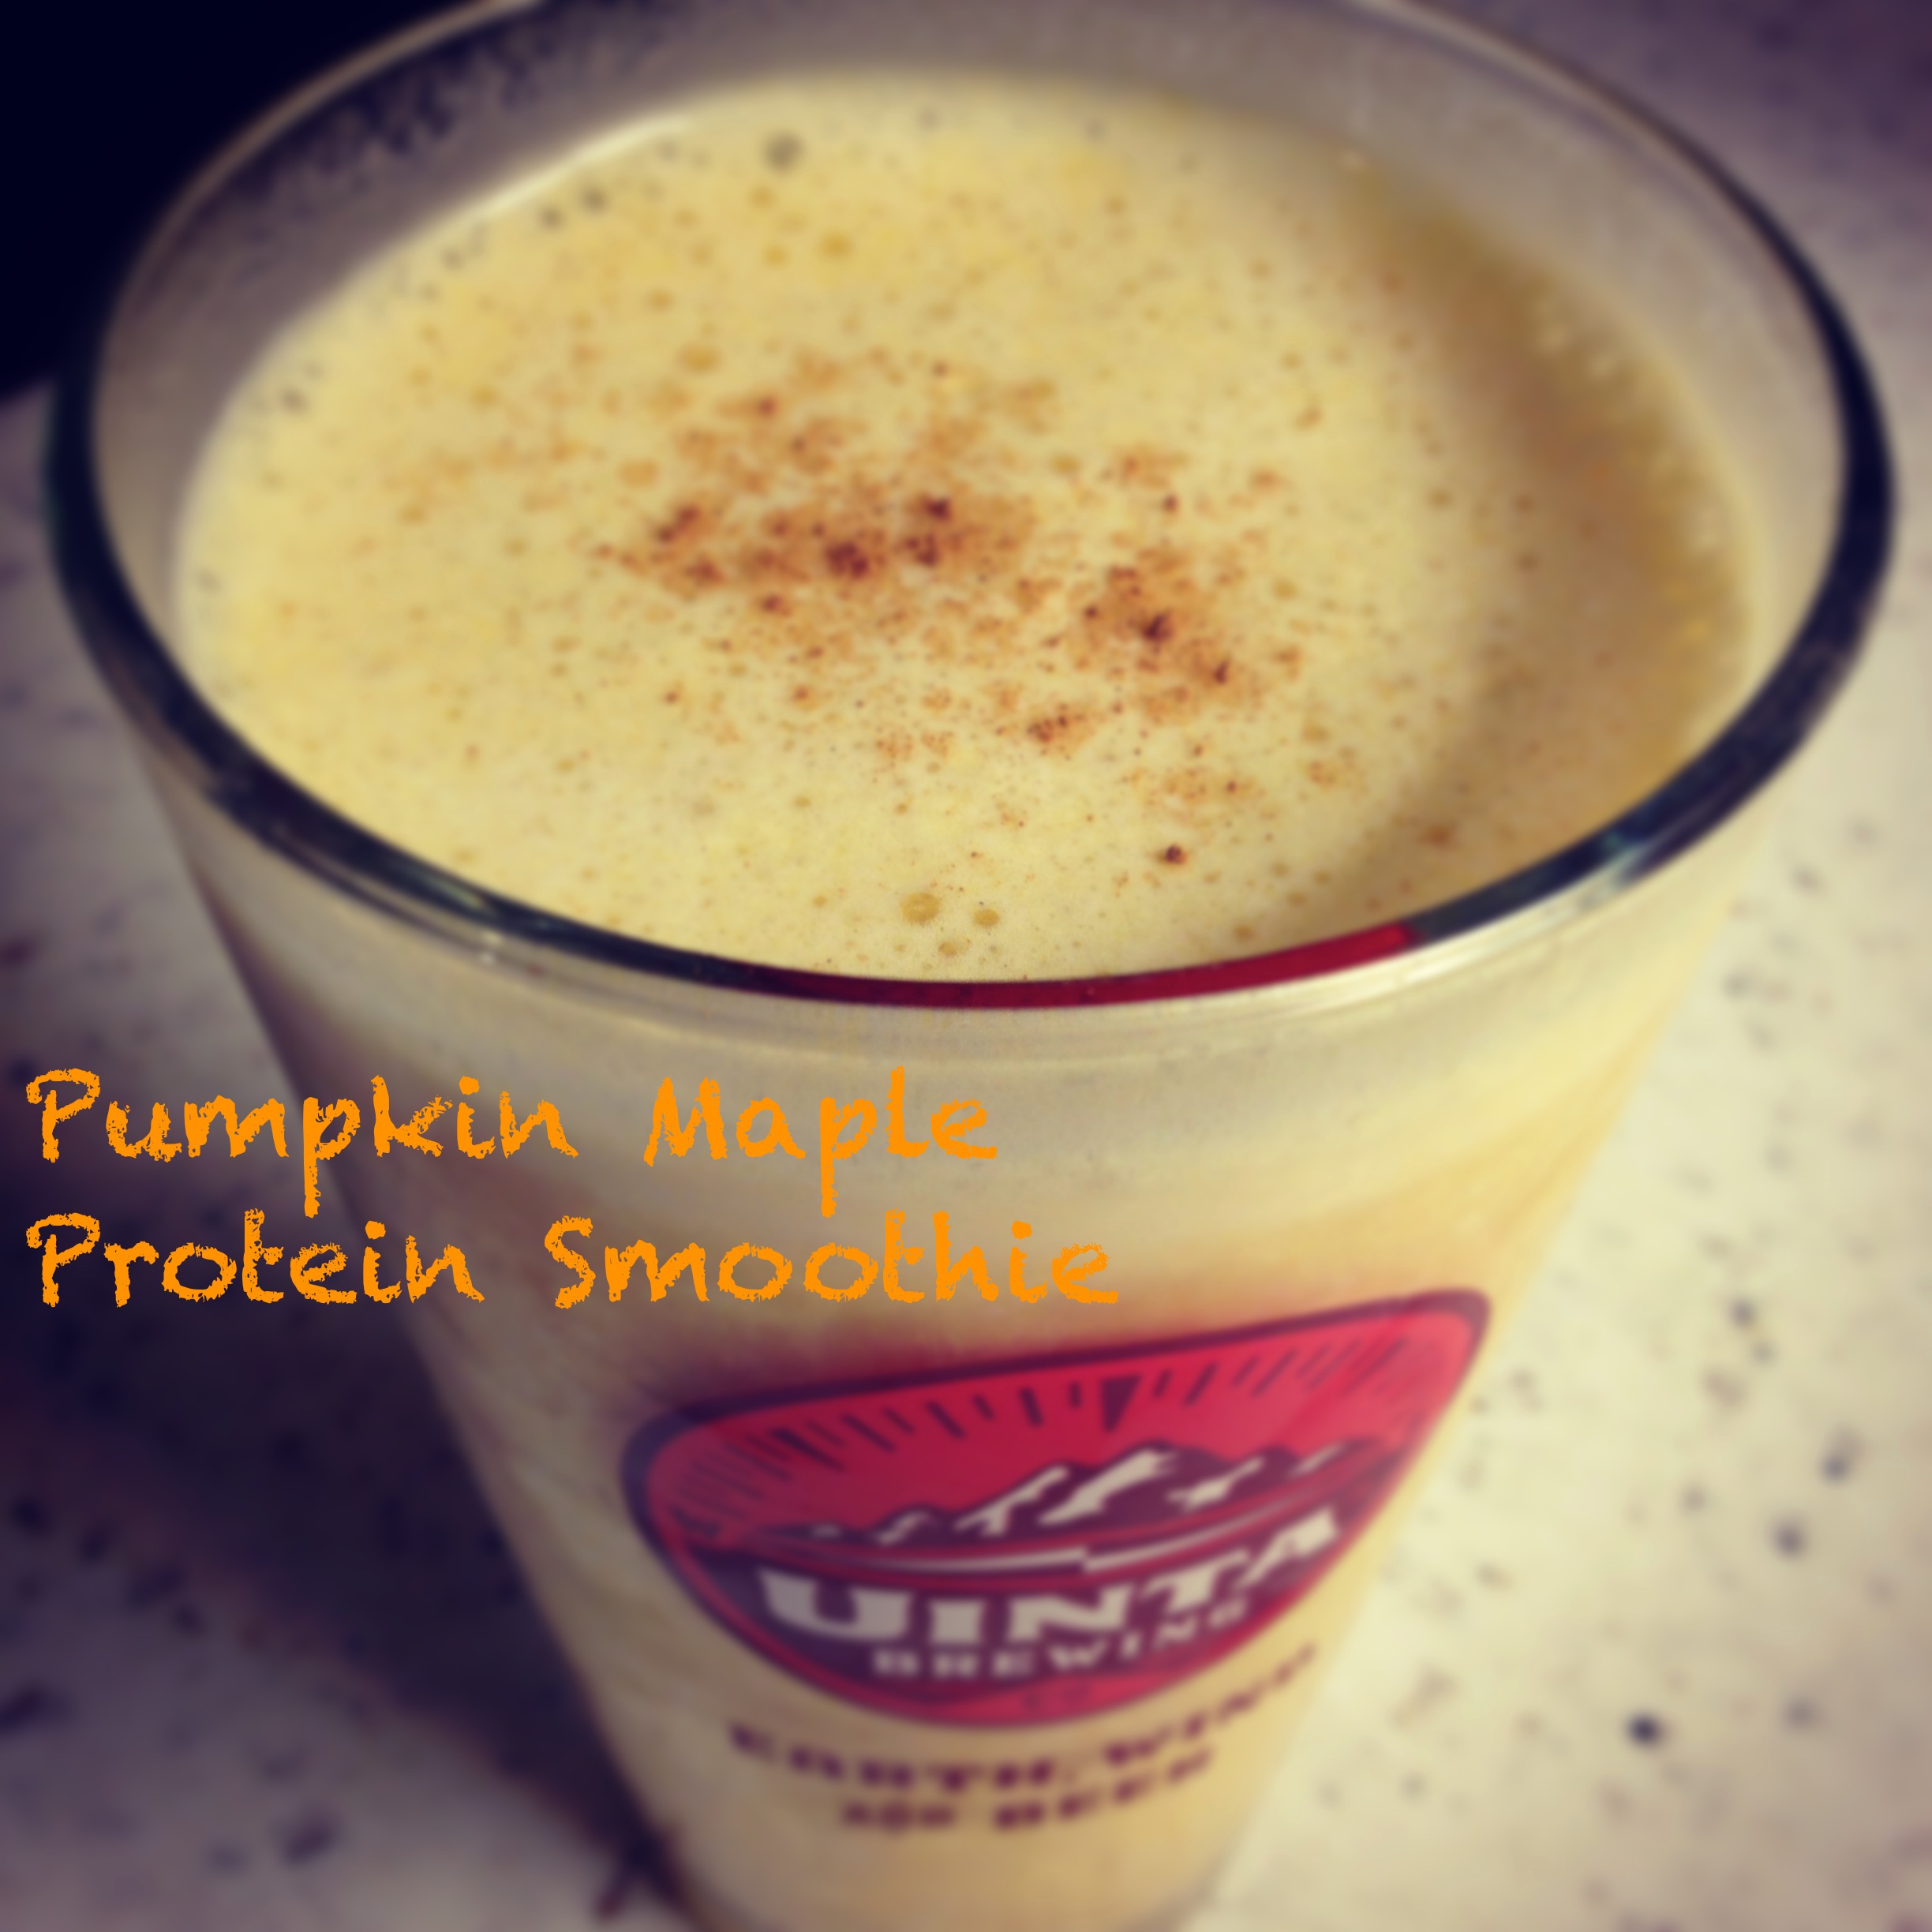
 Pumpkin Maple Protein Smoothie by Ski Boots in the Kitchen