Dill Potato Salad

IMG_5006
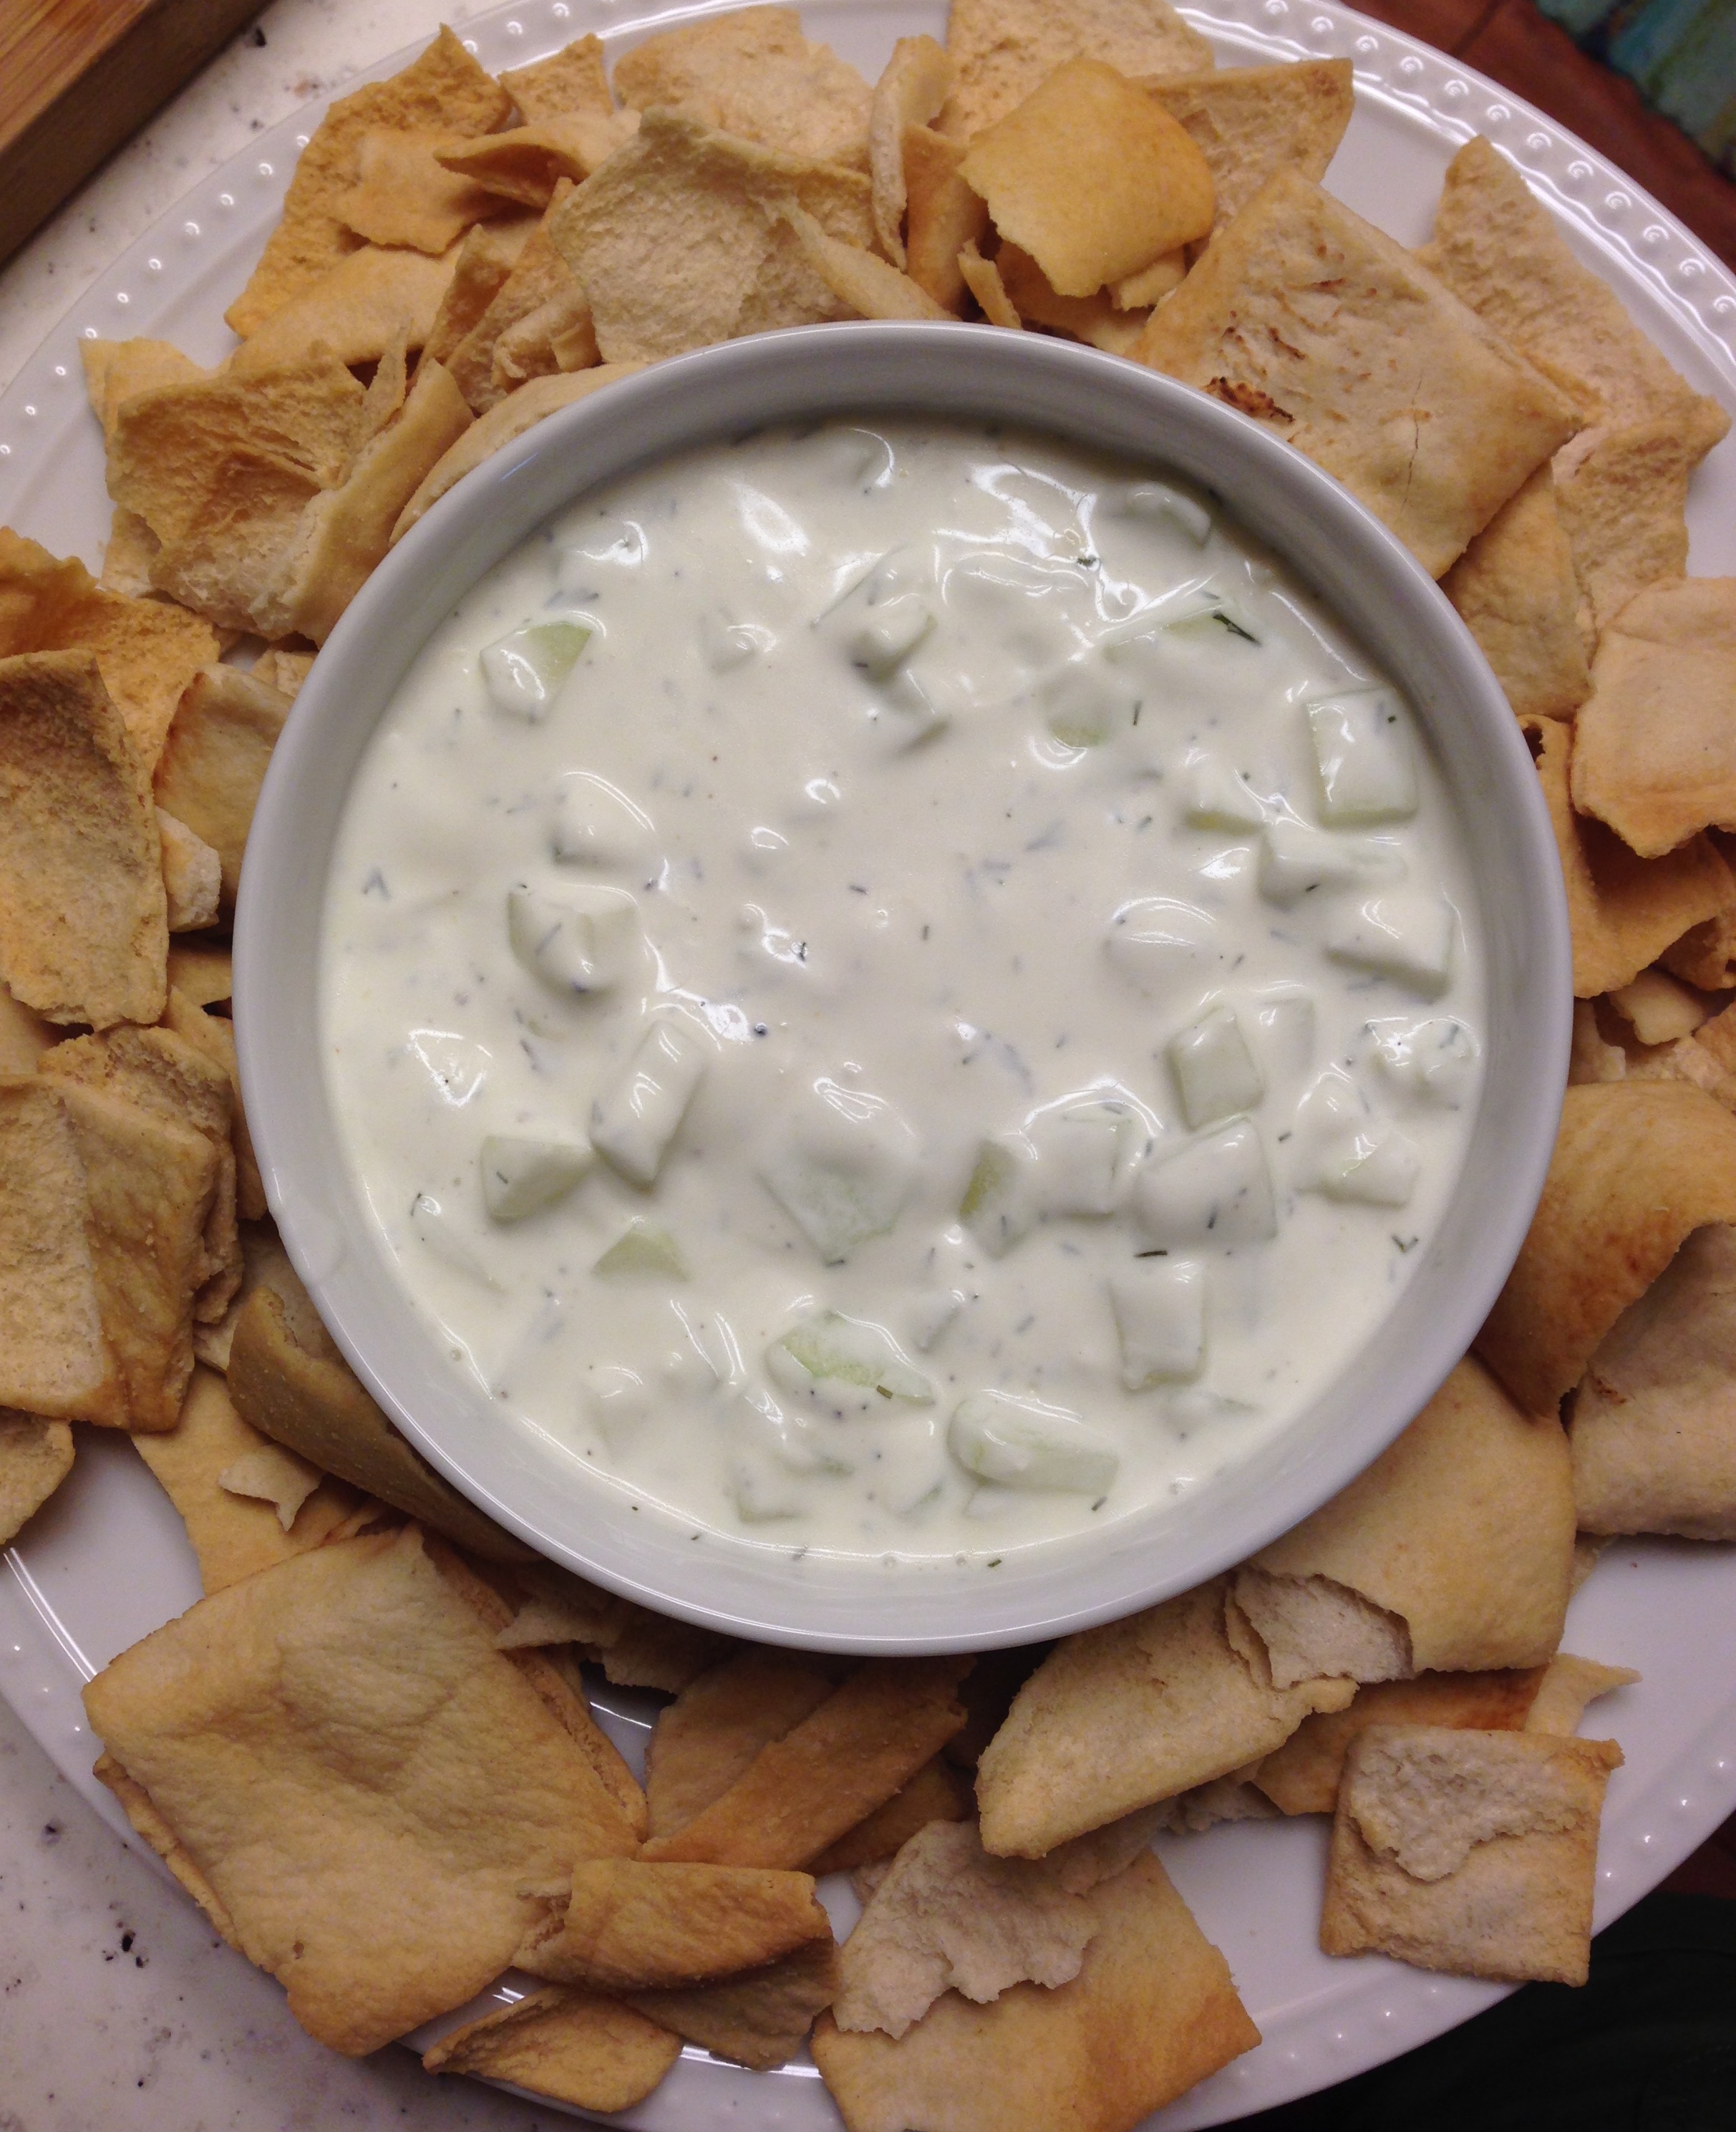
Labor Day… the last hurrah of summer. I love fall so much, with the cool air, changing leaves and football season, but it always makes me sad when Labor Day rolls around because it means summer is really over. Potato Salad feels like a summer dish, something you make for BBQs and beach picnics, but this recipe calls for lots of fall produce, so why not soak up the last weekend of summer with this creamy dill potato salad. I had seen this recipe a while back in one of my favorite Ina Garten cookbooks and I am glad that I tried it! The comb of dill, buttermilk and crunchy celery make this salad super flavorful. Its really easy to prepare and it makes enough to serve 8-10 people easily, so its great for a crowd. Hope you enjoy the long weekend with family, friends and good food! Cheers.

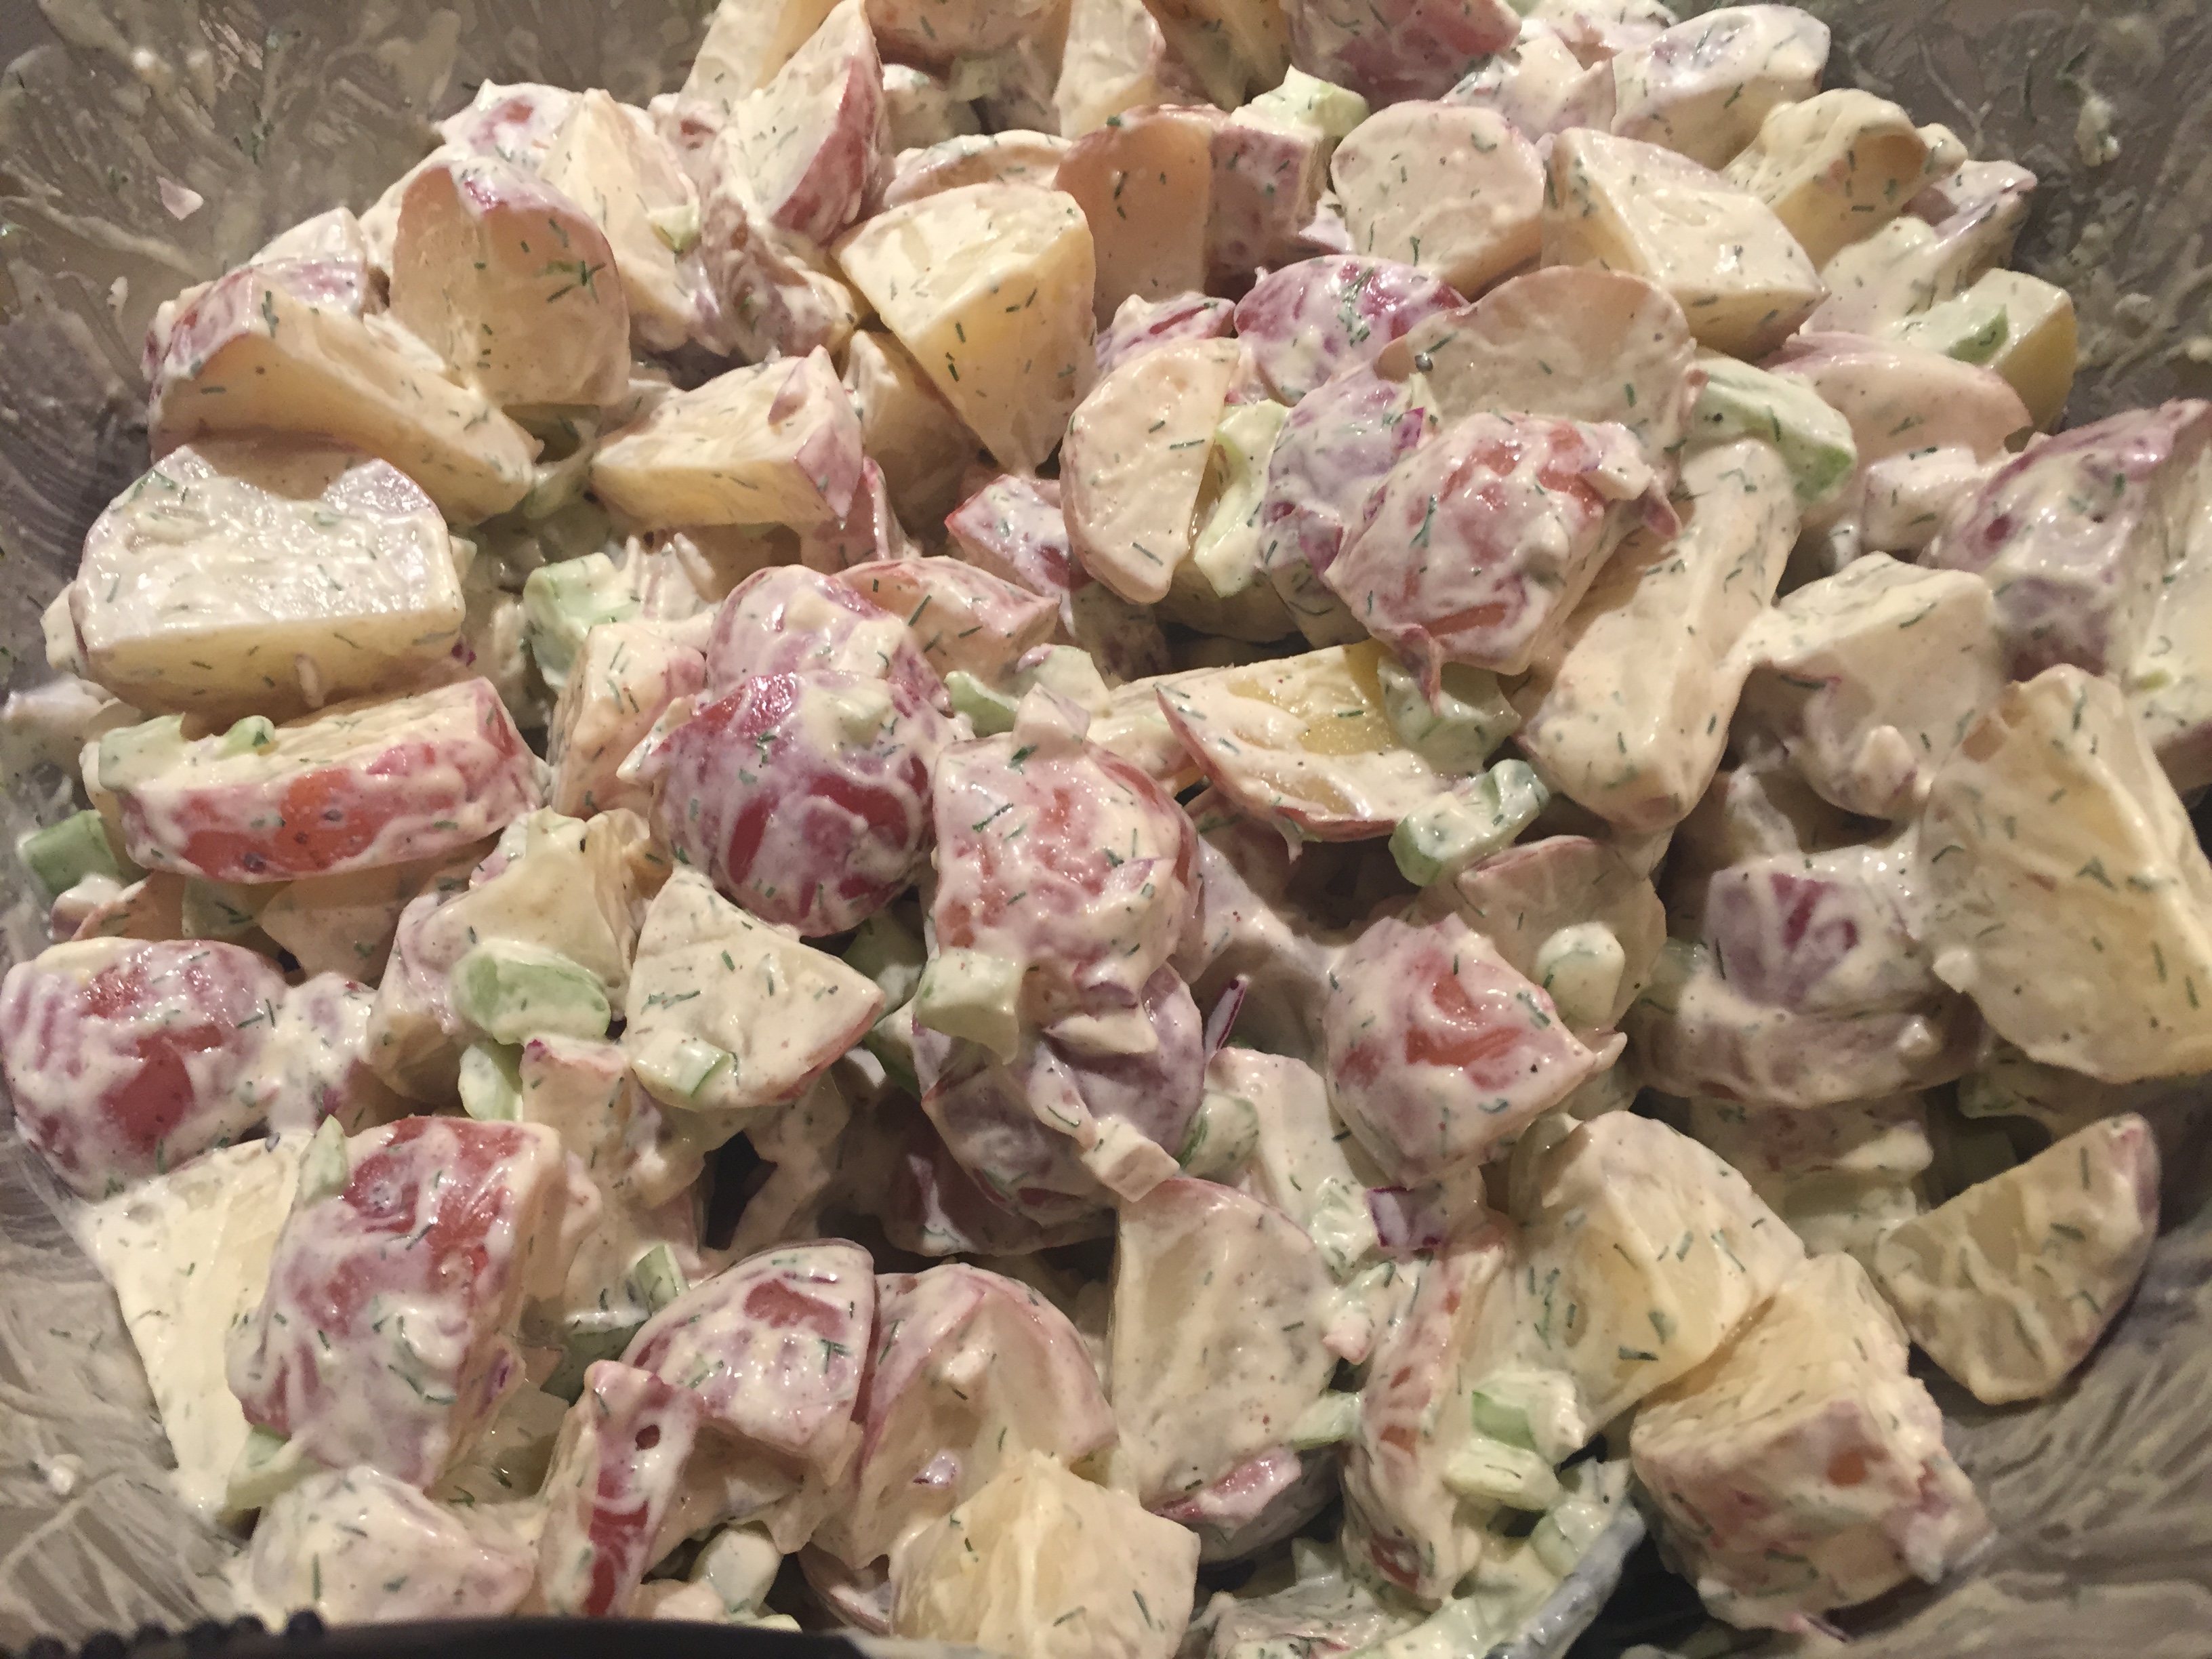
Ina Garten’s Dill Potato Salad (Serves 8-10)

Ingredients:

  • 3 pounds small white potatoes
  • 1 cup mayonnaise
  • 1/4 cup buttermilk
  • 2 tablespoons Dijon mustard
  • 2 tablespoons whole-grain mustard
  • 1/2 cup chopped fresh dill
  • 1/2 cup chopped celery
  • 1/2 cup chopped red onion
  • Freshly ground black pepper
  • Kosher salt

Directions:

  1. Place the potatoes and 2 tablespoons of salt in a large pot of water. Bring the water to a boil, then lower the heat and simmer for 10 to 15 minutes, until the potatoes are barely tender when pierced with a knife. Drain the potatoes in a colander, and place the potatoes back in the empty pot and cover with a clean, dry kitchen towel. Allow the potatoes to steam for 15 to 20 minutes.
  2. Meanwhile, in a small bowl, whisk together the mayonnaise, buttermilk, Dijon mustard, whole grain mustard, dill, 1 teaspoon of salt, and 1 teaspoon of pepper. Set aside.
  3. When the potatoes are cool enough to handle, cut them in quarters or in half, depending on their size. Place the cut potatoes in a large bowl. While the potatoes are still warm, pour enough dressing over to coat them completely.
  4. Add the celery and red onion, 2 teaspoons of salt and 1 teaspoon of pepper. Toss well, cover, and refrigerate for a few hours to allow the flavors to blend. Serve cold or at room temperature.
Advertisement

Tzatziki Dip

photo-606I hope you all had a wonderful Labor Day weekend! We had gorgeous weather in Park City, which was a welcomed change from all the rain and gloomy weather we’ve been having here. I keep telling myself that all this rain now… means LOTS of snow this winter, right? I kicked off my long weekend with a BBQ with some friends, like I am sure many of you did as well. I was looking for a different appetizer to bring to the BBQ than the usual hummus and carrots or veggie platter which are so over done!

We have been getting a lot of cucumbers in our CSA lately so I thought it would be perfect to use some of them up. This recipe for Tzatziki is super light and refreshing- it uses about half the amount of sour cream that most recipes call for, making this the perfect dip or condiment! I also love putting this Tzatziki on my Greek chicken gryo’s (recipe to come!) Serve this dip with some pita chips and enjoy!!

Greek Tzatziki Dip

Ingredients:

  • 3 Tablespoons Olive Oil
  • 1 Tablespoon white wine or champagne vinegar
  • 2 gloves garlic, minced or pressed using a garlic press
  • 1/2 lemon, juiced
  • 1/2 teaspoon salt (more to taste)
  • 4-5 turns of fresh pepper
  • 1 cup Greek yogurt
  • 1 cup sour cream
  • 2 cucumbers, peeled, seeded and diced (smaller is better)
  • 1 teaspoon chopped fresh dill (I use freeze dried sometimes too)

Directions:

  1. In a small bowl, combine olive oil, vinegar, lemon juice, garlic, salt and pepper. Mix to combine, set aside.
  2. Peel cucumbers and slice them lengthwise. Using a spoon, scoop the seeds from the flesh and discard them. Diced the cucumber into small bite size cubes.
  3. In another medium bowl, use a whisk to blend yogurt with sour cream.
  4. Add the olive oil mixture to the yogurt mixture and stir until none of the oil remains.
  5. Fold in cucumber and dill until fully incorporated. Chill for 1-2 hours before serving.
  6. Serve with pita chips

In a Pickle: Classic Dill or Spicy Garlic?

photo-110It has been an unusual couple of weeks here in Utah- It has rained almost everyday consistently for more than a week. Rainy weather = movie days and new kitchen experiments. I have a bizarre love for pickles. Mostly dill pickles, but I’m also not picky when it comes to pickles, I love them all. photo-106I also love weird combinations of pickles- If you’ve never tried a pickle and peanut butter sandwich, you’re seriously missing out (I know your intrigued now…so just try it.) photo-112Fall is harvest time for the mini pickling cucumbers, so I decided to attempt my first ever pickling adventure. It’s easy to find the mini cucumbers at the farmers markets or local market… but the hardest part? Figuring out which kind of delicious pickle to make! photo-108So I decided to test out two different recipes- the Classic Dill and the Spicy Garlic Dill. Both turned out amazing! If you love the classics go for the Dill but if your looking to spicy things up, the spicy garlic packs a punch- or go my route and make both! Fresh pickles all winter long- what could be better? photo-109 Spicy Garlic Dill Pickles

Ingredients:

  • 8-12 small pickling cucumbers (kirby) (approximately 3 pounds)
  • 1 1/2 cups apple cider vinegar
  • 1 1/2 cups filtered water
  • 2 tablespoons pickling salt (or Kosher Sea Salt)
  • 8 garlic cloves, peeled
  • 4 teaspoons dill seed
  • 2 teaspoons black peppercorns
  • 1 teaspoon red chili flakes
  • 4 half pint mason jars

Directions:

  1. Wash mason jars with hot soapy water or disinfect by putting them through the dishwasher or boiling water bath prior to canning for shelf storage. (you don’t need to do this if you plan on keeping the in the refrigerator.
  2. Wash and dry cucumbers. Cut off ends and depending on your preference, cut into chips, spears or leave whole. I used my mandolin with the ruffle edge blade to cut my cumbers into ruffled chips!
  3. Combine vinegar, water and salt in a sauce pan and bring to a boil. (If you don’t have pickling salt be sure to use Kosher sea salt- table salt does not work for pickling).
  4. Combine dill seeds, pepper corns and chili flakes together in a bowl. Divide mixture and garlic equally among the 4 mason jars. Pack cut cumbers as tightly as you can into the jars without crushing them.
  5. Pour brine into the jars leaving 1/4″ of room at the top of the jar. Remove any air bubbles by tapping the side of the jars. Wipe the rims of the jars and apply lids and bands.
  6. If processing jars for shelf stability, lower jars into your processing pot. When water returns to a boil, set a timer for 10 minutes. When time is up, remove jars from canning pot and allow them to cool. When jars are cool enough to handle, check seals.
  7. If you choose not to process your jars, let them cool before putting them into the refrigerator. Do note that your jars may seal during the cooling process. However, without the boiling water bath process, that doesn’t mean they’re shelf stable. Still refrigerate.
  8. Allow pickles to marinate for at least one week in the fridge before eating. Enjoy! photo-111Classic Dill Pickles

Ingredients:

  • 8-12 small pickling cucumbers (kirby) (about 3pounds)
  • 2 cups white vinegar
  • 2 cups water
  • 2 tablespoons pickling salt
  • 4 heads fresh dill or 4 teaspoons dill seeds
  • 4 small cloves garlic
  • 4 half pint mason jars

Directions:

  1. Use the same processes as above to clean mason jars. Combine vinegar, water and salt in sauce pan, bringing to a boil. Divide dill, garlic and pickles equally between the 4 jars. Follow steps 5-8 above.
  2. Enjoy!