I found this recipe on one of my favorite food blogs, Food52. Named “Magical Marvelous Memorable Cookies” I was intrigued…Then I saw the ingredients list and I knew I had to make these cookies. If you have left over Halloween candy laying around- these cookies are perfect! Any kind of chocolate will do- these are fun to make because you can really add whatever you like. The result, amazingly crispy (almost like brittle) irresistible – you will eat the whole plate of cookies and much of the raw dough, cookies! ENJOY (I did!)

Ingredients
- 1 1/2 cups unbleached all purpose flour
- 1 teaspoon baking powder
- 1/2 teaspoon baking soda
- 1 teaspoon kosher salt
- 1 3/4 sticks unsalted butter, room temperature
- 1 cup granulated sugar
- 1/2 cup light brown sugar
- 1 egg
- 1 teaspoon vanilla extract
- 1 cup granola (or other cereal)
- 1/2 cup crushed salted pretzel pieces (or other salty snack food)
- 1 cup semi-sweet chocolate chips, chopped chocolate candies, or small bar of good dark chocolate, chopped into chunks
- 1/2 cup chopped pecans or other nuts, optional (I didn’t add nuts because I used Snickers which already has peanuts)
- If you don’t add nuts you may want to add more cereal, snacks or chocolate to compensate
- You may want to add a little cinnamon, allspice, cardamom, or whatever your favorite spice is. I didn’t because I wanted the taste of the granola to come through
Heat the oven to 375. Line 2 large baking sheets with parchment paper or aluminum foil. Whisk flour baking powder, baking soda, and salt in medium bowl.
In another bowl, beat butter and sugars at medium-low speed (or hand whisk) until light and fluffy. Add egg and vanilla and beat on medium-low until fully incorporated. Scrape down the sides of the bowl with a rubber spatula.

Add Flour mixture and mix until smooth with a wooden spoon. Gradually add granola, pretzels, chocolate and nuts, and mix until well incorporated, ensuring that no flour pockets remain and ingredients are evenly distributed. (Restrain yourself from eating the the dough).
Scoop dough into balls, each about 1 1/2 tablespoons then roll between palms into balls (now its literally impossible not to eat the dough). Place cookies on prepared baking sheets, spacing them about 2 1/2 inches apart, 8-12 per sheet. (I did not follow this step exactly.. I tried to get more cookies on the sheet then recommended. These cookies spread A LOT, see picture below. Try to space cookies with plenty of space to bake so they do not stick together.) Freeze dough at least 20 minutes or refrigerate for one hour before baking.

Example of what not to do- add as many cookies as you can fit on the baking sheet.
Bake one sheet at time until cookies are deep golden brown about 13-15 minutes. Let them cool completely on the baking sheets before moving to wire rack. They will be fragile.

Whoops.. one solid cookie… Don’t worry the flavor wasn’t compromised. (I cut cookies apart before they cooled- if you wait until they are cool they will break)

These are even better once they are completely cooled and become crispy. They would be great crumbed over a bowl of ice cream or as is!
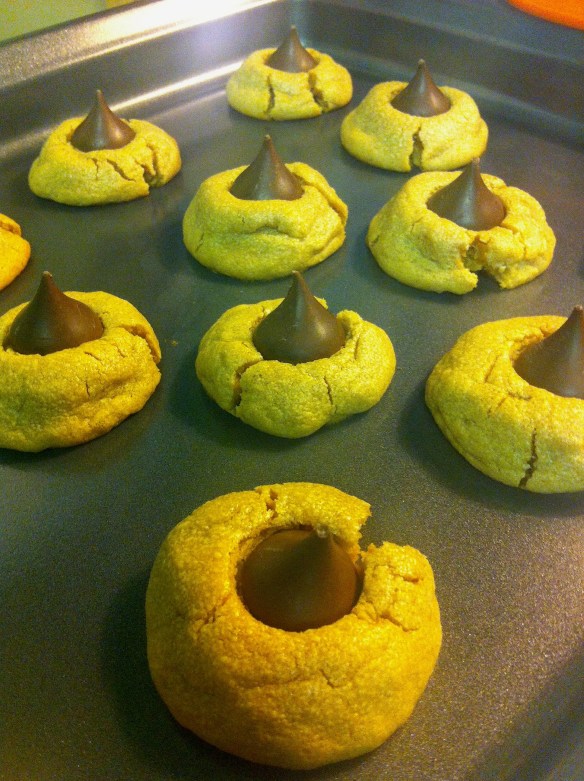 Christmas = peanut butter blossoms (to me). I am a huge fan of peanut butter and chocolate any way you serve it, but these cookies are always the best! I found this easy recipe a long time ago online and since then I’ve tweaked it to make it better. These are gluten free and only require 6 ingredients that you probably already have laying around in your kitchen! Whats better than not having to go to the store? I always manage to go in to the grocery store only needing bananas and almond milk and I some how end up with $60 worth of crap in my cart (even when I use the small one!) needless to say saving a trip to the store is good for my bank account! Here’s what you’ll need..
 Instructions-
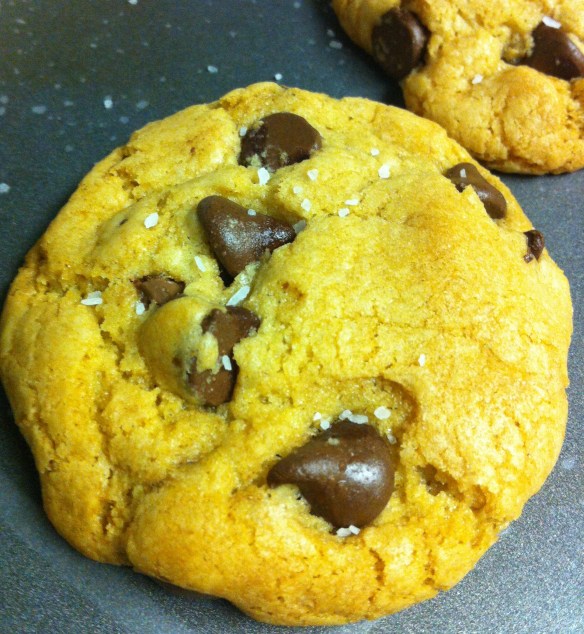

 Three different kinds chocolate chips (dark, milk and semi-sweet) combine for awesomely chocolatey cookies.

 Bake the cookies 9-13 minutes or until the edges of the cookies begin to turn golden brown. They will look a bit underdone in the middle, but will continue to cook once out of the oven. Cool the cookies on the sheets at least 2 minutes. Sprinkle with a little sea salt. Remove the cooled cookies from the baking sheets after a few minutes and transfer to a wire rack to cool completely.
 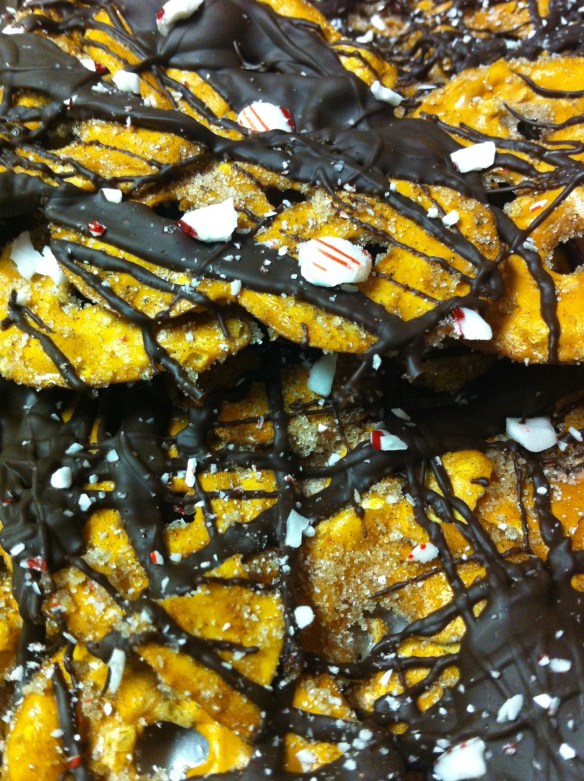 I continued my holiday baking with an updated version of the chocolate cinnamon pretzels I blogged on before. This time I used pretzel thins which catch even more cinnamon, sugar and chocolate! I crushed up some candy canes and sprinkled them on top! Its a great combination!
  I’ve packaged up all my holiday goodies! Happy Holidays everyone!
 This holiday treat is totally addicting (you will see why I call it crack once you’ve made it) and a huge crowd pleaser. The delicious recipe is courtesy of my friend Jacki’s mom, Rose, who always has this graham cracker bark around the house during the holiday’s. The best part about it…it’s a snap to make and you can tweak the toppings to your liking! The classic recipe calls for slivered almonds, but we also added dried cherries to one and dark chocolate chunks to other (we doubled the recipe). Next time I’d love to try this recipe with some chopped pretzels or popcorn or a little Fleur de Sel sprinkled on top. Bring this to your next holiday party and you’re sure to be the most popular guest! Thanks Jacki and Rose for sharing! Enjoy! 🙂
 In a medium sauce pan, melt butter on medium heat until completely melted. Slowly add brown sugar to the melted butter and stir. Allow to the butter and sugar mixture to boil and thicken for about 4 minutes, stirring constantly make sure it doesn’t burn.
 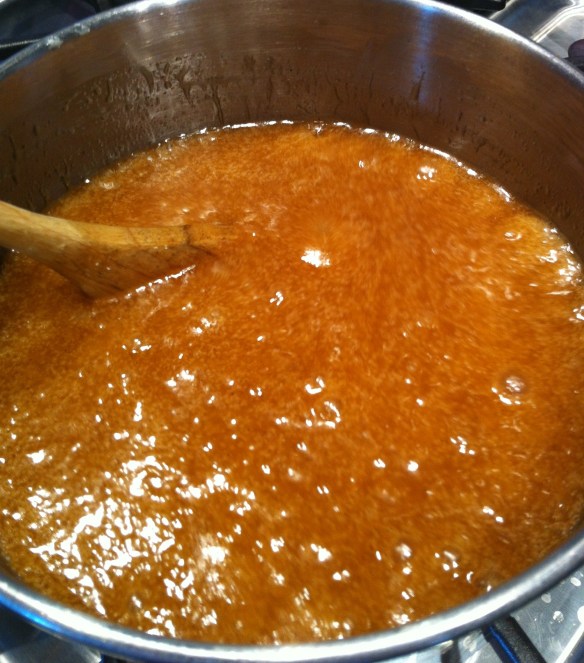 Remove sugar from heat and pour sugar mixture over graham crackers, spreading evenly.
  Sprinkle graham crackers with slivered almonds, cherries or chocolate (or both!). Bake at 350 for 8 minutes. Remove cookie sheet from the oven and allow it to cool completely (this is the hardest step as you will want to eat it right away!) before breaking bark into smaller pieces.
 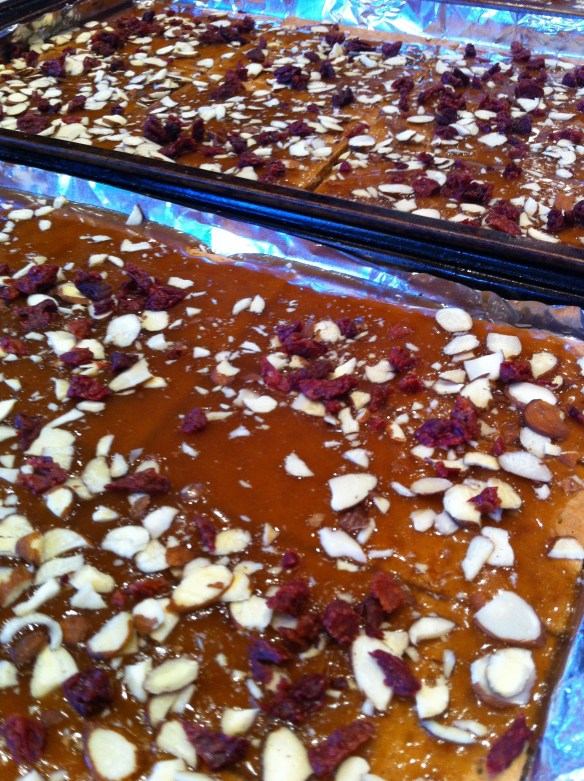 To store, line tupperware or tin with wax paper, separating each layer of bark with another sheet of wax paper. Enjoy!


