Last weekend Jake and I enjoyed our first trip to NAPA! It was wonderful in so many ways- we had beautiful weather, drank great wine and ate delicious food. Overall it was a relaxing and glutinous weekend! If you’ve been to Napa, or just looked at a map of all the wineries… you can see it’s a bit overwhelming- there are so many vineyards to choose from. It can also get pricey! Most wineries now charge a tasting fee to sample their wines and while you can try between 3-5 different varieties at each tasting, multiply that by 10 vineyards and you can spend a lot (and get really drunk)! So I wanted to share my favorite wineries, a few ways to save on tastings and my overall review of the Napa Valley in this addition of Ski Boots in Wine Country! Cheers!
 Tip #1: Download the free app Winery Finder on your smart phone- its amazing. The app list all the vineyards in Napa Valley offering 2-for-1 tastings, special deals on tours and discounts on wine purchased at the vineyard. It also maps out how far each vineyard is from your current location so you can easily hit up the closest tasting without bouncing all over town! Also check out this website Napa Valley on a Budget I found it to be a helpful resource.
  Grgich Hills Estates– Is one of the more well known vineyards in Napa thanks much in part to the ‘Paris Tasting of 1976‘ (aka their Chardonnay won Best Wine in the World in a blind taste test against some of the best French wines- this blind taste test also included other vineyards in Napa which put California wines on the map.) We tasted 5 of their newly released wines (all of which were delicious!) in the main cellar/tasting room. Grgich is a classic to visit, the grounds are beautiful, the wine is fantastic and they offer a 2-for-1 tasting deal!
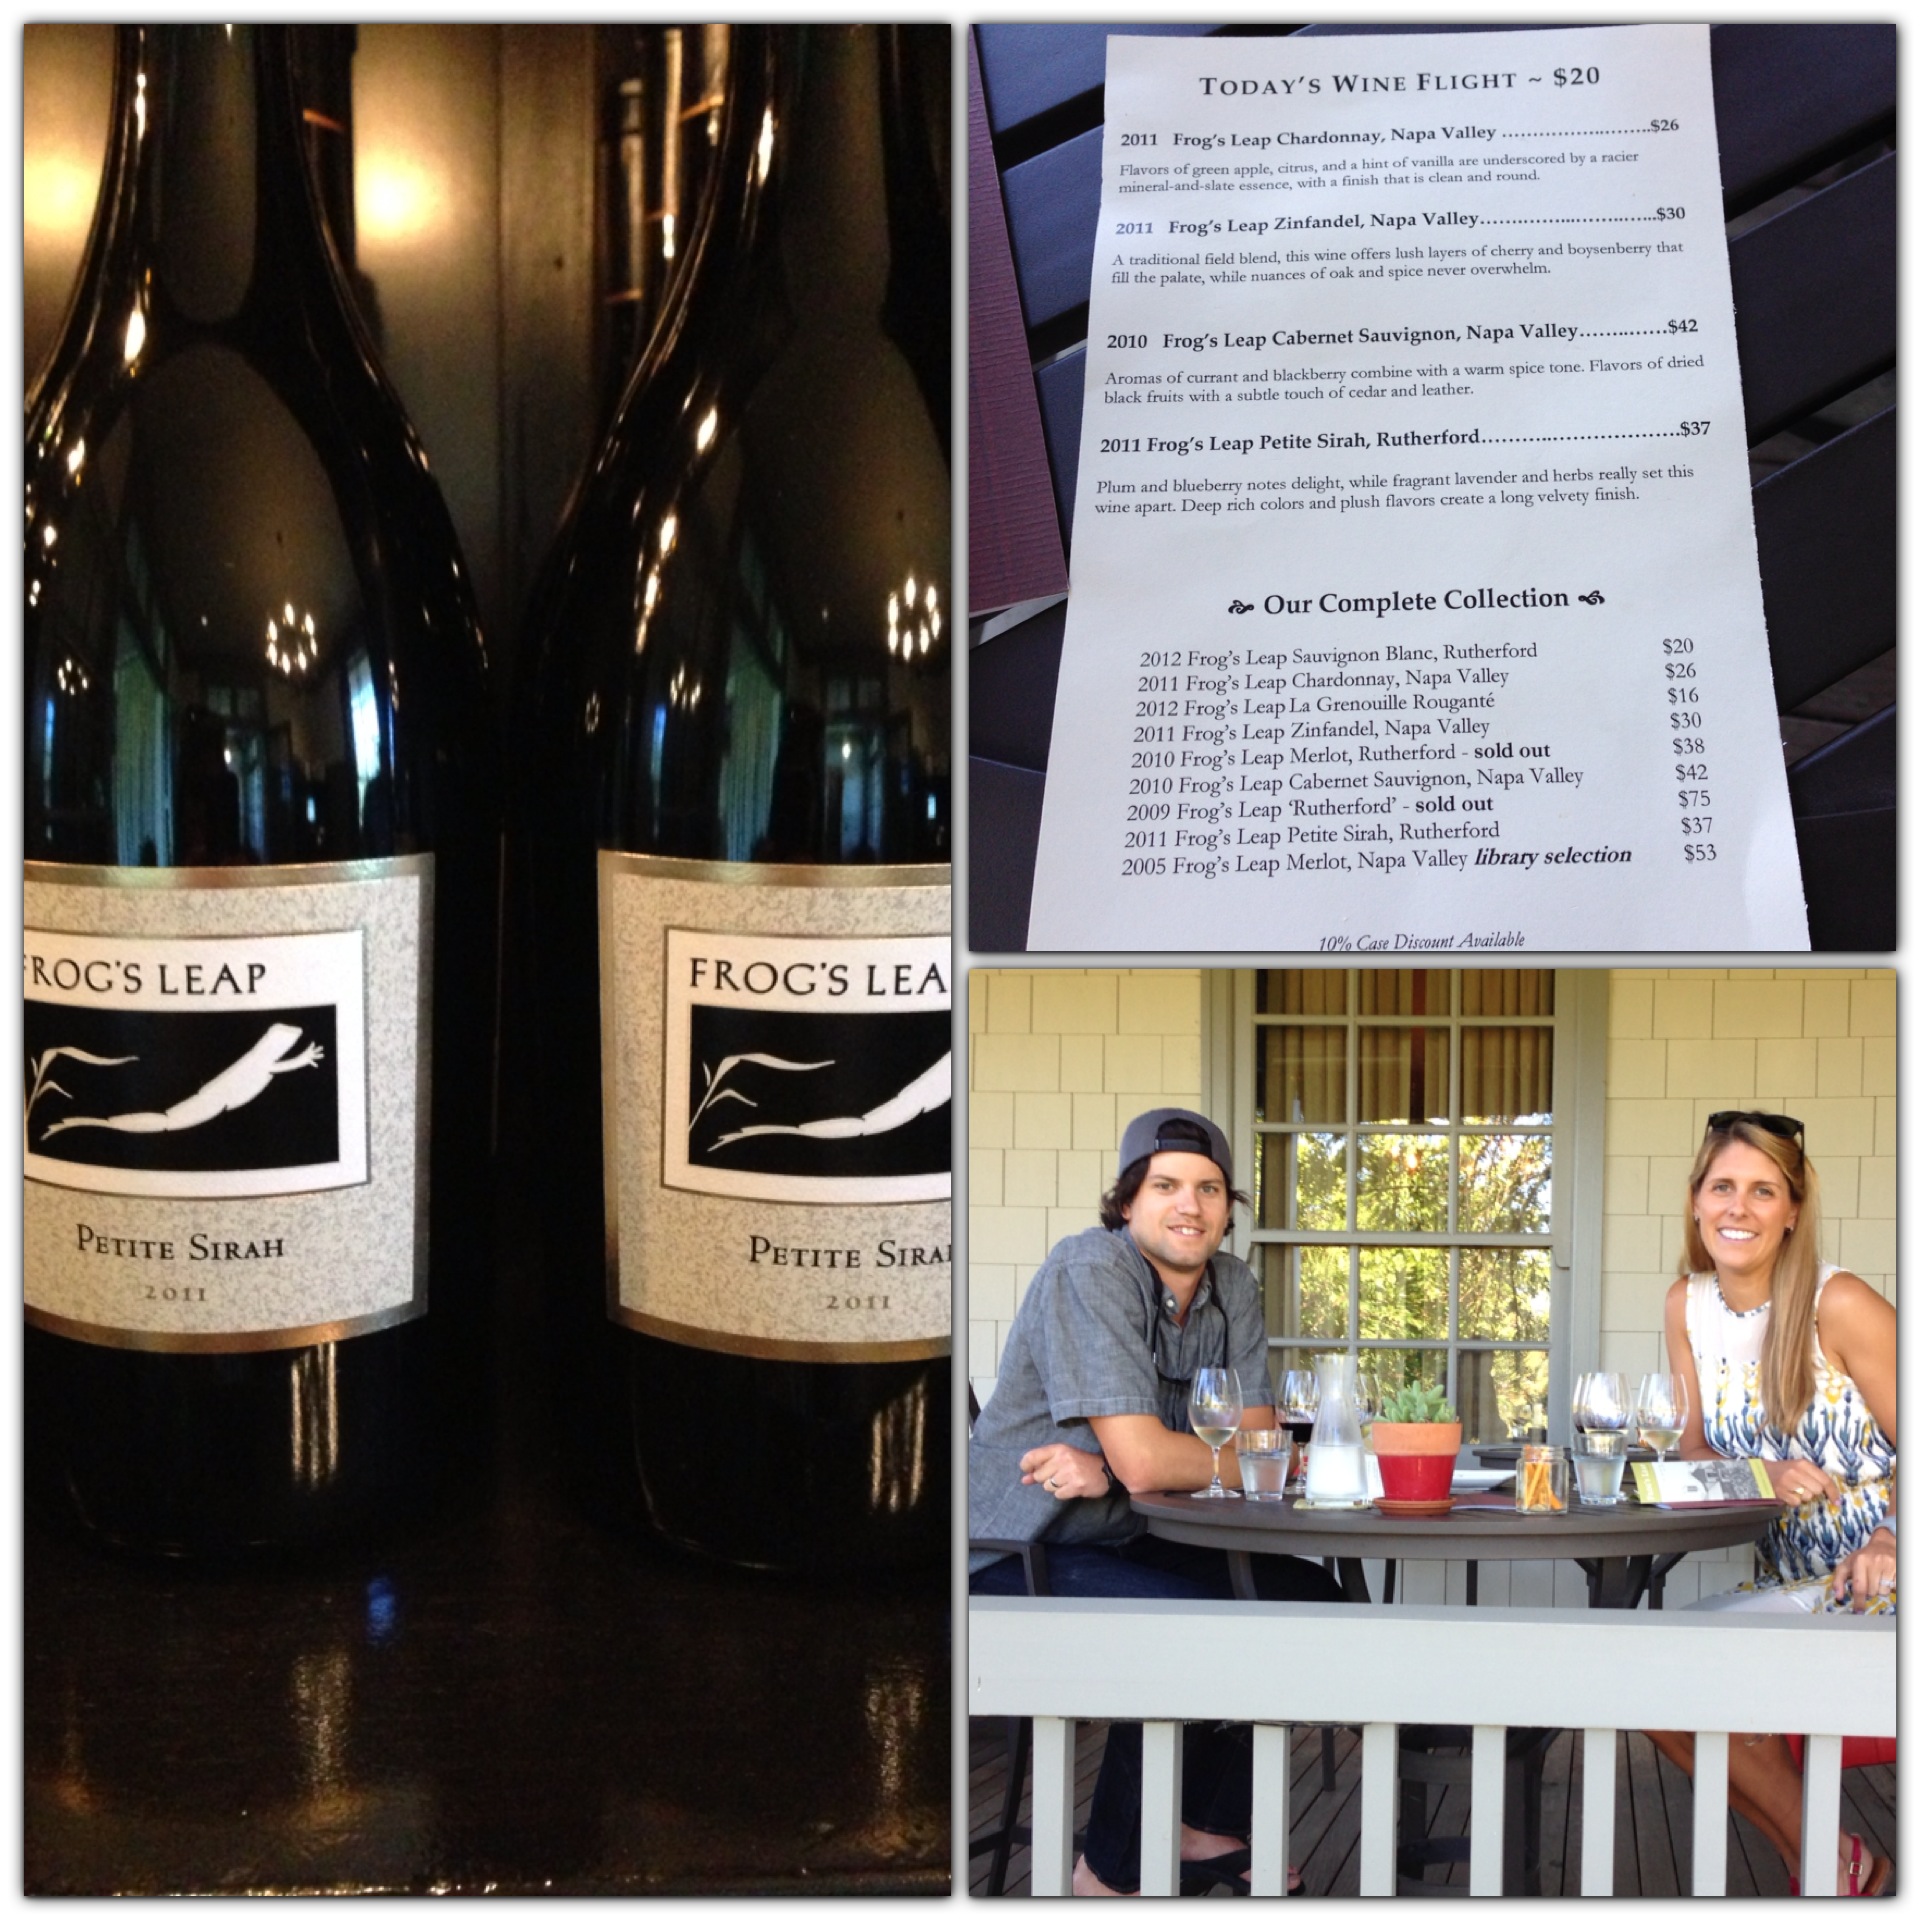
Tip #2: Start Early! Ok, I know you might not be interested in drinking wine for breakfast (I am!) but its your best option if you want to beat the crowds- especially during peak season. Before 12pm you can walk in almost anywhere- after that both the wineries and the St. Helena Hwy get busy.  Frog’s Leap– One of my favorite vineyards we visited! We tasted 4 wines only sold and released at the vineyard. We had a beautiful table on their porch and our wine flights were accompanied with a cheese plate to share. Unlike many of the other vineyards we went to, Frog’s Leap has tasting glasses for each wine (most only give one glass) which allows you to sip and compare each wine at your own pace. I would have loved to do a tour at this vineyard if we had the time- definitely an A+ must visit! Make sure to go in the morning or make a reservation if you’d like to go in the afternoon- they are very busy!
  Duckhorn Vineyards– Tied for first place for favorite vineyard visited, Duckhorn was a wonderful experience! We chose to do their tour and tasting. We tasted 5 wines all paired with different cheeses after touring the grounds and cellars. They had just pulled in their first harvest of the season and we got to see the pallets of grapes come in. They have a beautiful deck so request to be seated outside and they offer a 2-for-1 deal on tastings!
  Mumm Napa– Who doesn’t love ‘Champagne’ sparkling wine? Mumm is just down the road from Frog’s Leap with a beautiful patio and inside porch. They have 4 different tasting menu’s each with 3 different sparkling wines. We each tried a different menu allowing us to try 6 different wines- definitely the way to go! They offer 2-for-1 tastings, tours and a free tour at 10am with the winery app! A definite must!
  Tip #3: Make dinner reservations ahead of time… WAY ahead of time. For popular restaurants 5pm and 9pm are the only available times you’ll find within 4 weeks of your visit- otherwise go for lunch or sit at the bar- many restaurants offer similar menus for lunch and are far less busy at that time.
  Ad Hoc– For all the Thomas Keller fans out there, Ad Hoc is amazing. I thought for sure this was a restaurant that would rest on his famous name and serve mediocre food- I was so wrong. This was easily one of the best meals I have had in years- and for a pretty reasonable price (well compared to the $225pp prefix menu at French Laundry…its a steal. I’ll continue to dream about the French Laundry dining experience, forever.) But seriously, amazing food- don’t miss out!
  Gott’s Roadside– For a truly delicious and affordable Napa experience check out Gott’s Roadside. Classic diner style food and decor jazzed up by a great wine and beer selection (and milkshakes too!) I’m going to fly back just for their shoestring sweat potato fries! Gott’s go burgers like you’ve never tasted, so work up an appetite. There is usually a line (that’s how you know its good!) but its totally worth the wait!
It’s impossible to capture all the goodness Napa has to offer in one post- this only scratches the surface of what we did and the wines we tasted. There is so much to see and do and try its hard to have a bad experience. St. Helena was my favorite town and where we spent most of our time- it’s very picturesque. Check out Model Bakery on Main St. in St Helena for great coffee and breakfast. We actually only drove through the actual town of Napa on our way to and from the airport. St. Helena, Rutherford and Yountville are where its at in the Napa valley! Cheers and happy travels!
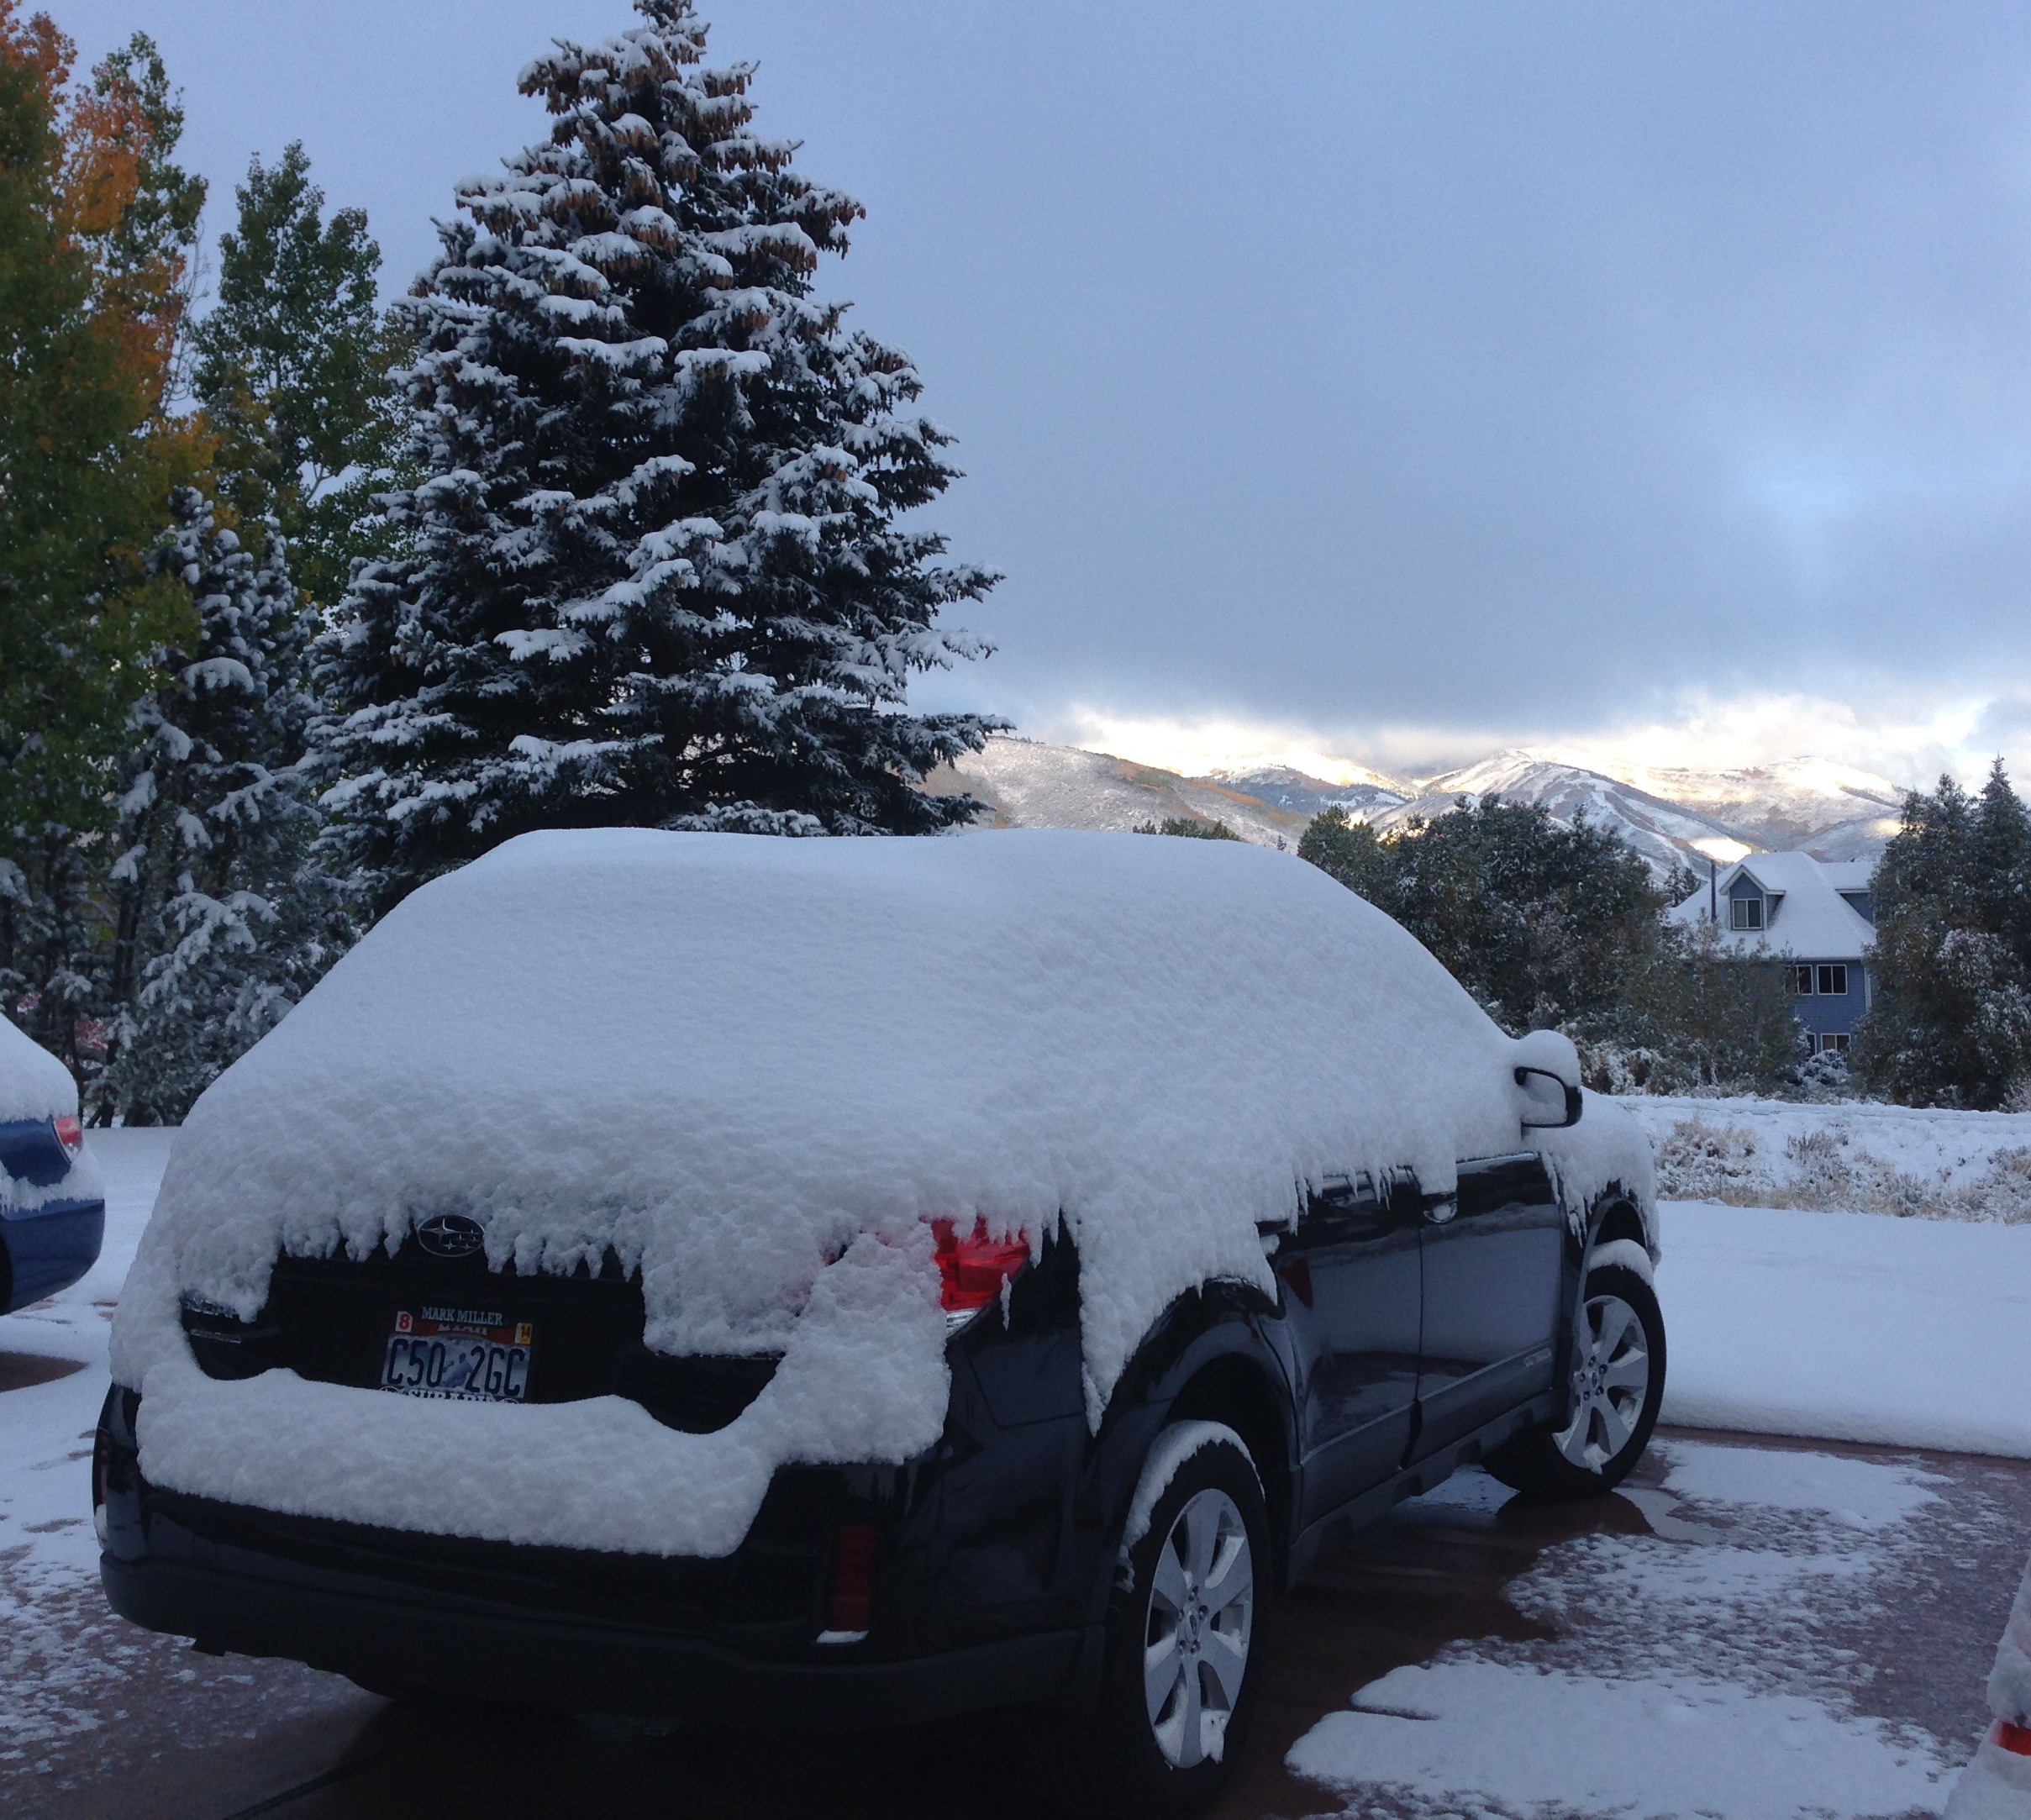
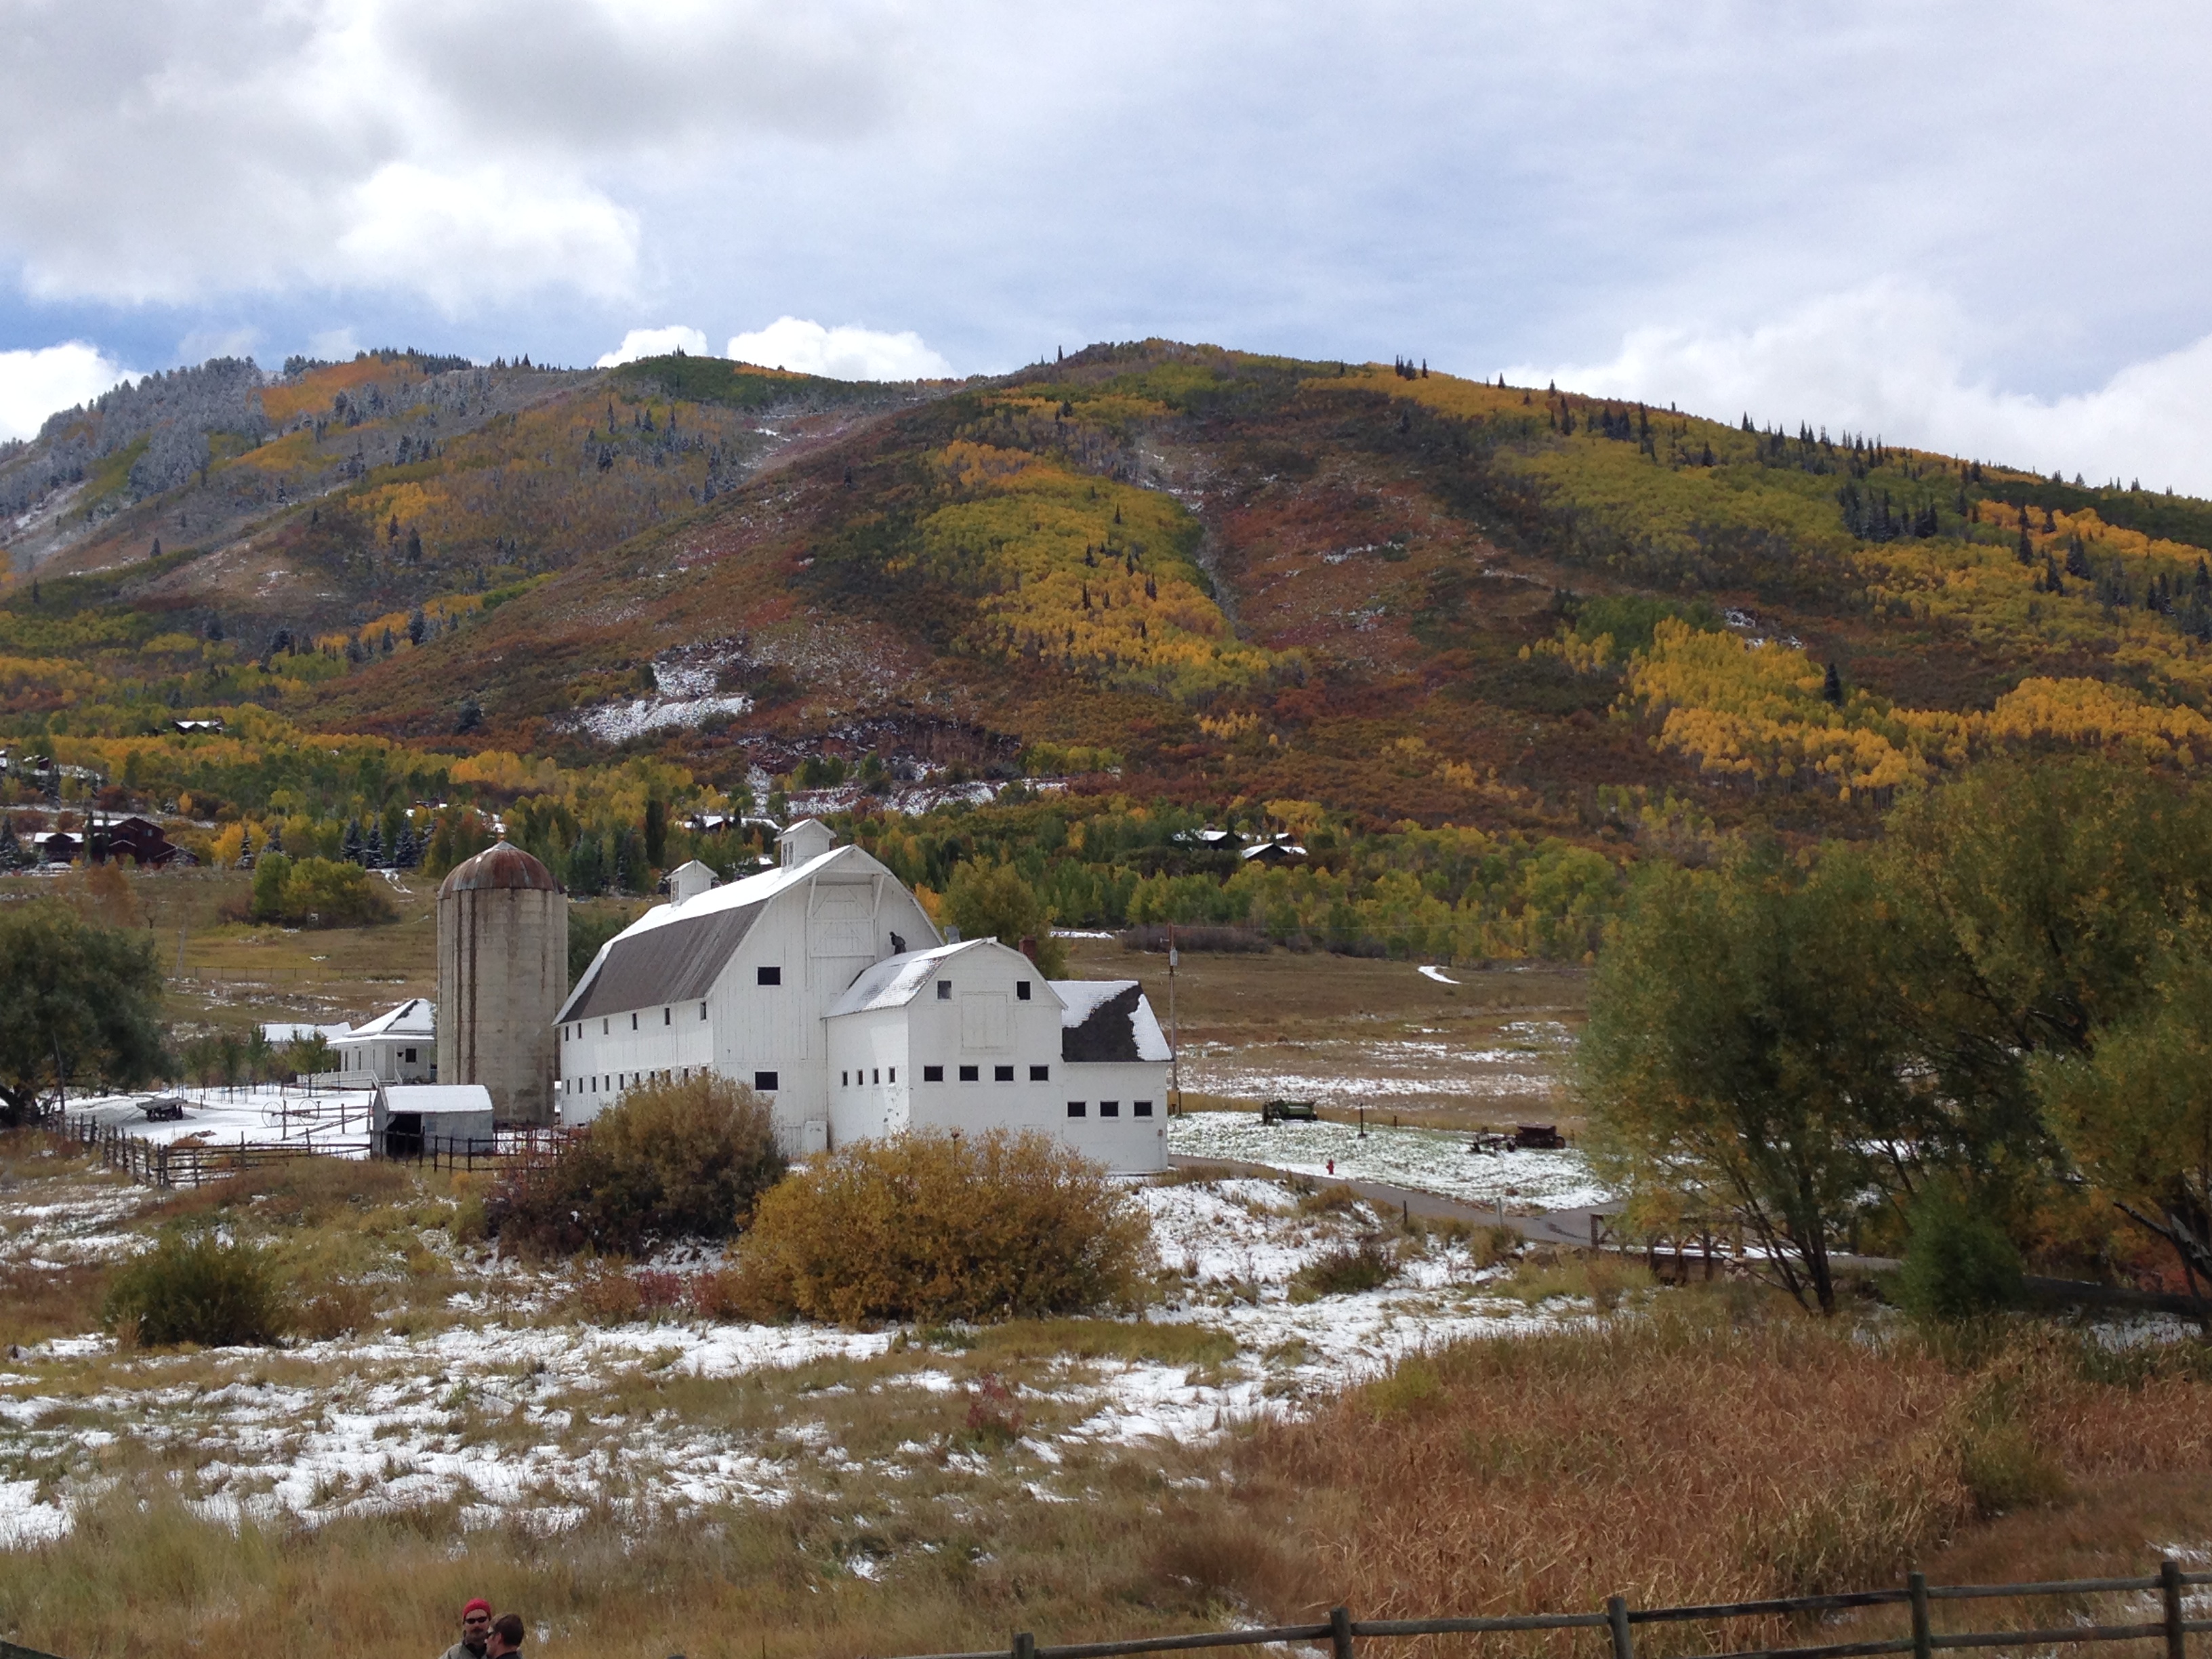
 Wow, what a weekend to be a New England sports fan! My throat hurts from yelling with excitement! After a beautiful Friday and Saturday in the mountains, Sunday was raining and gray and perfect for sitting inside to watch two amazing games.
 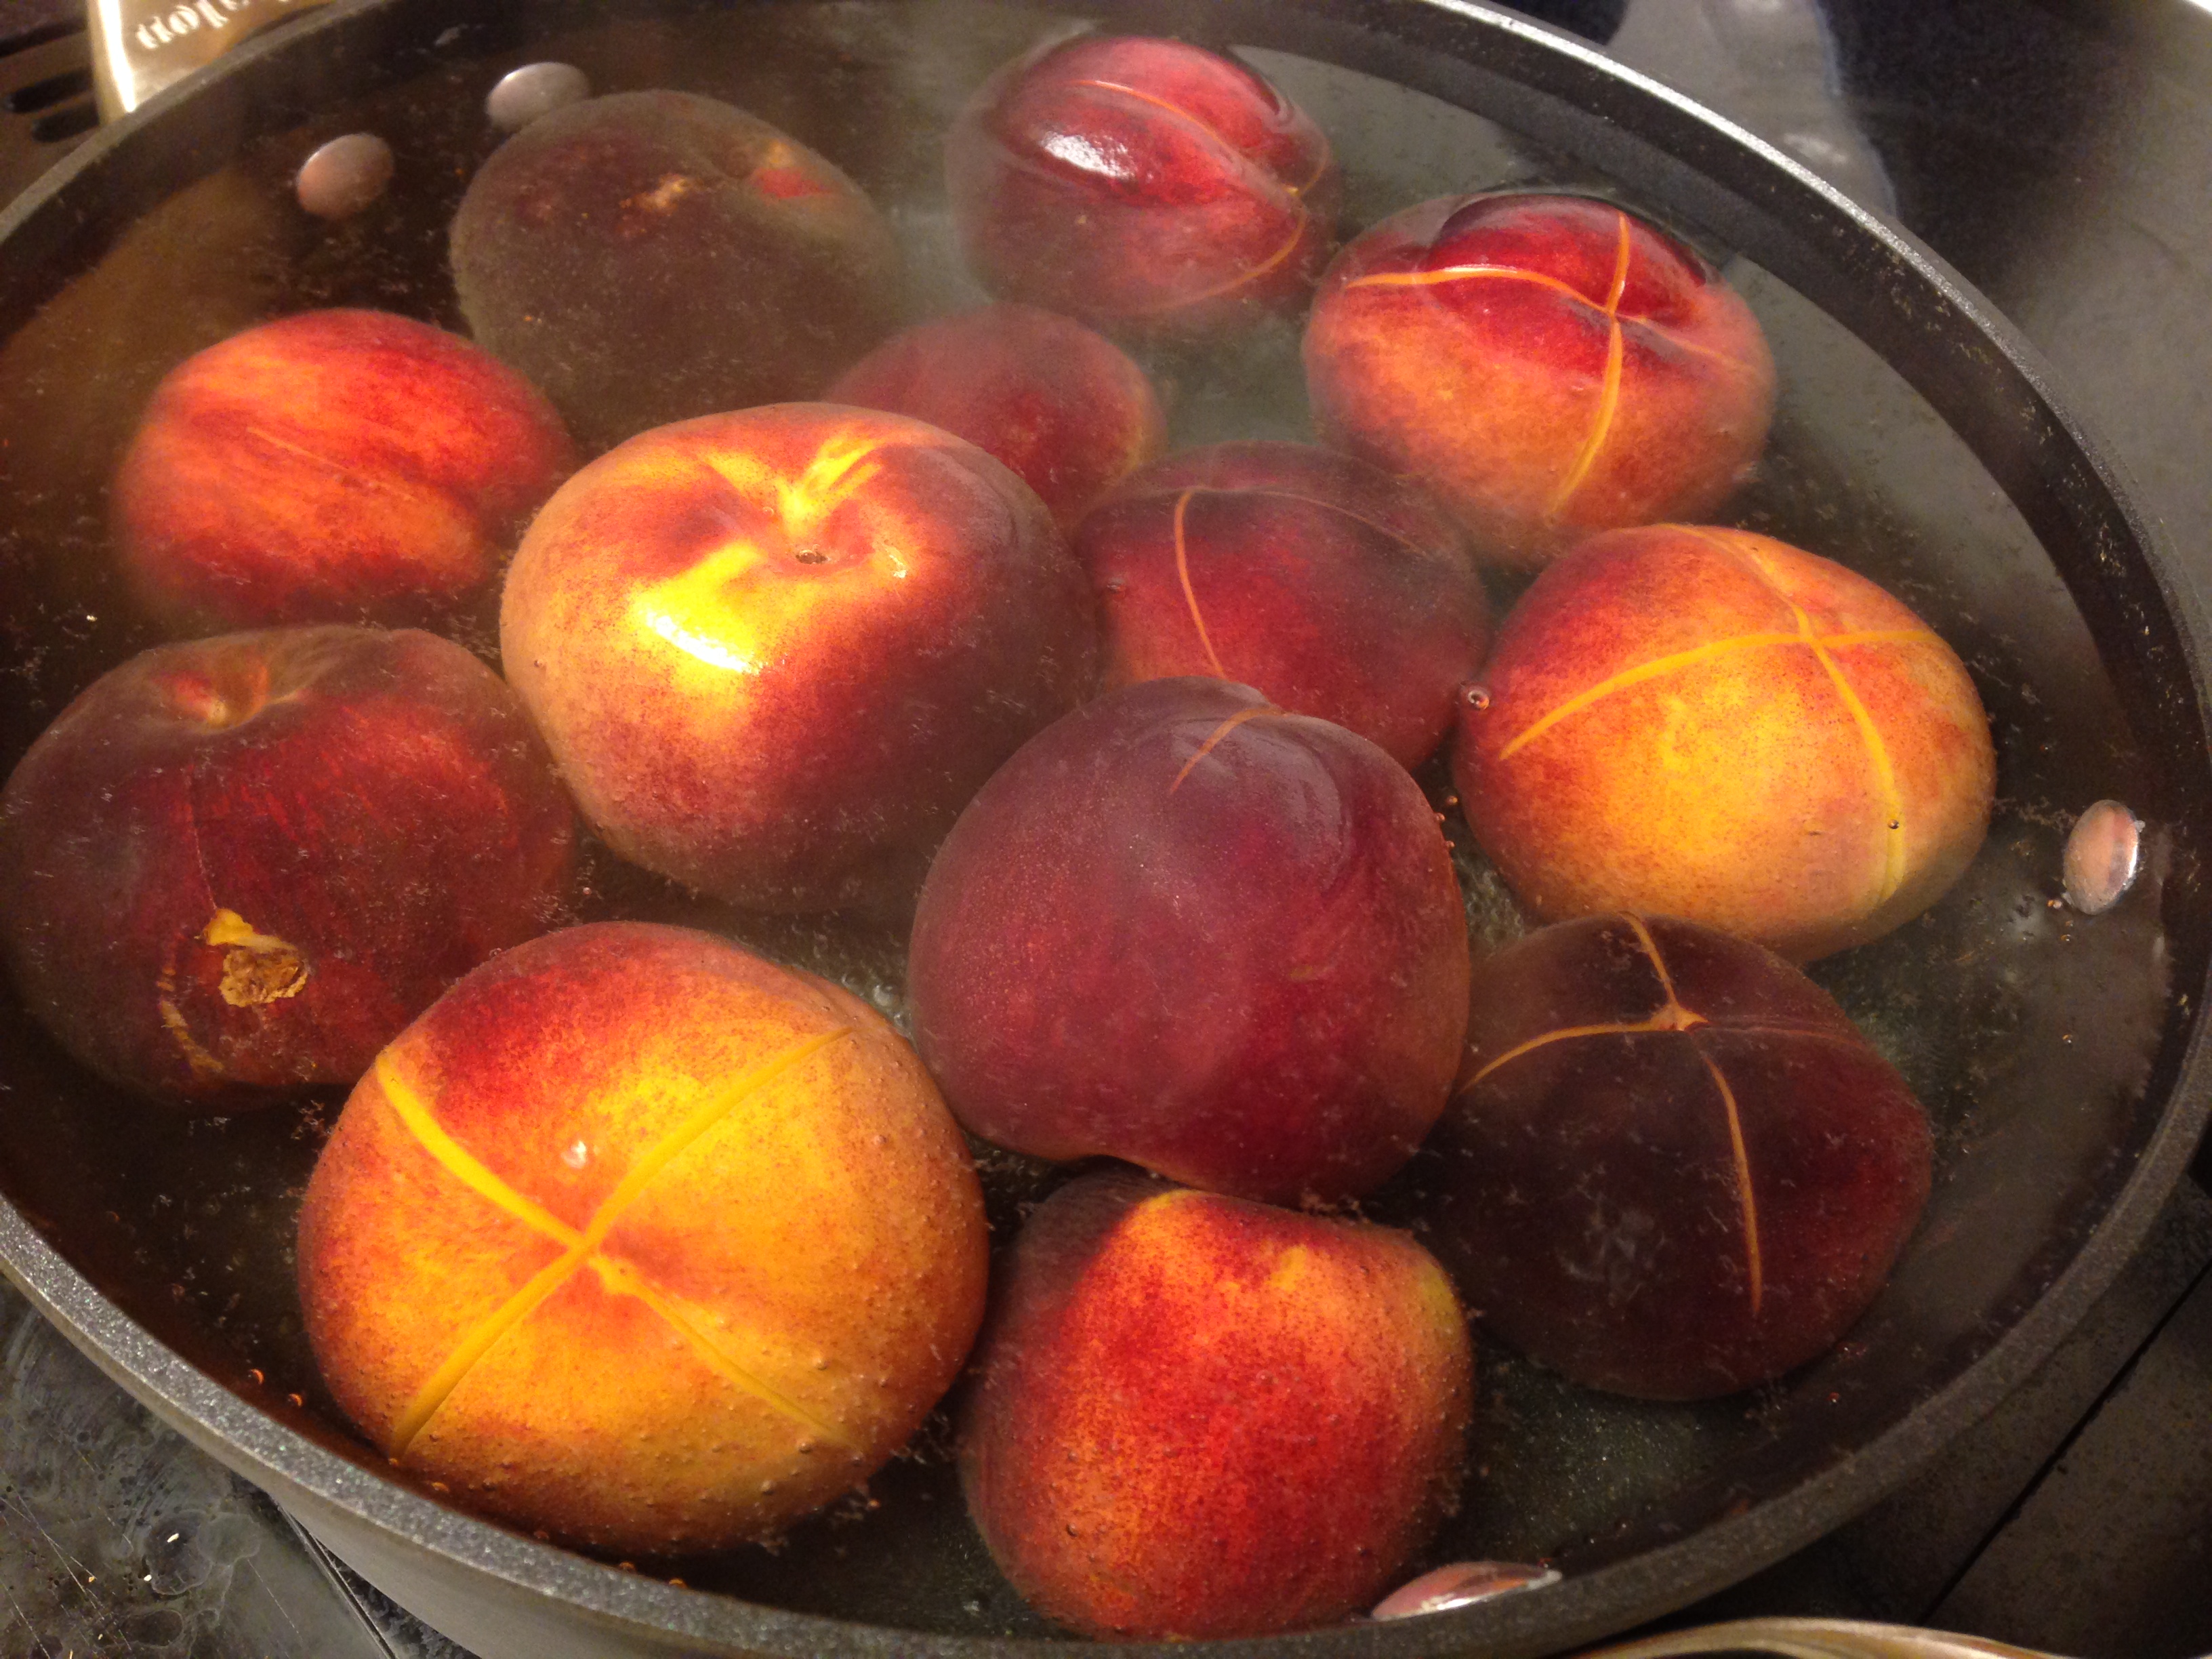 The Patriots and The Red Sox both coming back with two big wins in the last seconds of the game. To celebrate- we ate some delicious drunk fruit! I used some really nice bourbon for this recipe thanks to High West, the whiskey distillery in town.
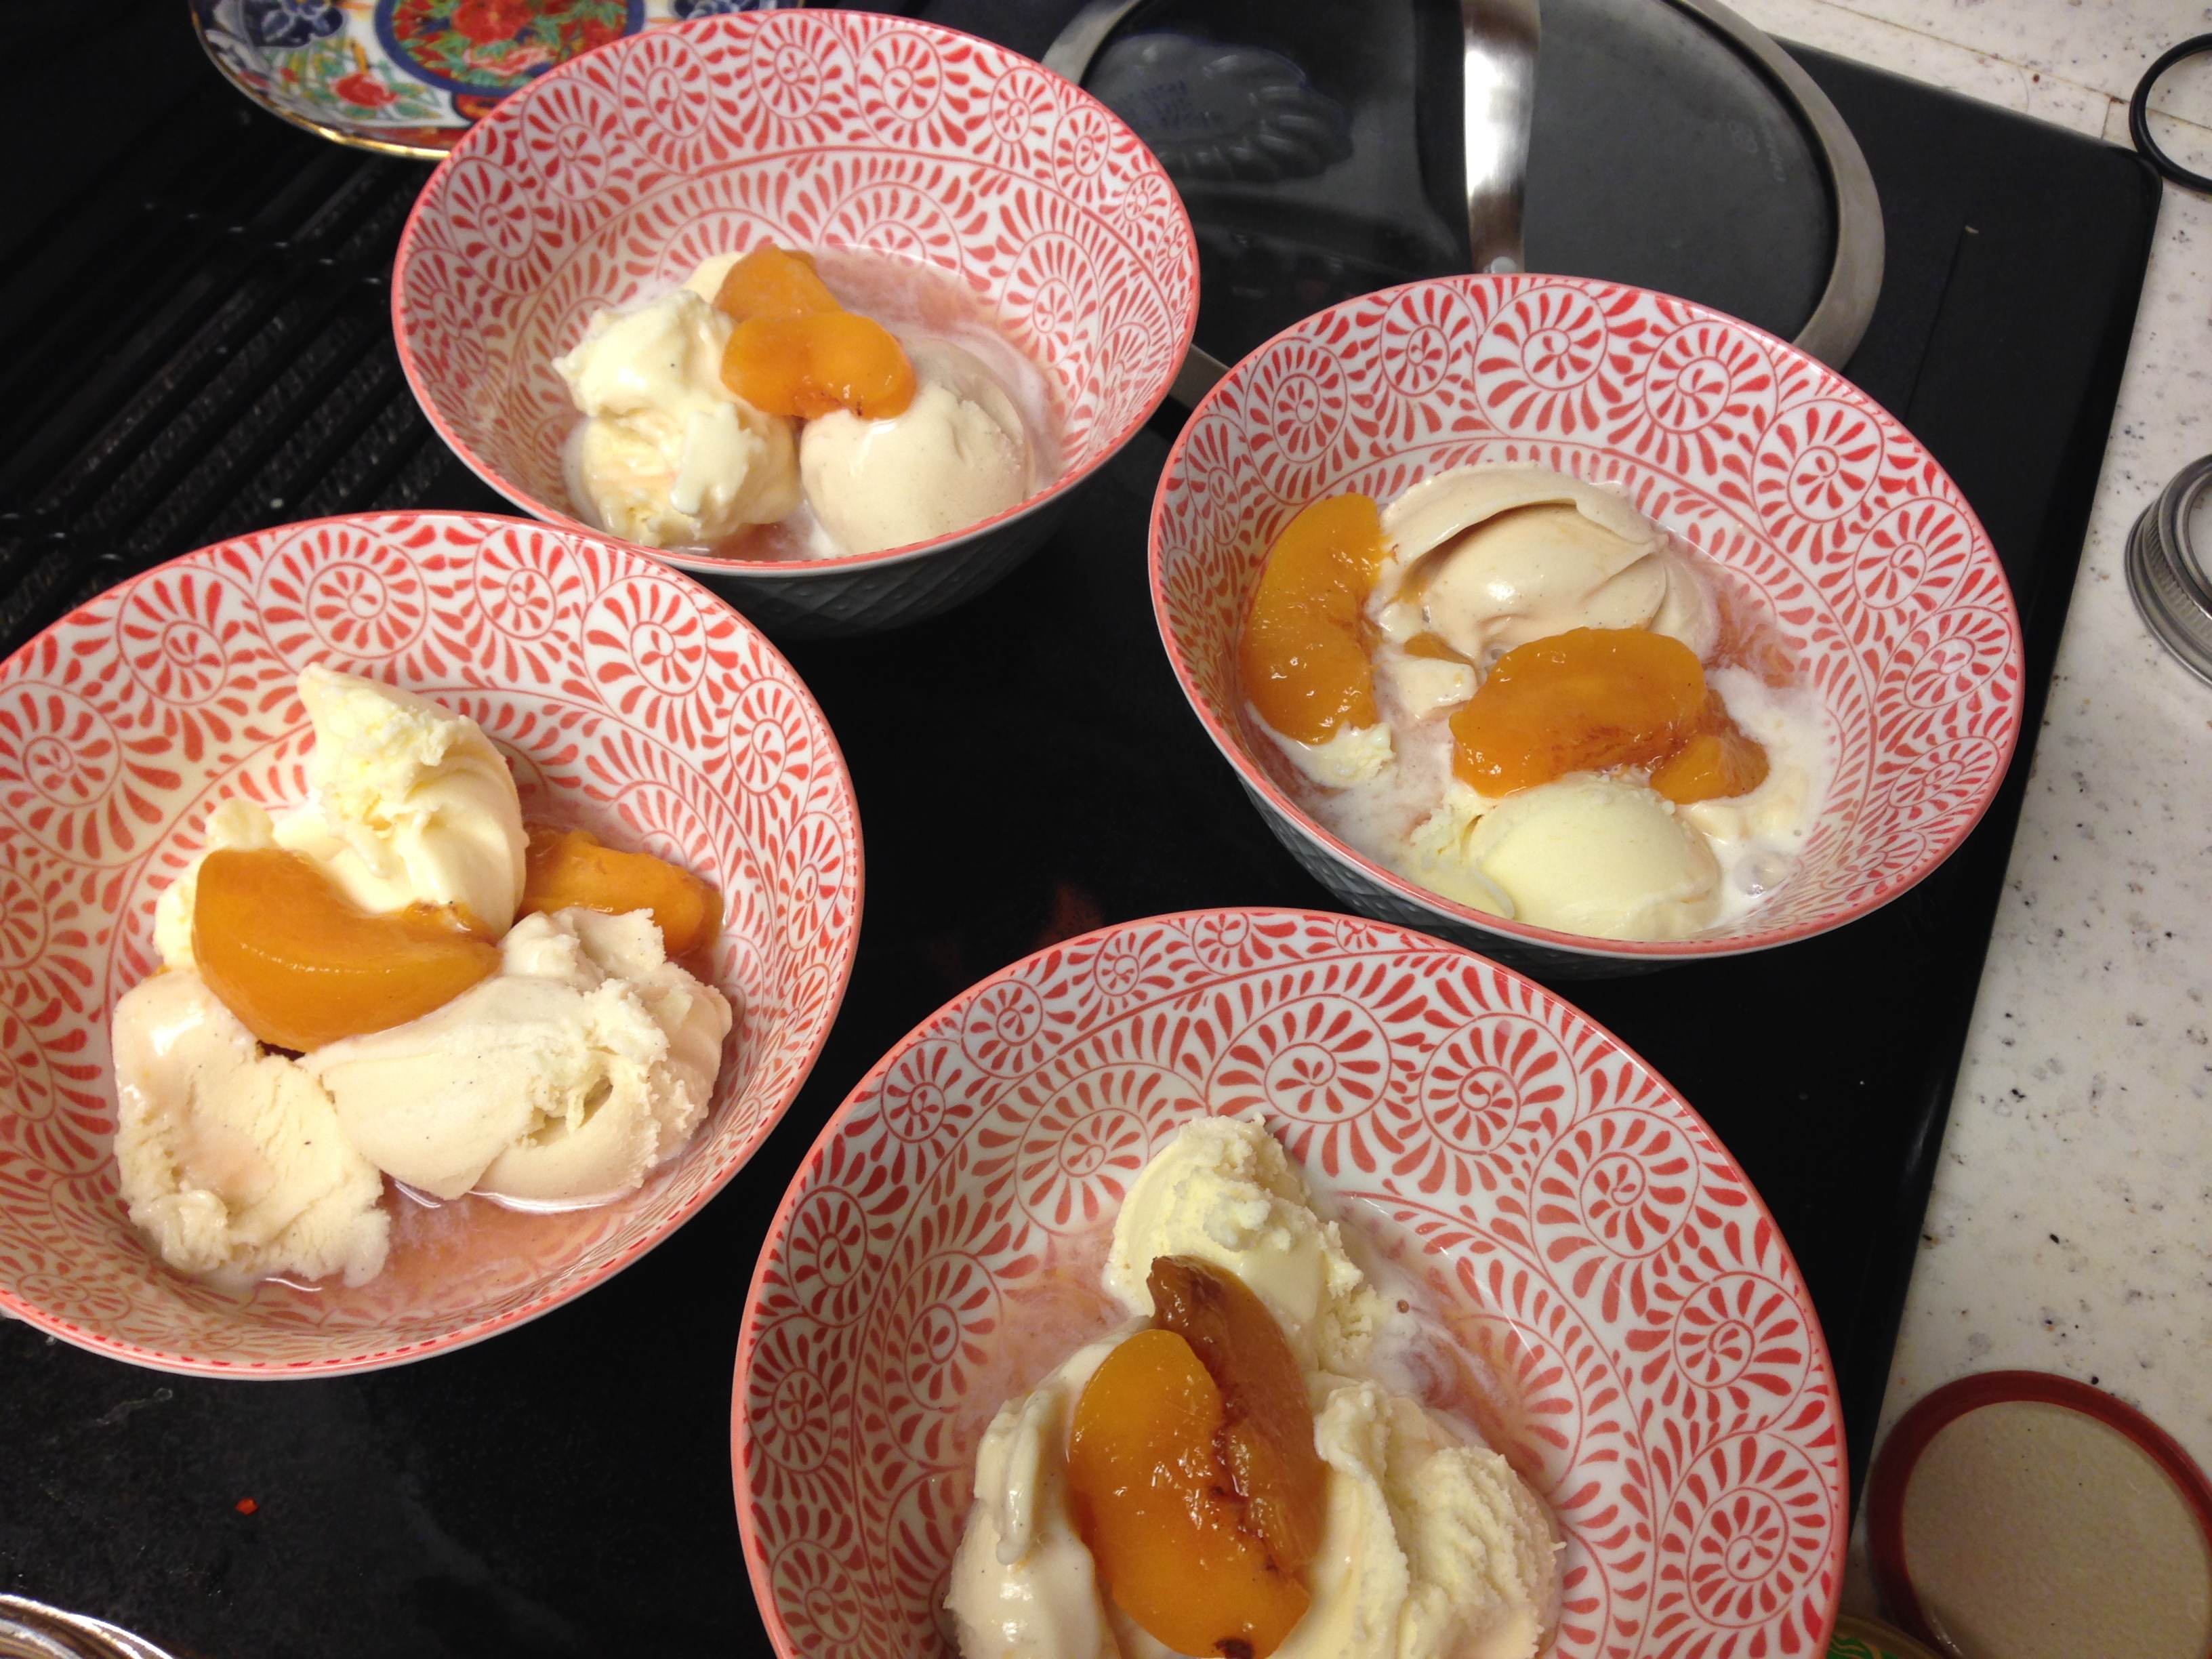
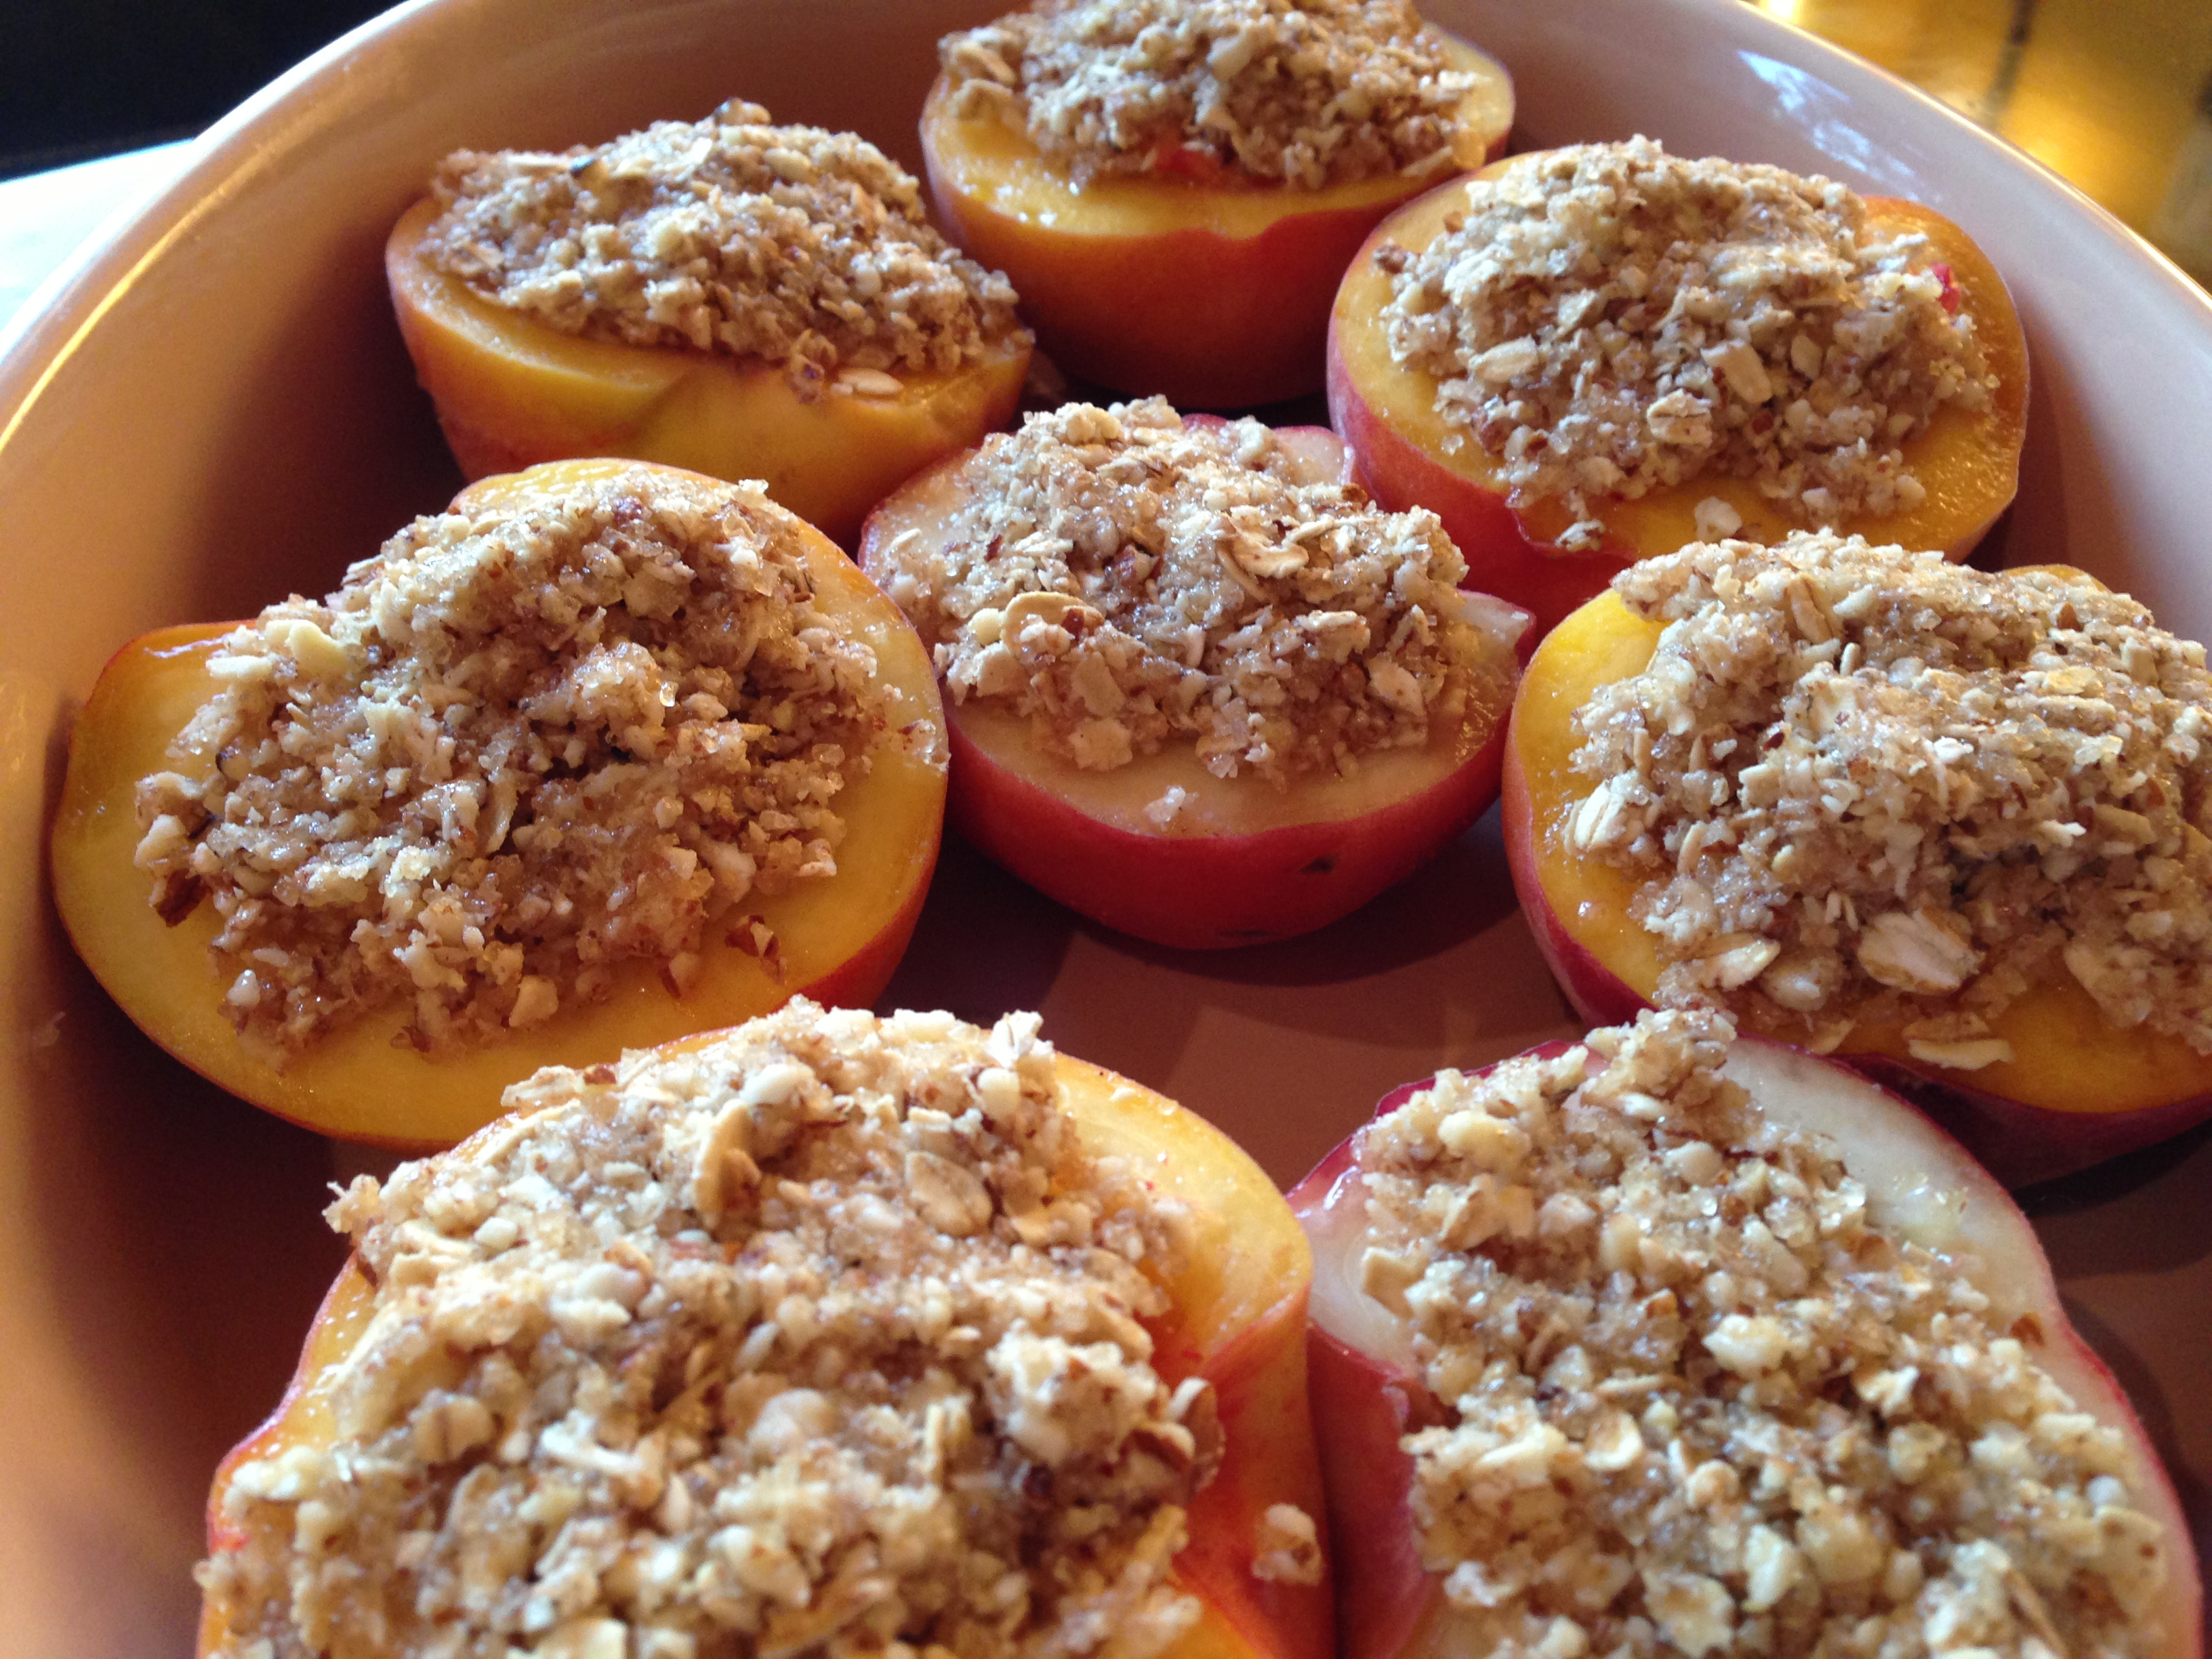
  These Bourbon poached peaches are a great way to preserve summer fruit and it is easy to can them and store them for up to a year! The recipe also works well with pears too if you prefer!
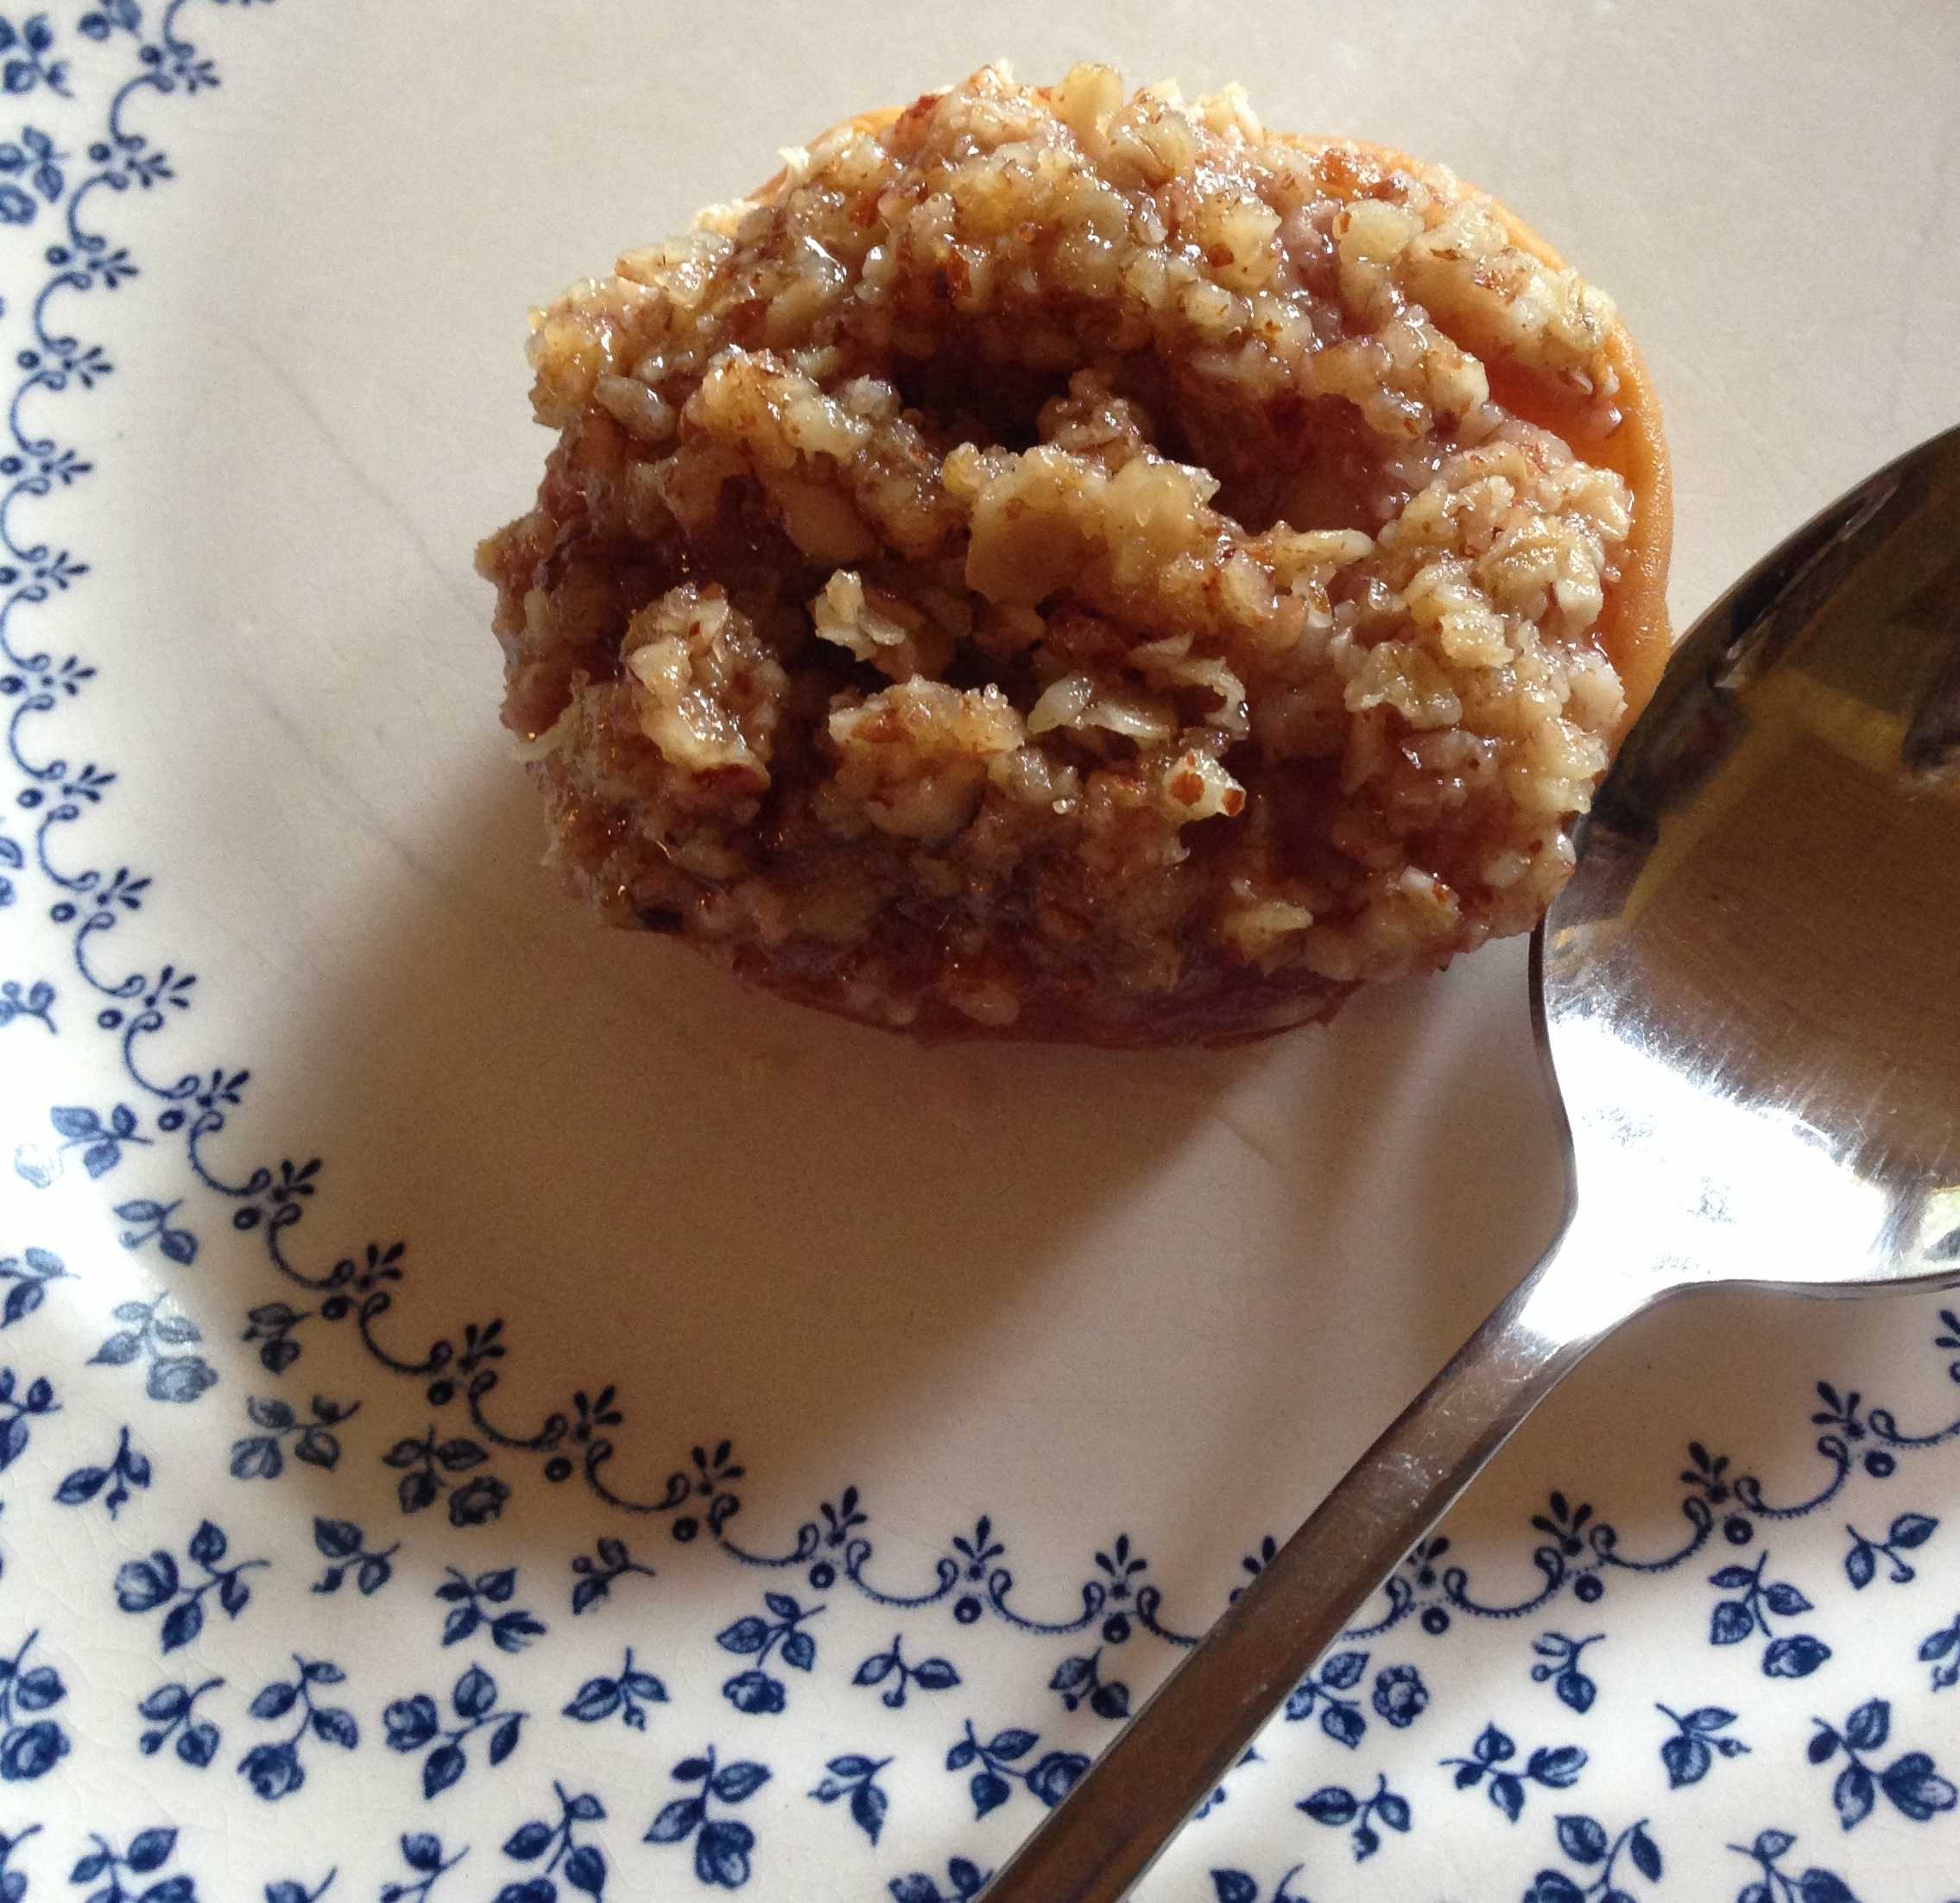
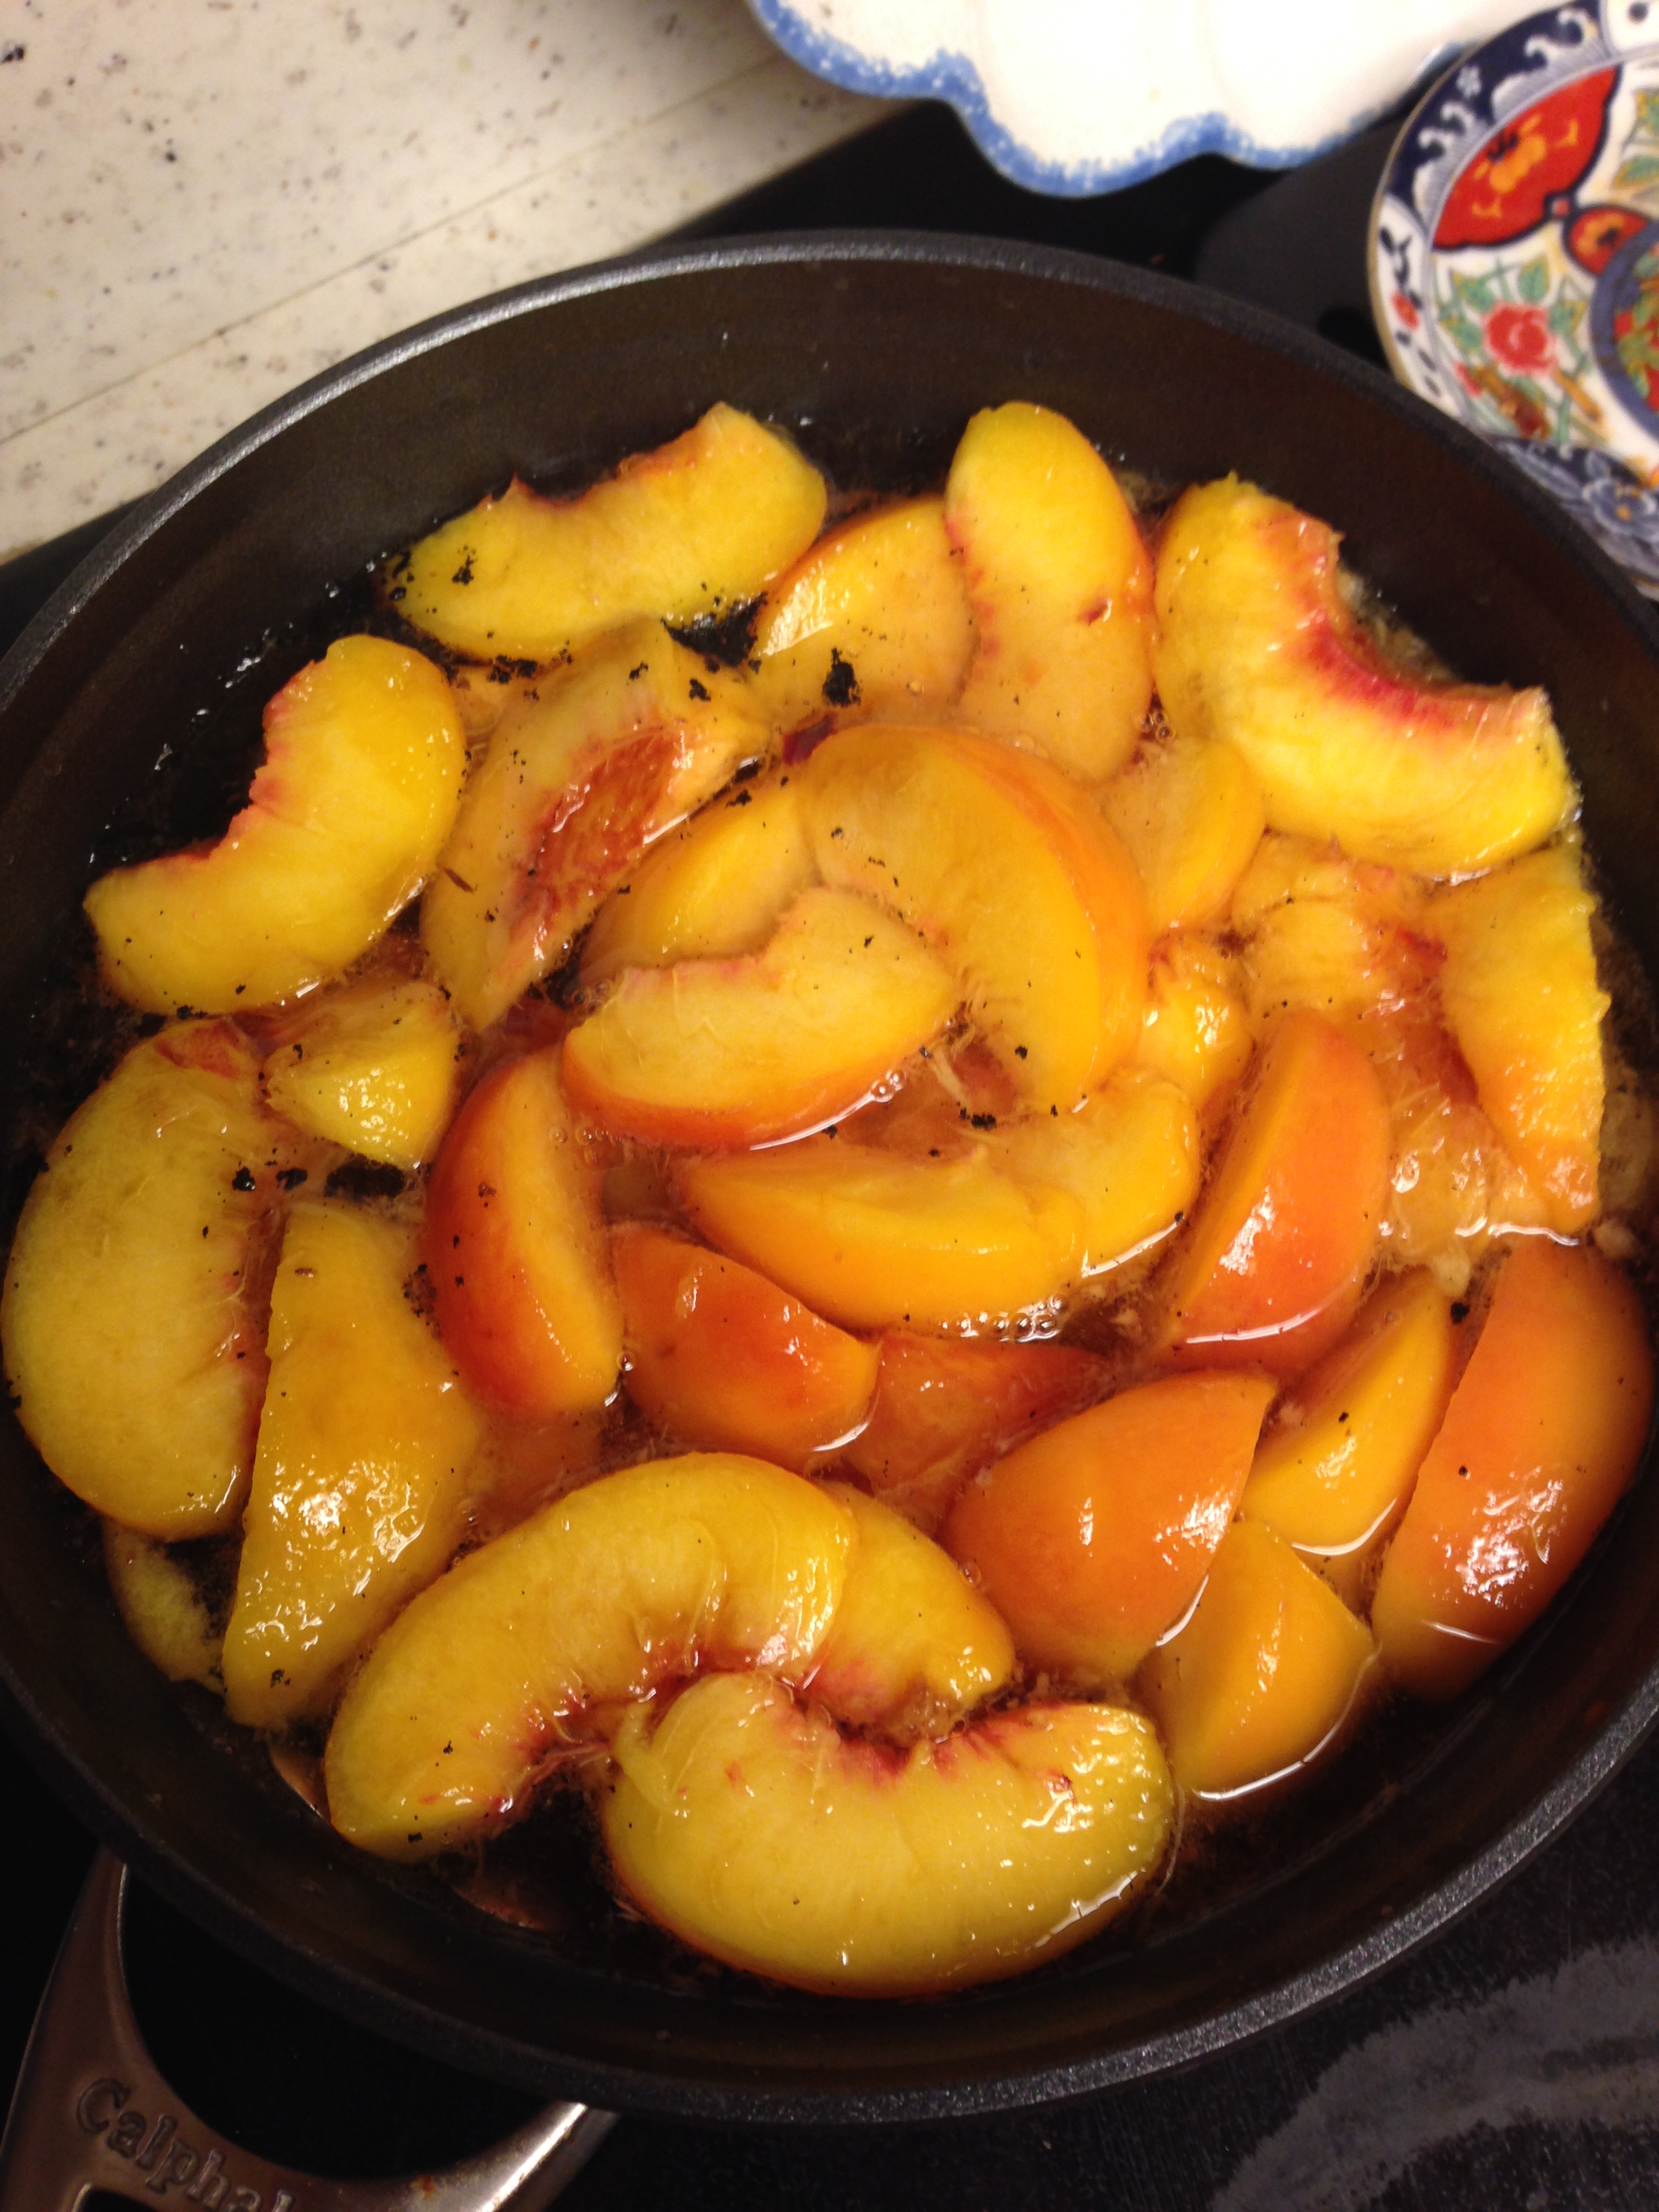 If you’re looking for a quick dessert option to satisfy your sweet tooth, throw these over some ice cream, frozen yogurt or greek yogurt for an easy treat! Enjoy!
 Recipe from Martha Stewart Living, August 2011.