For my birthday this year I received the ultimate Italian cookbook- “Essentials of Classic Italian Cooking” by Marcella Hazan. After flipping through this book a few times and seeing REAL Italian recipes that I’ve only seen made in Italy, I knew she was legit. I was so excited to start testing out some of her recipes, I actually crawled into bed one night with the cookbook and started making notes on things that looked good- only problem was, everything looked good!
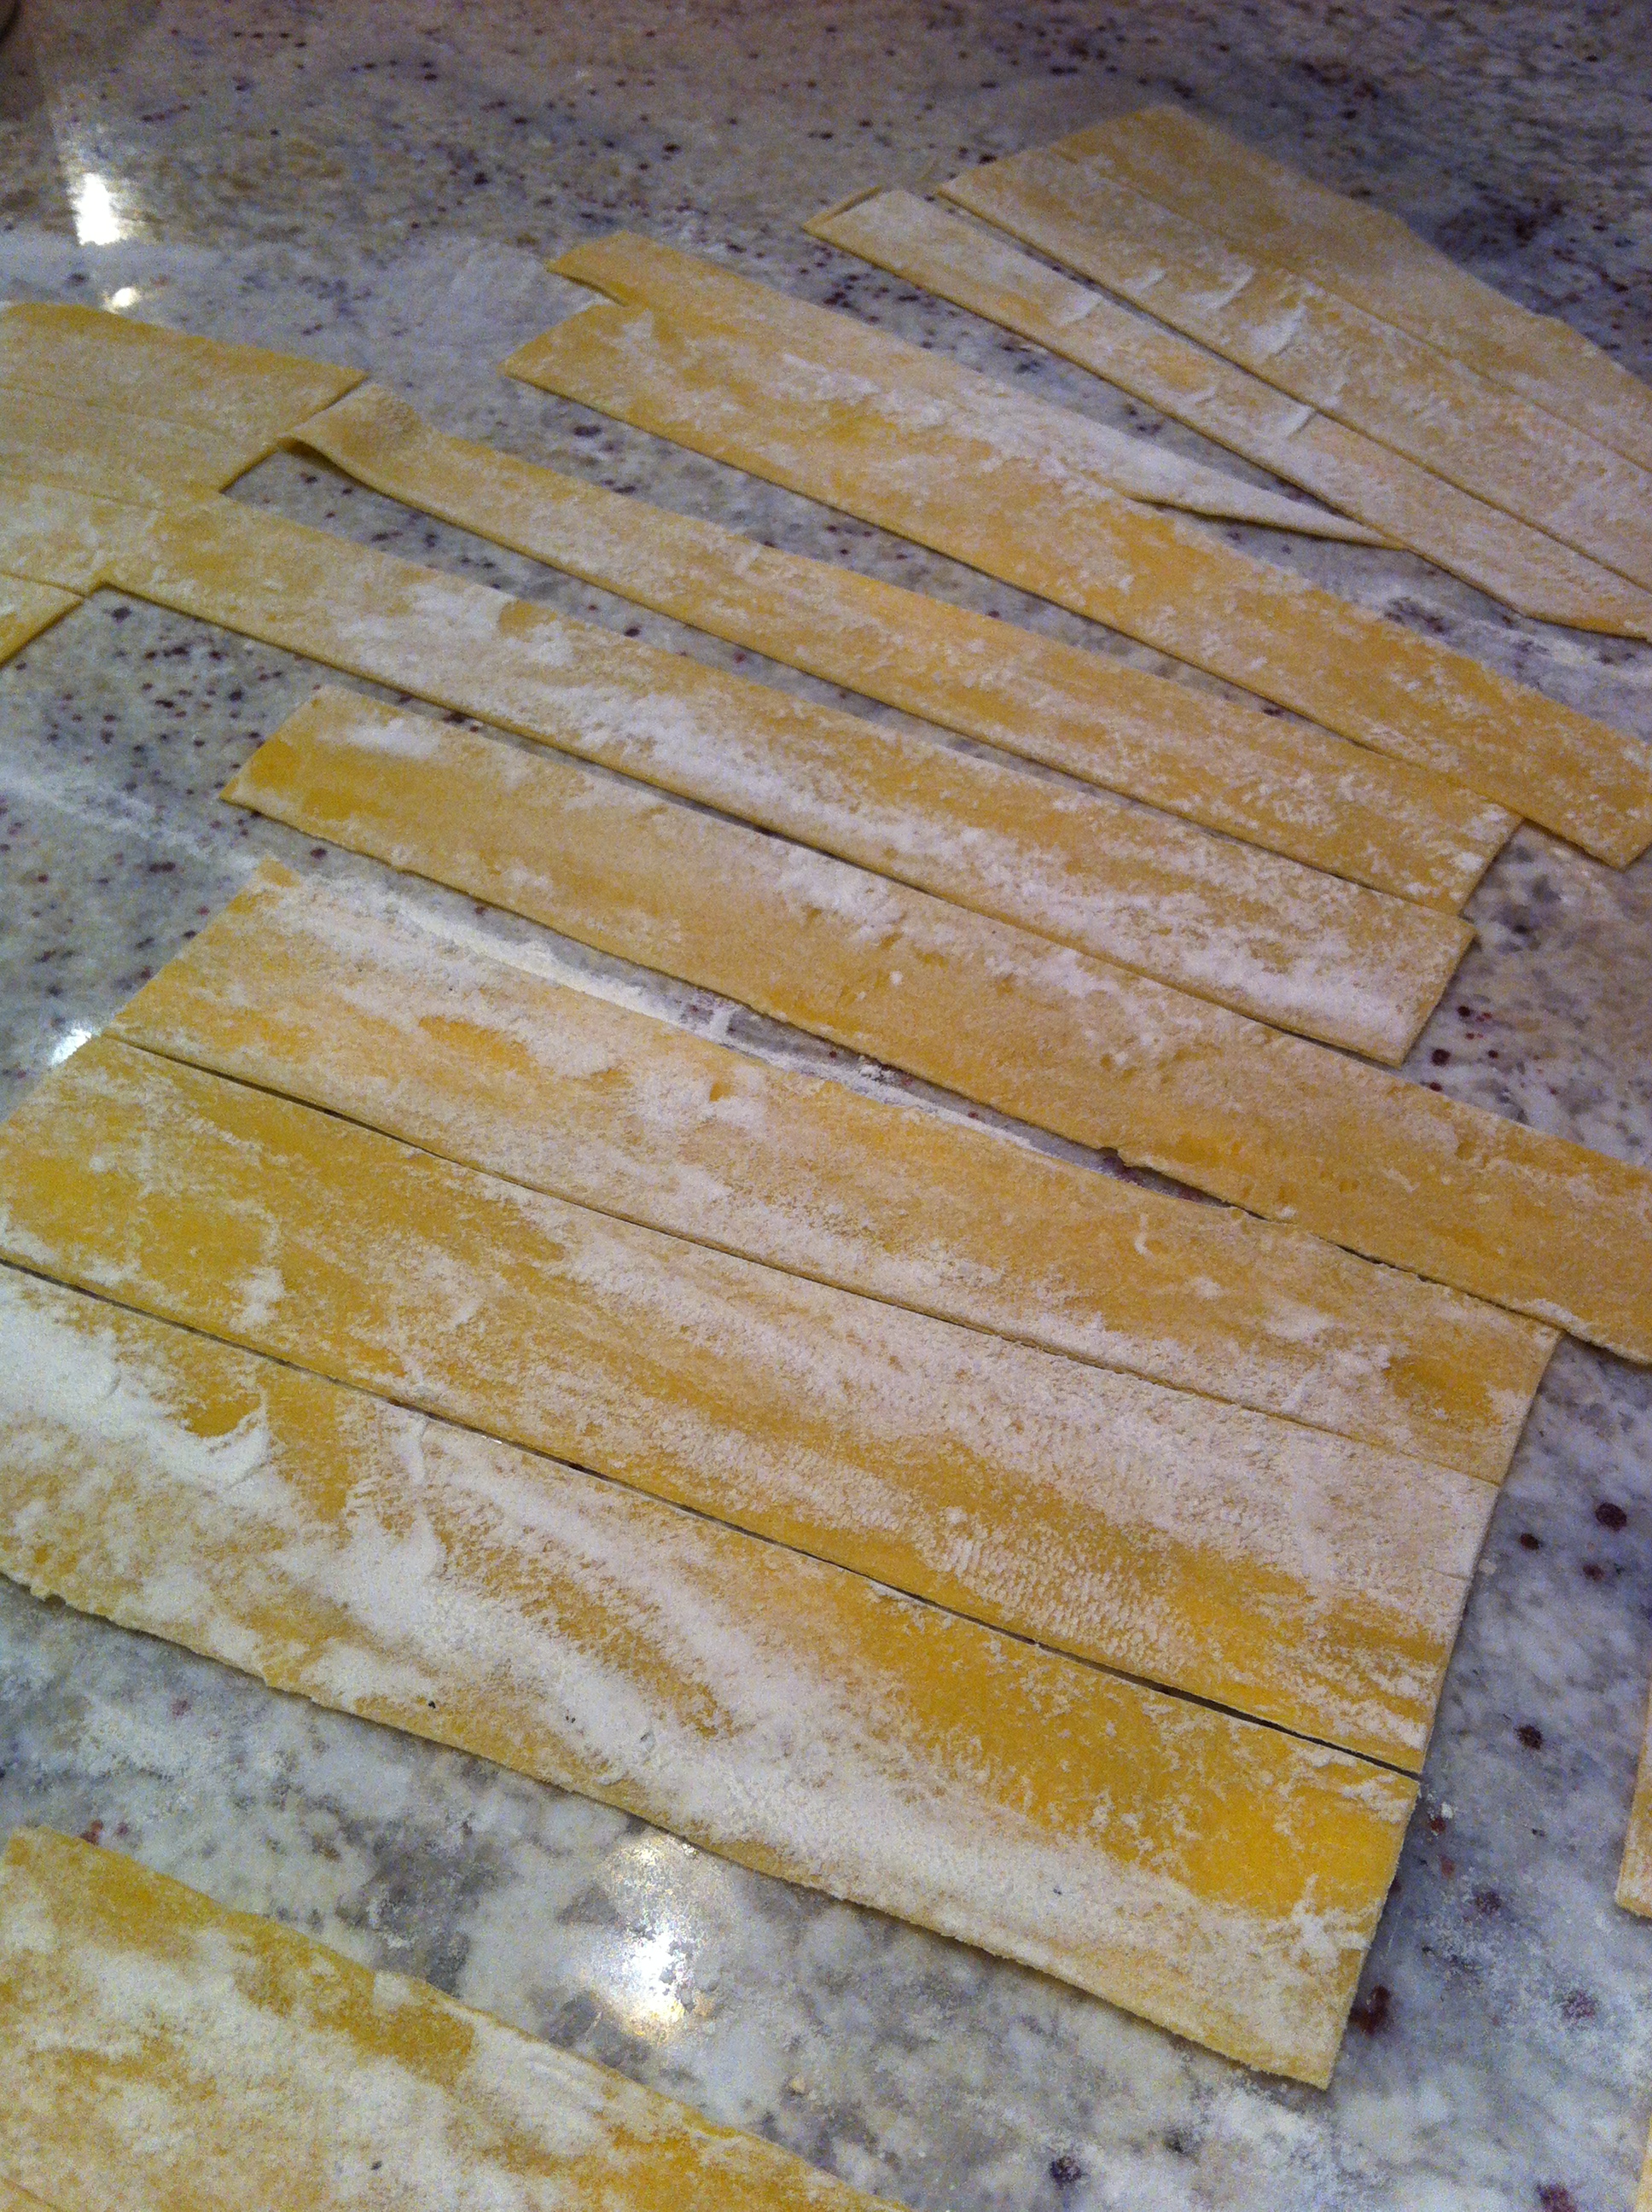
I decided to start with pasta since I could happily eat pasta for breakfast, lunch and dinner every day for the rest of my life. I’ve never made fresh pasta before, so I decided to challenge myself and give it a whirl. After making fresh pasta, I don’t think I’ll ever be able to eat boxed pasta again. 
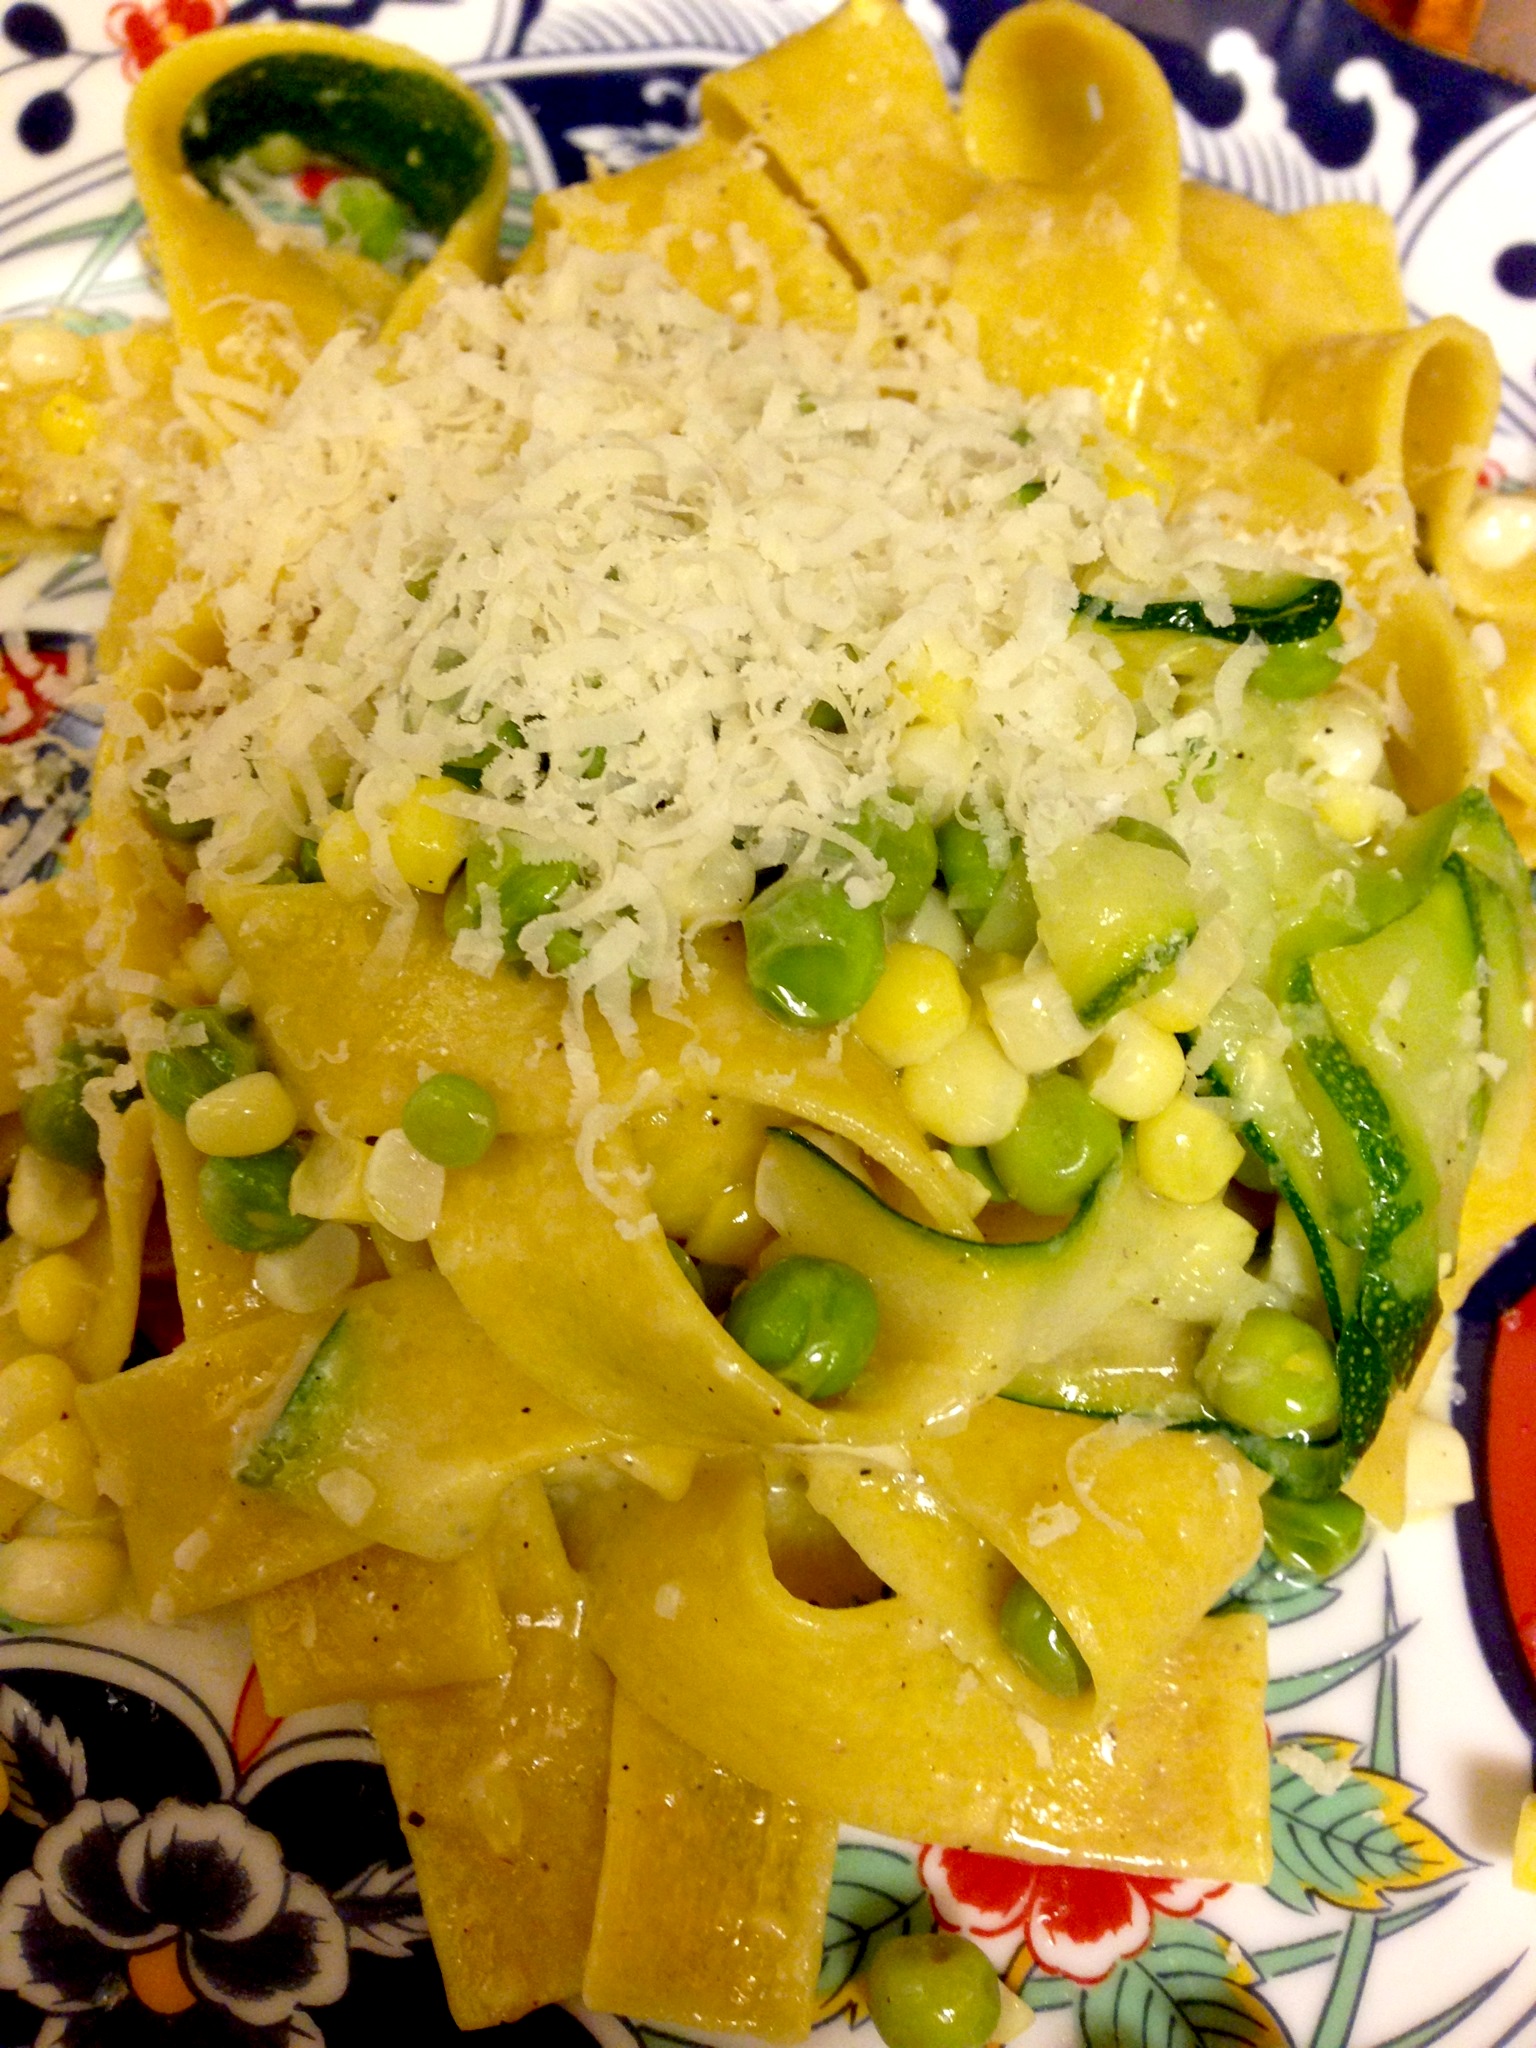
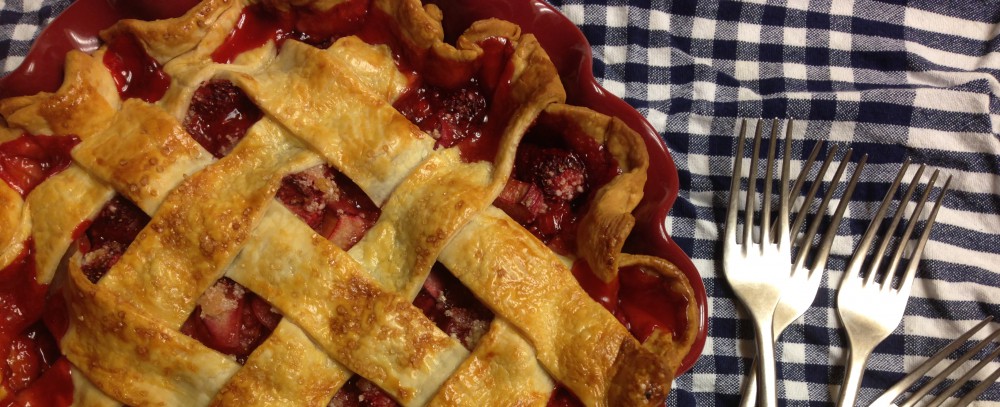
After making the dough and rolling it out with a pasta machine (I would highly recommend using a pasta machine- doing it by hand would be nearly impossible and very time consuming) I tossed the fresh Pappardelle with butter and Parmesan before mixing it with the bell pepper sauce with sausages.

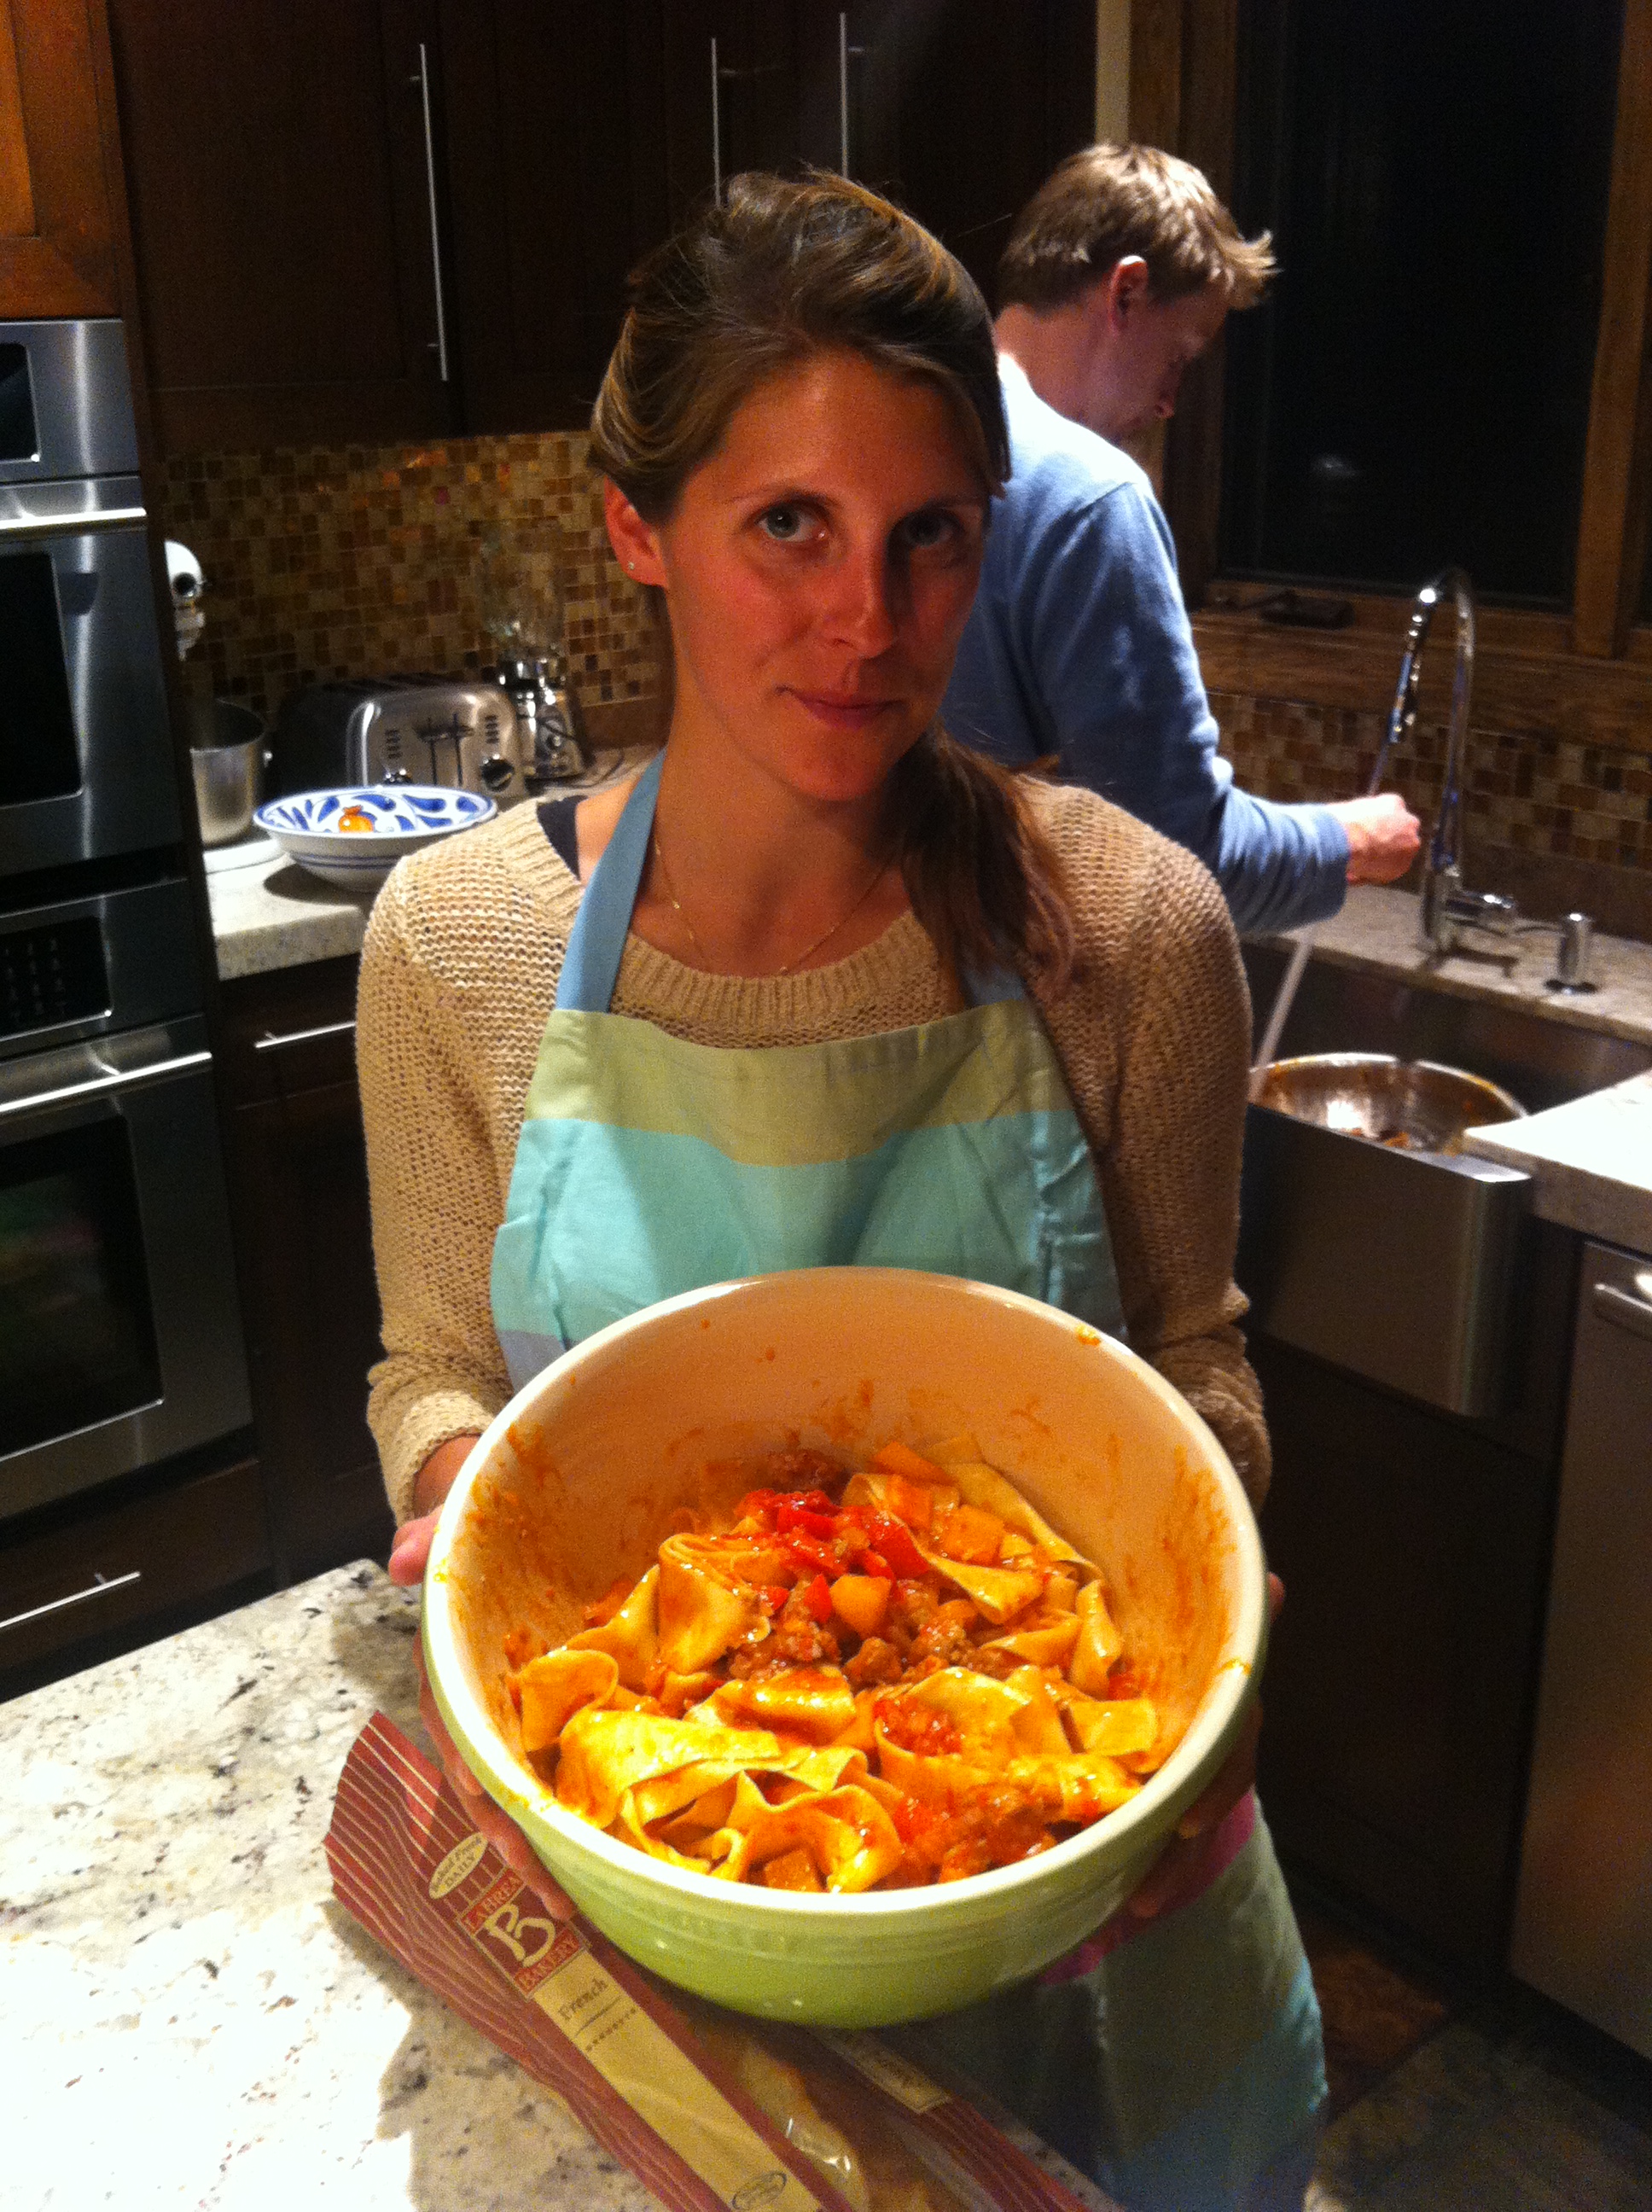
The pappardelle pasta is fantastic with this sauce, the thickness gathers all the yummy ingredients so every bite is just as good as the last. If you’re not into making your own pasta, I would suggest searching for pre-made fresh pasta like fettuccine, in the refrigerated section of the grocery store, it really does make a difference!

This sauce is very easy to make- like only 5 ingredients kind of easy. Although, it does takes a bit of time to simmer once all the ingredients are combined in the pan, it only takes 20 minutes.
Here I am pretty excited my first batch of fresh pasta is edible!
I made a few adjustments to the recipe. The original recipe calls for only 2 tablespoons of onion- I think the onion gives the sauce great flavor so I used the whole thing. Also, instead of draining the tomatoes I used all their juices which created a little more sauce to toss with the pasta- plus why would you ever throw away all that great juice!
This is definitely going to be a staple dish around our house from now on! Serve with a fresh baguette, red wine and ENJOY!
Red & Yellow Bell Pepper Sauce with Sausages (Click for printer friendly version)
Ingredients:
- 3 meaty bell peppers, 1 red, 2 yellow
- 4 tablespoons extra virgin olive oil
- 1 small sweet onion chopped
- 4-5 sweet sausages without fennel seeds, chili pepper or other strong seasonings (I used sweet Italian turkey sausage and it turned out great!) cut into 1/2 inch pieces
- Salt and fresh ground pepper
- 1 large can (28oz) Italian San Marzano whole peeled tomatoes
- Fresh pappardelle pasta (recipe below) or 1 1/2lbs boxed pasta
For tossing the pasta
- 1-2 tablespoons butter
- 2/3 cup freshly grated parmigiano-reggiano cheese plus additional cheese at the table
Directions:
- Split the peppers into 4 sections, discard the seeds and cores, and peel them using peeler (I forgot this step and it was fine!) Cut them into 1-inch square pieces
- Put olive oil and the chopped onion in a saute pan and cook over medium to medium high heat. cook and stir the noion until it becomes translucent/gold.
- Meanwhile, bring a large pot of salted water to boil.
- Add the sausage to the onions and cook for 2-3 minutes, add peppers, and season with salt and pepper. Cook them for 8-10 minutes turning them occasionally.
- Add the entire can of whole tomatoes and their juices to sausage and peppers. Using the back of a wooden spoon breaking up the whole tomatoes so there are no large bits left.
- Allow sauce to cook at a “lively” simmer for about 15-20 minutes, until the oil floats free of the tomatoes.
- Fresh pasta only needs about 5 minutes to cook, make sure you time whatever kind of pasta you are making so its fresh and hot when the sauce is finished simmering.
- Toss pasta with butter and Parmesan, then pour entire contents of the pan over the pasta, tossing one more time to coat.
- Serve immediately with fresh Parmesan on the side.

If you’re in a hurry- I would buy pasta from the store- leave yourself about 1 hour total to make pasta dough from start to finish. (aka making this on a week night would be a nightmare)
Fresh Pasta Dough (Click for printer friendly version)
For the Pasta (Make ahead of time before the sauce, its OK if the pasta dries a bit before cooking it)
Ingredients (Yields 3/4 pound home made pasta- about 3 portions. I doubled the recipe)
- 1 cup unbleached flour
- 2 large eggs
Directions:
- Pour flour onto clean work surface, shape it into a mound and scoop out the center so it looks like a volcano.
- Crack the eggs into the flour mixture and using a fork, beat the eggs lightly.
- Draw some of the flour over the eggs into the center, mixing until the eggs are no longer runny.
- Keep working the flour and eggs with your fingers and palm of your hands, adding more flour if your mixture is too sticky.
- Once you feel the dough does not require any more flour- wash your hands and prepare to knead the dough
- Knead the dough by pushing away from you and folding dough over onto its self, stretching and pulling the dough with the palms of your hands- be sure to keep extra flour near by as you’ll need it for your hands and work space. Knead for about 5 minutes or until dough is soft and smooth.
- Cut dough into smaller equal parts and prepare to roll the dough with your pasta machine.
- Start with the machine on the largest setting and roll the dough through the machine twice at each setting, decreasing as the dough gets thinner.
- Flour a clean dry work space to lay fresh dough on the counter until you are ready to cut. Pappardelle is hand cute into 1-inch thick strips that are about 12-inches long. Don’t worry about them looking perfect, once they are cooked its hard to tell! Or use the attachments from the pasta maker to cut perfect fettuccine or spaghetti.
- If you’ve made enough pasta to save for a later date, hang the pasta on a pasta drying wrack or on the counter, wrap in plastic wrap or zip lock bag once it has fully dried and save for your next pasta party!
Both recipes originally from “Essentials of Classic Italian Cooking”
 Ahh its Wednesday! Happy Hump Day! If you haven’t seen this commercial it will put a smile on your face! Every stand at the farmers market has huge bushel of corn right now and while they are not the big ears of sweet corn you get towards the end of August, nothing is better than fresh corn. Jake and I are having a corn stand off- He likes to roll his corn in the butter plate- I prefer not to. How do you butter your corn? Until we come to an agreement I will not serve corn on the cob in my house…Just Kidding! But I have been looking for a new and different way to eat corn because I hate when it gets stuck in my teeth!
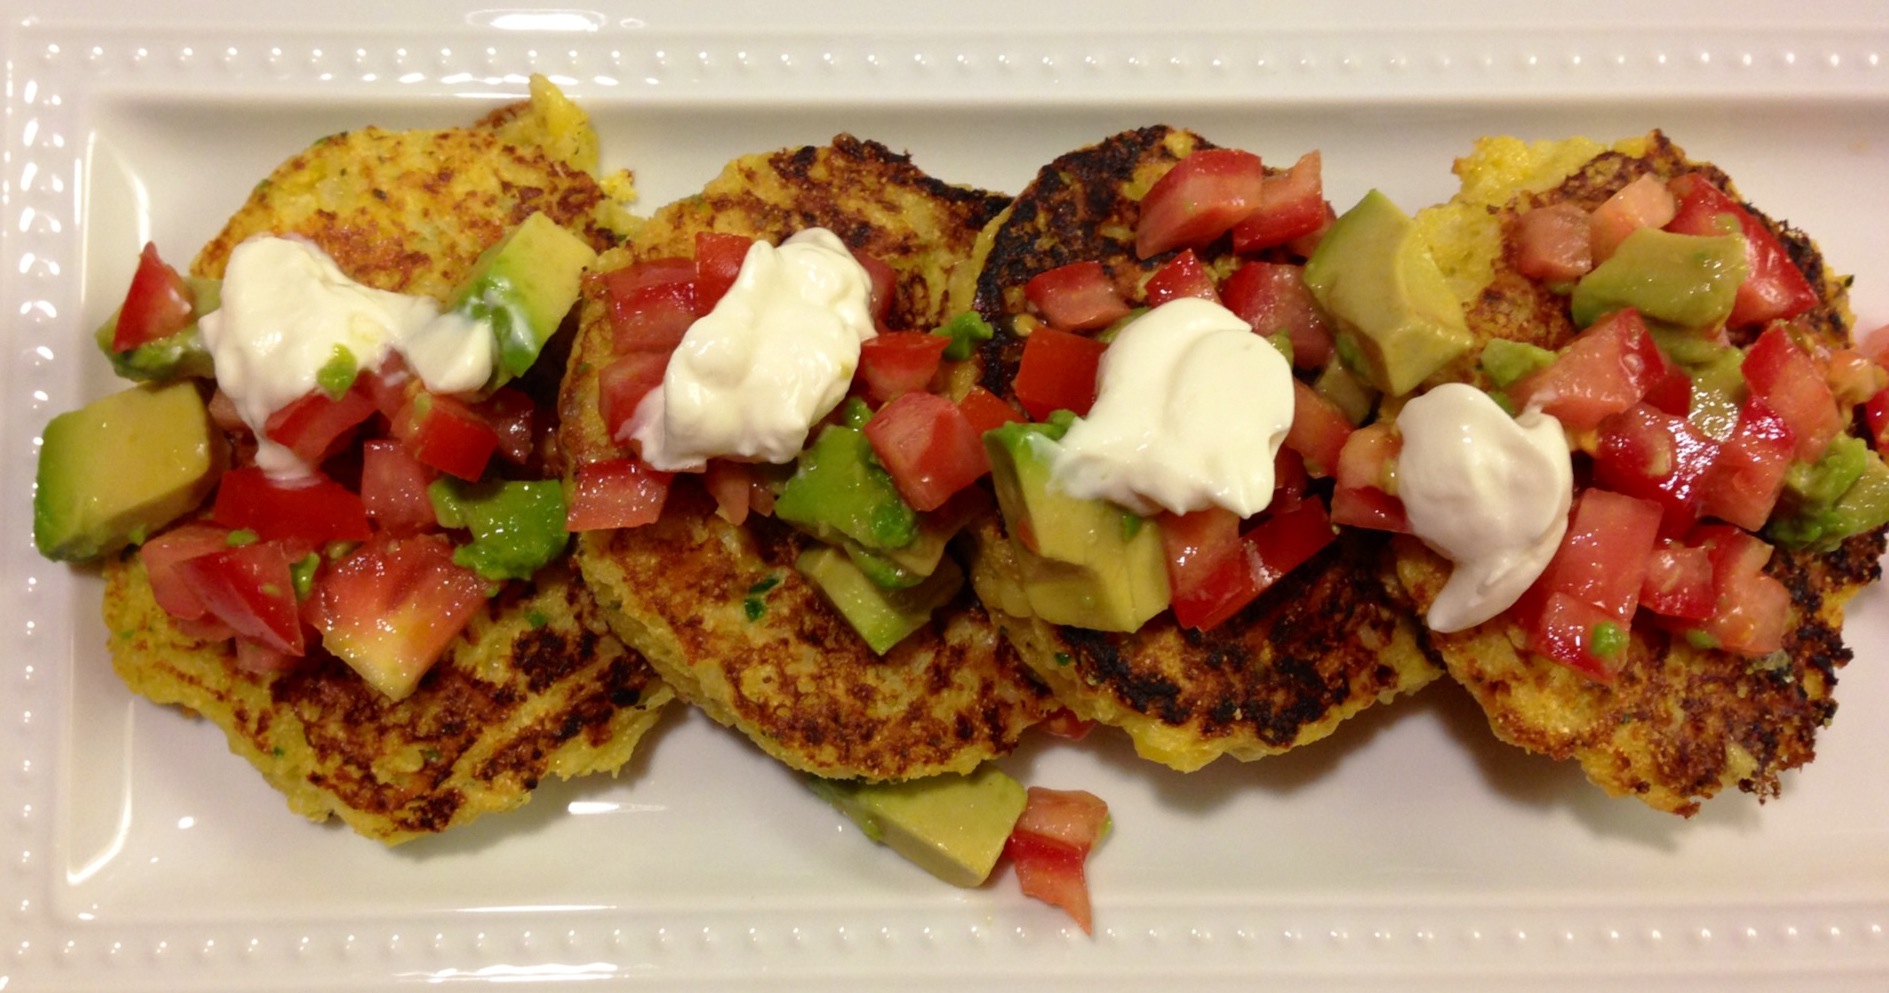
  Sweet summer corn and spicy jalapeno come together for a South of the Boarder party on your plate with this dish. Its a perfect side to fish, chicken or steak- or for a vegetarian option serve over a chopped salad. These fritters would also make the perfect eggs Benedict, put a poached egg over the corn fitter, drizzle with hollandaise, now that’s how you spice up your morning! Enjoy!
  Jalapeno Corn Fritters with Avocado Salsa